Last Friday was a beautiful day, so I thought that it would be a great day to grill out. Last week I had placed two packages of chicken thighs in the refrigerator to defrost. I personally like to use the slow defrost method, instead of a rapid method in cold water or the countertop. To paraphrase The New Making of a Cook one of my go to cookbooks regarding technique and cooking science. By defrosting in the refrigerator, the meat will remain juicy and lose almost no juices at all. Compared to the rapid method, in which the meat will lose all of its juices in the freezing bag and taste dry and unpalatable after cooking. So take the time to thaw meat the right way, your taste buds will thank you.
I like to get all my chicken at Costco. The main reason being that they package all their chicken in pre-portioned cryovac pouches: boneless breasts two to a pouch, skin-on thighs four to a pouch, and wings six to a pouch. So it is great for portion control, since you only need to defrost one pouch for a recipe. Unlike with a normal plastic wrapped grocery pack, which might have more chicken in the pack then required for a recipe. So waste not, want not.
With that little bit of food science out of the way, lets get cooking. Lately for cooking meat, I’ve been employing the “less is more” method. Less meaning fewer ingredients, so for making the BBQ chicken I’ll only season it with salt, pepper, olive oil and some barbecue sauce thinned with beer to finish. Personally I’m a big fan of complex recipes. But as a personal observation, I’ve noticed that a lot of people use copious amounts of herbs and marinades as a cover up for their own deficiencies in technique. But that’s just my own personal point of view.
If there is only one tip for making barbecue chicken, it would be this: put the barbecue sauce on the chicken at the end of cooking, not at the beginning. Because if you put it on in the beginning, you’ll end up with burnt chicken instead of barbecue chicken.
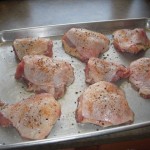
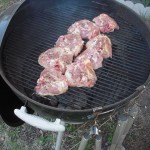
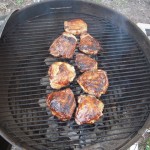
All right, back to the grill. If you are going to be using a charcoal grill, expect about 30 minutes of warm up time to get the coals hot enough in a chimney starter before you can start to cook the chicken. So while the coals are heating up, you can prep the chicken in the kitchen. More or less, after removing any excess fat or connective tissue from the chicken thighs, lightly coat both sides in olive oil. Then right before you put them on the grill, give them a good seasoning of salt and fresh cracked pepper. With all the prep out of the way, the cooking times for thighs couldn’t be simpler. Starting skin side down cook for 10 minutes, then flip and cook for 10 minutes. Making sure to keep the grill covered for as much of that time as possible.
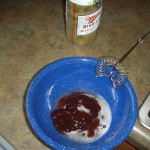
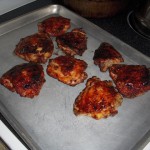
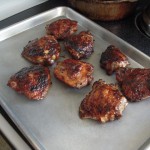
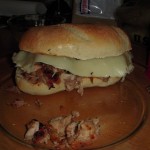
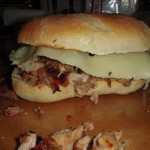
Now you’re probably wondering, “Where’s the barbecue sauce, isn’t this suppose to be barbecue chicken?” It’s going to be in a minute. During the final 10 minute cooking period. At the 8 minute mark, brush the top side of the chicken with beer thinned barbecue sauce, and let it cook for 1 minute. Then flip the chicken, coat again with sauce, and let it cook for the final minute. Now you’re all done. Pull the chicken off the grill and let it cool for a couple of minutes. Then dig in!
In case the time above didn’t make sense, here is a quick little time chart:
00:00 min – Place chicken on grill, skin side down.
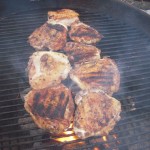
10:00 min – Flip chicken so that skin side is up.
18:00 min – Now that chicken is skin side up, coat in BBQ sauce.
19:00 min – Flip chicken so that it is now skin side down, coat in BBQ sauce.
20:00 min – Chicken is done cooking. Remove from grill and let rest before eating.




2 comments on “Grilled BBQ chicken thighs”
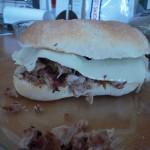
You know I was going to put some Italian slaw on top. But I didn’t think of it until after I made the chicken, and I didn’t feel like heading out to the store.
looks delicious, I’d slap some vinegar based slaw on top of the whole mess to really put it over the top, I KNOW Supa’s a fan.