I’ve been thinking about getting a watering wand the last couple of years, but all the models that I see in the store suck. They are either made with cheap parts (e.g. plastic valves), or they add crazy bells and whistles to jack up the price (e.g. swiveling heads and/or heads with multiple spray settings.)
So I thought to myself “I can make a better watering wand.” So I put on my thinking cap to come up with some ideas to make a watering wand. And I kept stumbling on the actual sprayer head itself, since all the wands in the store have special sprayer heads. I did a little bit of searching online, and I found one guy online that made his own watering wand. It turned out good, its just that he already had a sprayer head from a broken watering wand, so that really didn’t help me out since I didn’t have an old watering wand to steal parts from.
Well for some reason a few mornings back. I was spacing out at my desk at work, thinking about the garden. When it just struck me out of thin air, why don’t I just use an old showerhead! I already have a spare one at home, and it would be a better quality head then trying to cobble together a sprayer head from scraps à la “Tony Stark built this in a CAVE!!! With a box of scraps!!!” So now I was off and running, and the watering wand was back on track.
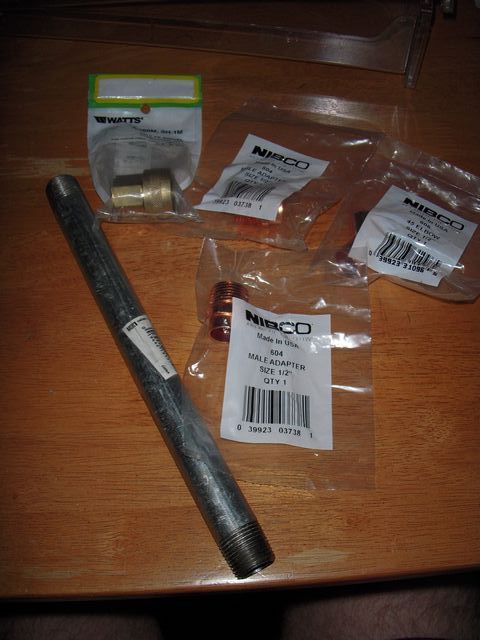
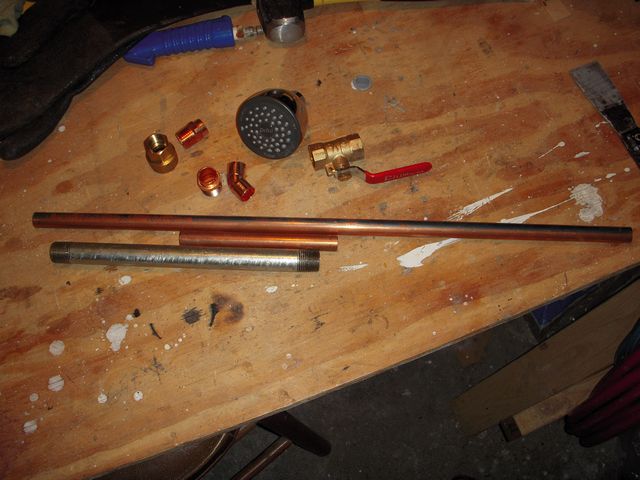
Here are the parts that I used going end to end on the watering wand, with (H) for already had & (B) for had to buy:
1 qty – 3/4″ female garden hose to 1/2″ FIP swivel nut (Watts A-660M;SH-1M)(B)
1 qty – 1/2″ x 10″ Galvanized steel nipple (B)
1 qty – 1/2″ FIP x 1/2″ FIP ball valve (H)
1 qty – 1/2″ MIP x 1/2″ female sweat (Nibco 604 Male Adapter Size 1/2″) (B)
1 qty – 1/2″ x 23″ copper pipe scrap (H)
1 qty – 1/2″ 45 degree elbow (Nibco 606 45 elbow Size 1/2″) (B)
1 qty – 1/2″ x 5.75″ copper pipe scrap (H)
1 qty – 1/2″ MIP x 1/2″ female sweat (Nibco 604 Male Adapter) (B)
1 qty – Delta Shower Head (H)
Here are the tools you’ll need to put it together:
-PTFE tape (I’m using Blue Monster now a days, after upgrading from the cheap stuff)
-A couple of wrenches (channel locks, adjustable wrench or monkey wrenches)
-Soldering supplies (flux & brush, emery paper, 1/2″ twisted steel fitting brush, lead-free solder, and a propane torch)
The total cost, including sales tax for all the parts only cost me $9.43. Which is still less then buying a second rate watering wand, since you can get an el-cheapo one for about $8-$9, but it probably won’t last into the second season.
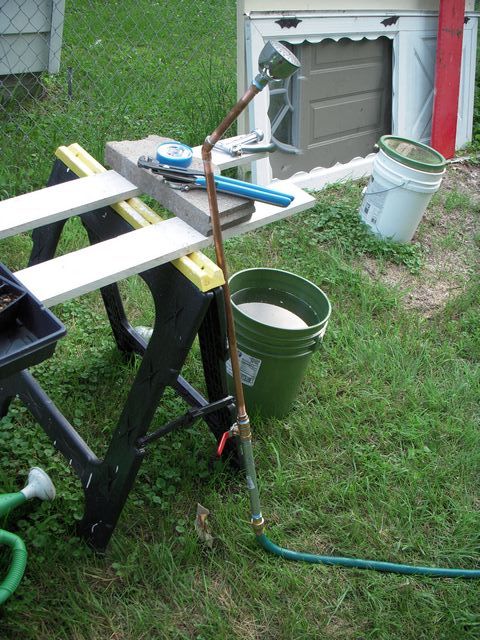
When putting it all together, I spent a little bit of time before hand to get the assembly order correct, so that everything would be straight upon completion, and here is how I did it.
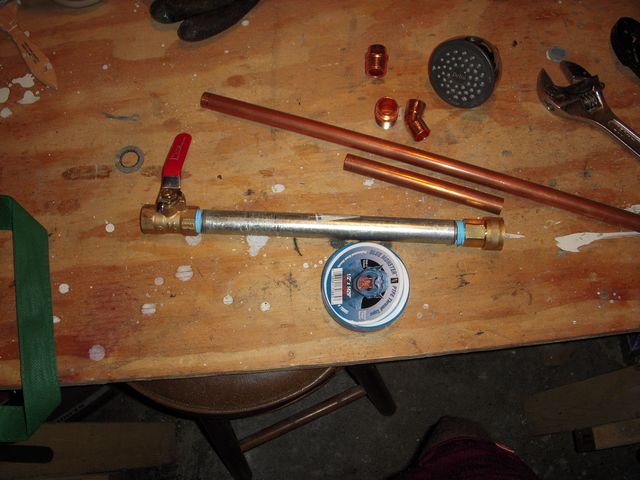
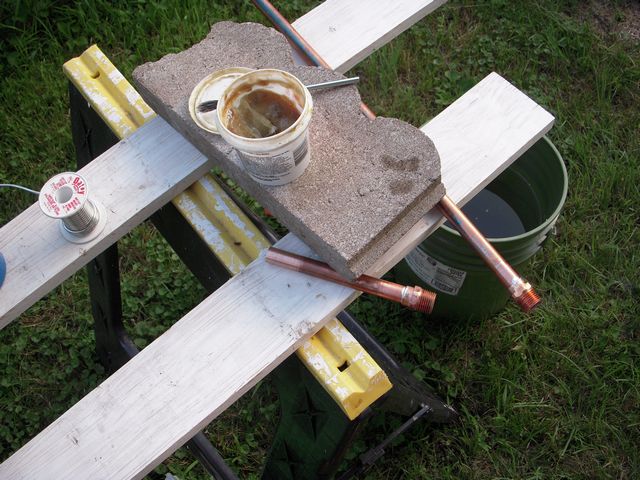
1) Figure out which way you want the ball valve handle to open (toward you or away from you), after you have the valve orientated the right way. Apply PTFE tape to both ends of the galvanized nipple and thread into the ball valve. While on the other end of the galvanized nipple, attach the garden hose adapter. Tighten both connections down as much as possible.
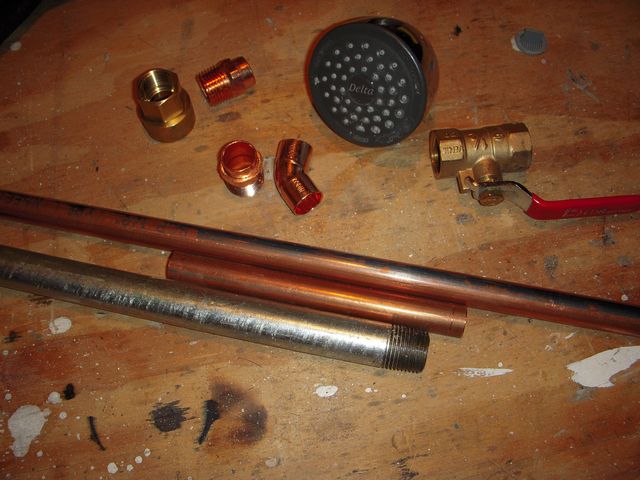
2) Take the two copper pipe pieces, and on one end of each copper nipple. Clean, flux and solder on the Nibco 604 male adaptors. Allow the joints to cool for a couple of minutes.
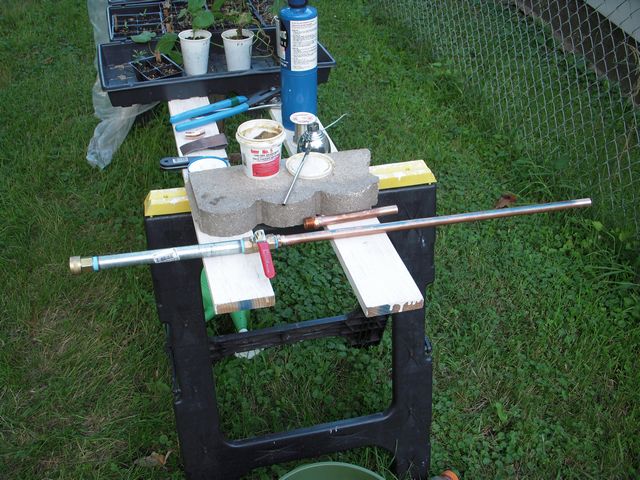
3) After the long copper piece is cool, apply PTFE tape and thread onto the ball valve as tight as possible.
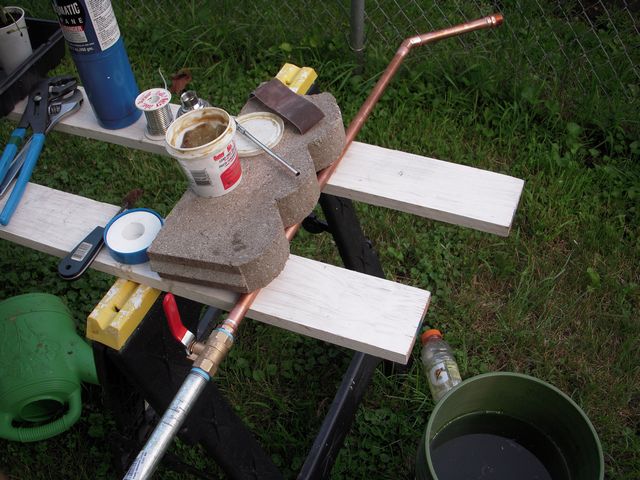
4) Clean and flux the 45 copper elbow as well as both copper nipples from step #2. Put all the copper pieces together and align them so that it is 90 degrees to the ball valve handle. Solder that joint up, and then allow to cool a couple of minutes.
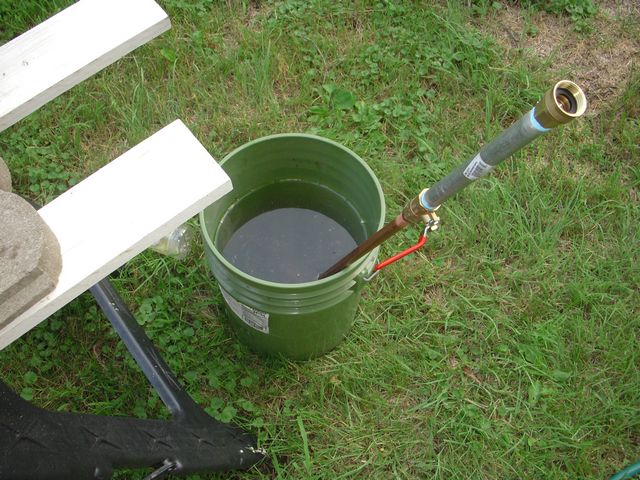
5) Before screwing on the showerhead, connect the wand to the garden hose and run some water through the wand. This will help to clear out any debris that might be inside the wand, especially from the galvanized nipple that will more then likely have thread cutting fluid and chips inside the nipple.
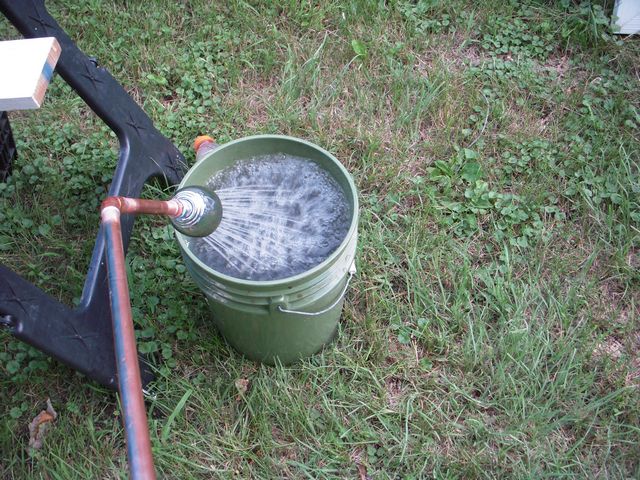
6) After flushing out the wand for a couple of minutes, apply PTFE tape to the end of the angled stub, and screw on the shower head and get busy watering your dying plants.
Well it turns out that I built it none to soon. It was pretty hot in June/July, so I’m glad that I finally bit the bullet and got the wand built. Because if I didn’t build the wand, I would probably have a garden filled with half dead plants.


2 comments on “Showerhead Watering Wand”
thanks….It finally gave me a chance to use up some parts from the different house demo’s.
nice!