So now that this blog and back up and running more or less.
What does the future hold for miiamonthly? Good question. Continue reading
Author: AuSable
Garden Hose repair with PEX fitting
Talk about a screw up my part. I got a little to close with the lawn mower next to the garden hose, and I ended up chopping off part of the male treads on the end of the garden hose. Call it an accidental circumcision on my part. Continue reading
Construction next door to my house
Side Note – March 9, 2012: This was supposed to be posted about 9 months ago, so I haven’t bothered to change the tense in the wording below. Also as of this date, there still aren’t any planters.
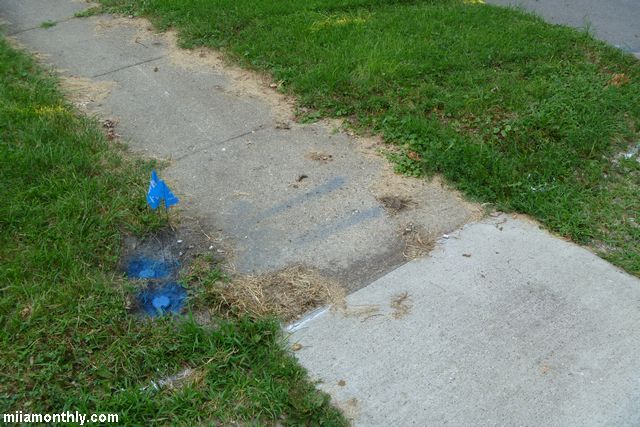
So here is a totally random occurrence. My neighbor was down in his basement, and he heard a hissing noise coming from the water meter area. It turns out that the galvanized pipe that brings water into his house was corroded at the shutoff valve and slowly leaking. A plumber was called in, to diagnose the situation and as soon as the plumber touched the pipe, it starting gushing water (so typical).
With water rushing into his basement, my neighbor called up the water company, to hurry up and shut off his water, so that his basement doesn’t flood. The water works ended up coming out and shutting off the water. With the final solution being, that he needed a new water line run to his house.
I’ve had to replace a water line before at one of my other houses, and it is no fun…… except for the plumber who collects the fee.
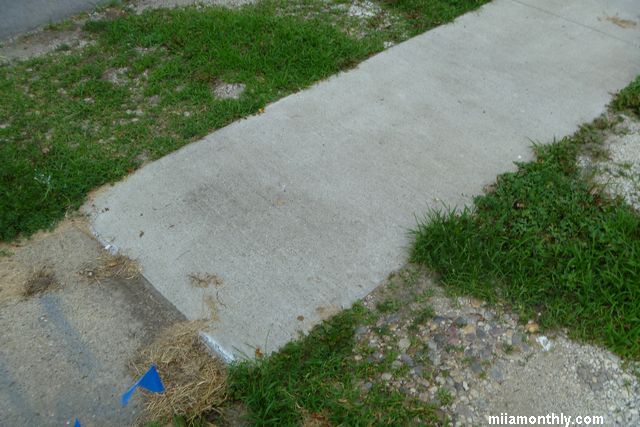
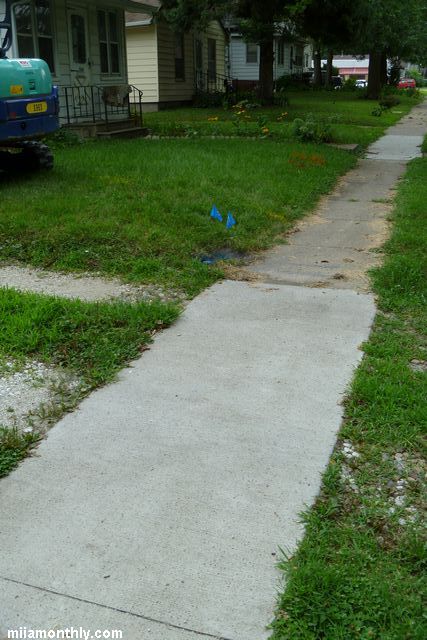
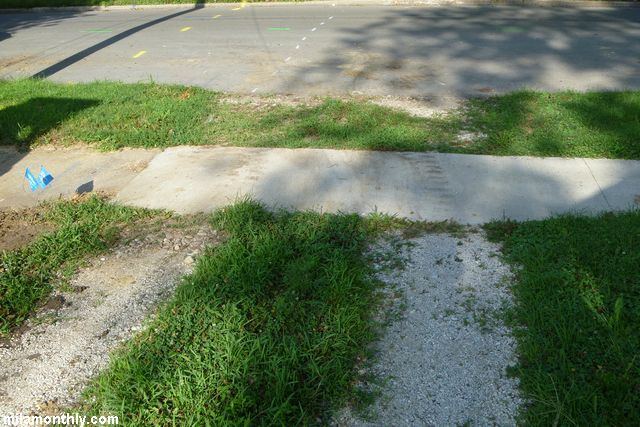
So as you can see from the pictures, they really had to dig up his yard to run the new copper water main. But with a new copper line in place, that will more than likely be the last water line run to that house for at least 100 years.
Below, you can see the different phases of the dig-out, in a little bit of a before and after montage.
And on kind of an interesting side note. When I was taking with my neighbor, he has no plans to replace any of the grass that was torn out. So what is he going to do instead? He said that he was going to put in raised planter beds for a vegetable garden on the side of the house. Personally I think that it’s a good idea, we’ll just see if he actually does it.


Harvest IPA – August 2011
Here is the recipe that I came up with, to use the hops harvested from the garden. Since I thought going with more of an IPA style beer would really highlight the fresh hops in the final beer.
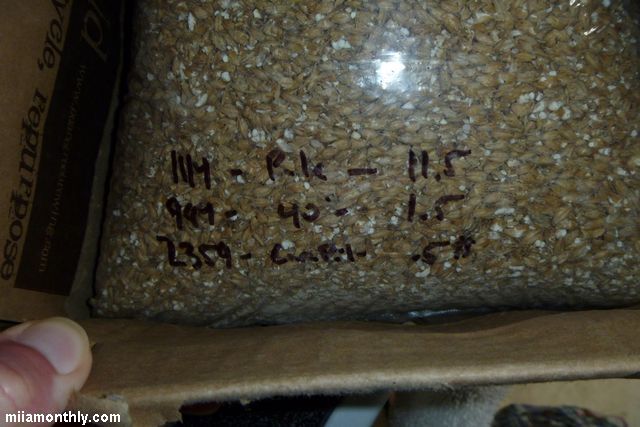
Recipe:
- Pale Malt (2 row) UK – 11.5 lbs
- Caramel/Crystal Malt 40L – 1.5 lbs
- Cara-pils/Dextrin – 0.5 lbs
——
Total 13.5 lbs of grain
Yeast: Wyeast American Ale #1056 smack pack
1 tsp of Irish Moss added 15 mins before chiller was started
2 ½ tsp of Fermax Yeast Nutrient added to the Primary
Hop Additions:
1st addition – Centennial – 1 oz. – 60 mins
2nd addition – Cascade – 1 oz. – 30 mins
3rd addition – Centennial – 4 oz. Fresh – Secondary fermentor
6 gallons with O.G. of 1.046
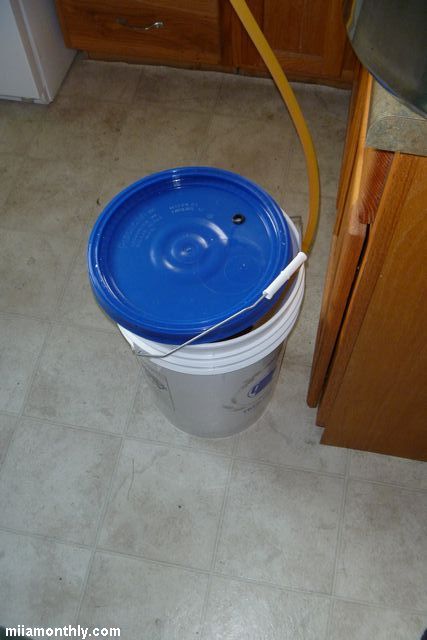
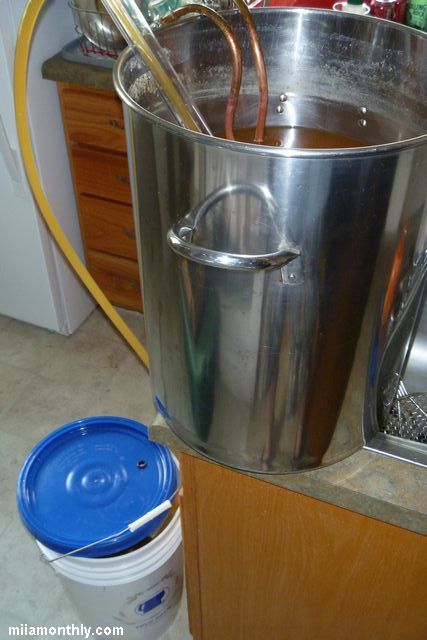
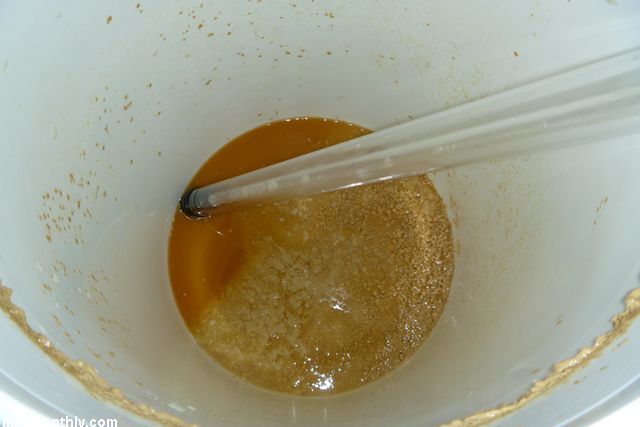
In the primary for 7 days at which point it had a gravity of 1.022. Racked the batch to a secondary, and added 4 ounces of the fresh centennial hops. I then let in sit in the secondary for just a week short of two months. F.G. 1.012 and it was kegged and bottled (into about a half dozen bottles.) on October 7th, 2011.
Update January 10, 2012: Having now had a few pints from the keg (which I forced carbonated), I have to say that this is best beer that I’ve brewed to date. Is the beer a bit hoppy? You bet, but it’s not like I was surprised, since I did used 6 ounces (2 oz dried/4 oz fresh) of hops in the batch for a total IBU of ~63. My only gripe is that my brewhouse efficiency still totally sucks at the 60% range, which is a sorry state of affairs. But at this point, it’s just the cost of doing business for me.


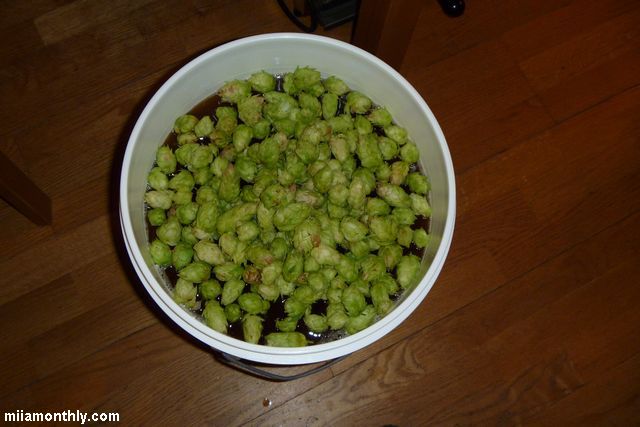
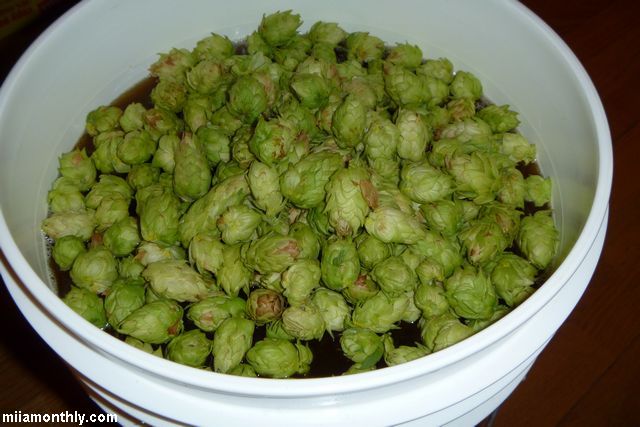


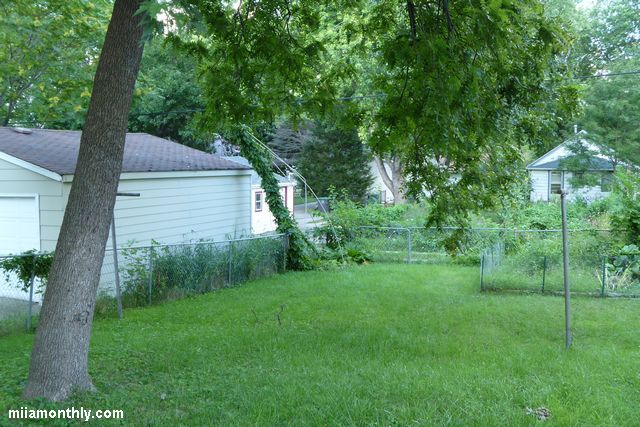
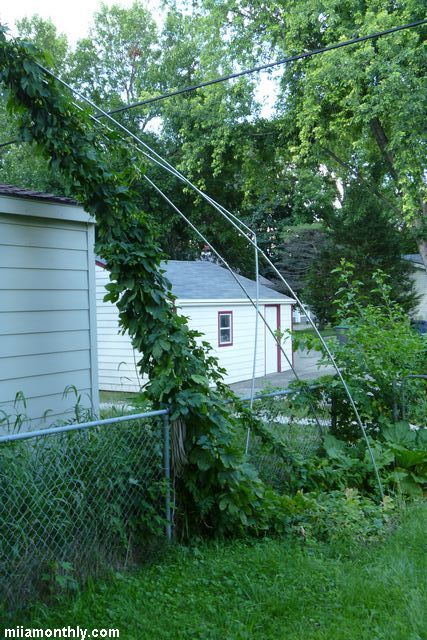
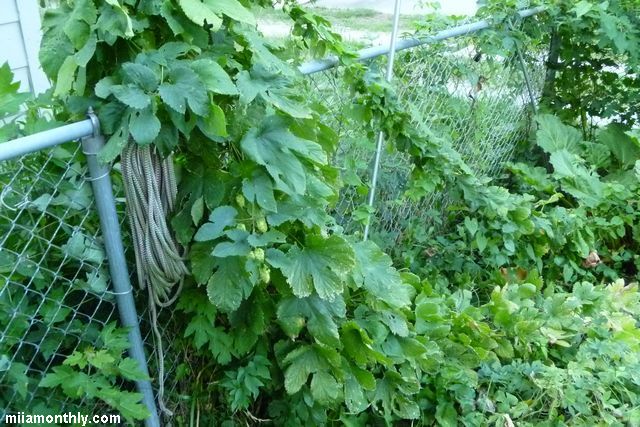
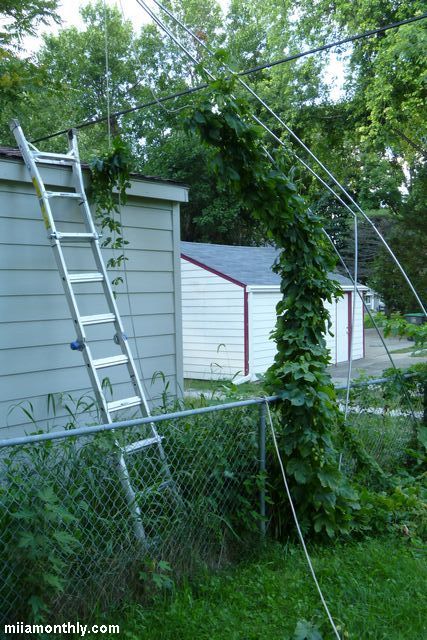
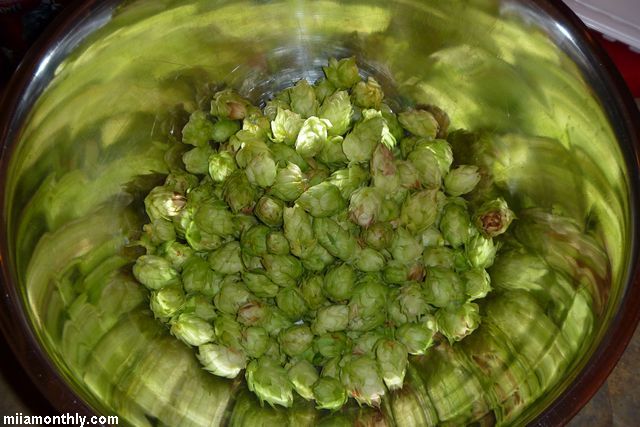
Hop Harvest and Drying Process 2011
Once again the centennial hop plant has produced enough of a cone crop to use in a batch of homebrew. Check out the article on the Harvest IPA that I made, for more details on the homebrew batch.
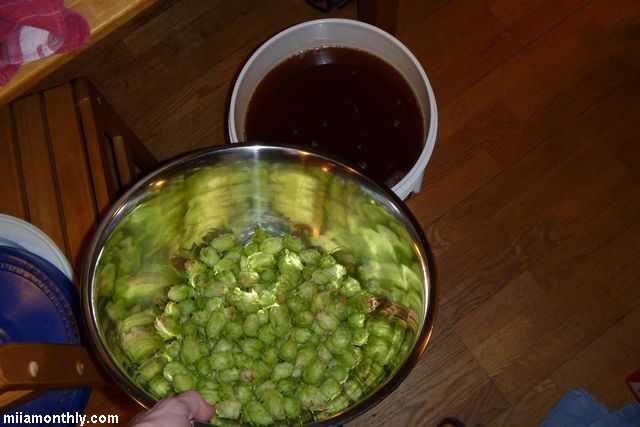
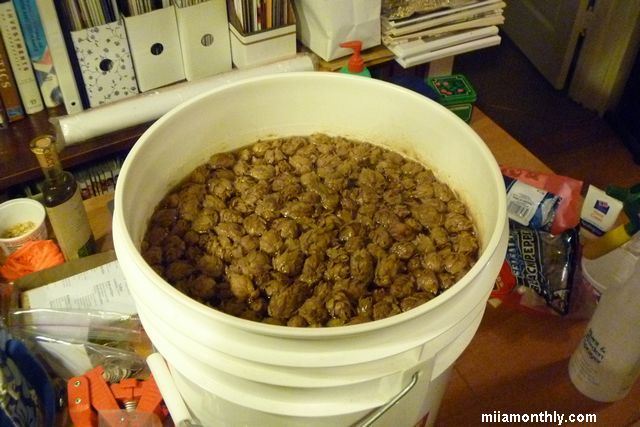
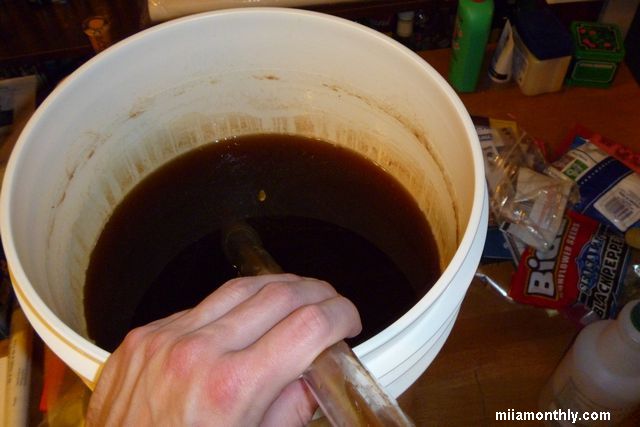
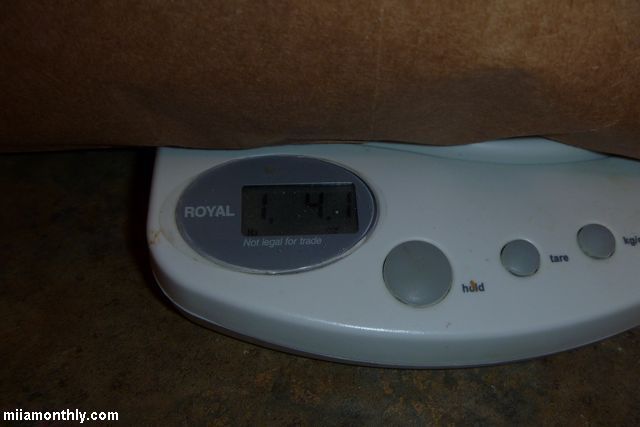
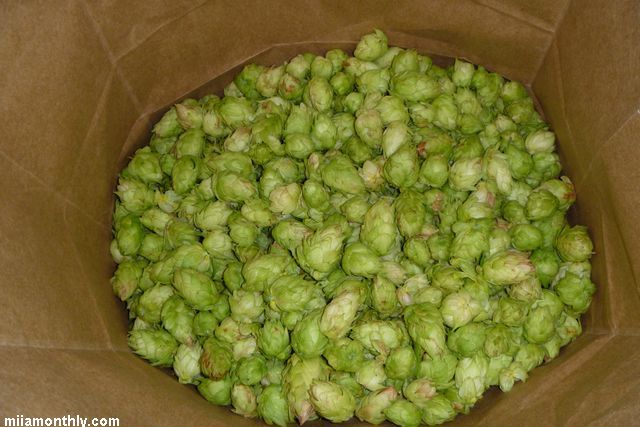
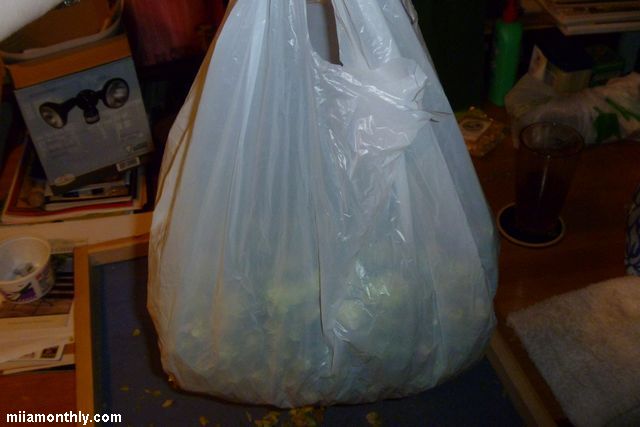
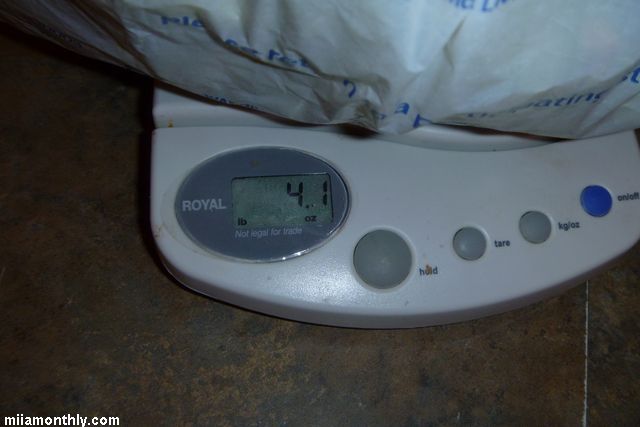
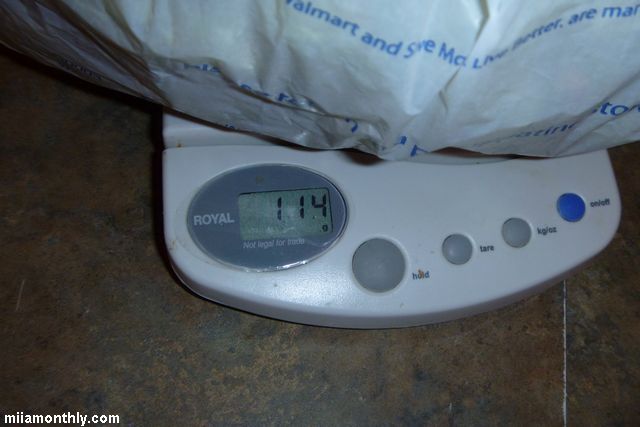
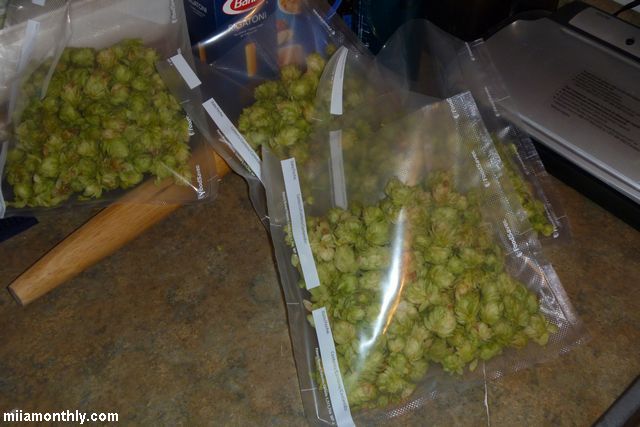
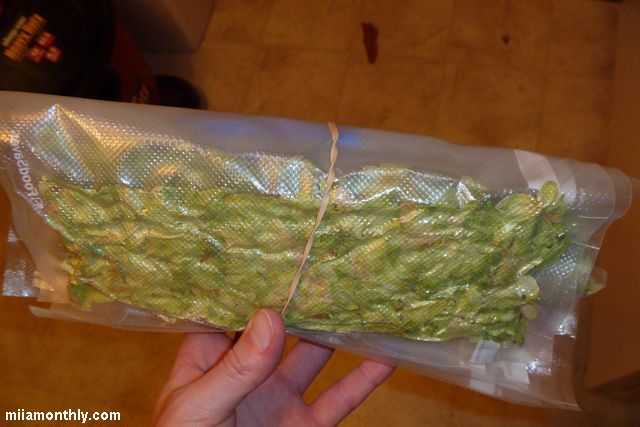
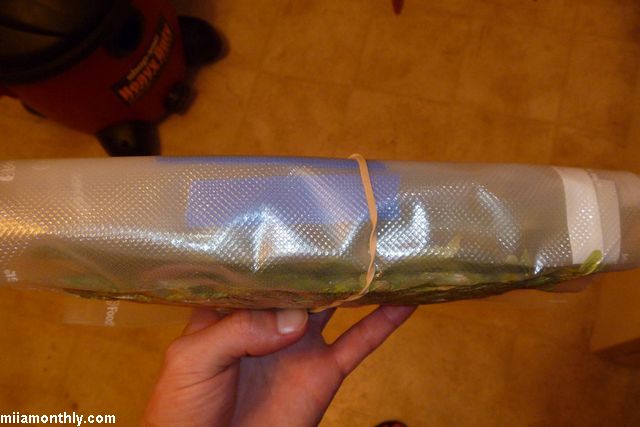
But after all the picking was done, I had 1 lb and 4 ounces of fresh centennial cones to use however I choose. I used 4 oz of fresh hops to add to the secondary fermentor of the Harvest IPA. While the rest of the cones were placed on drying frames in the basement, and left to dry for about three days.
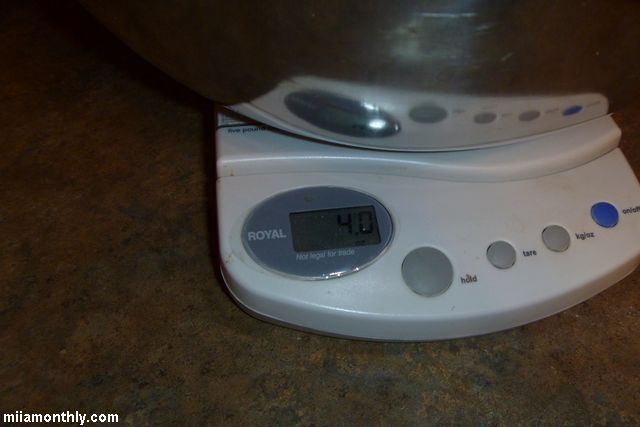
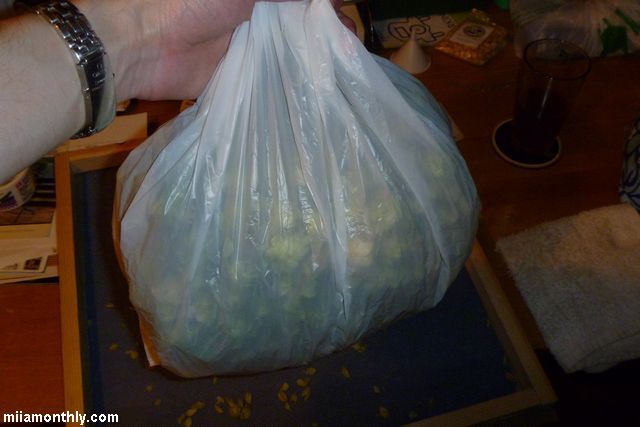
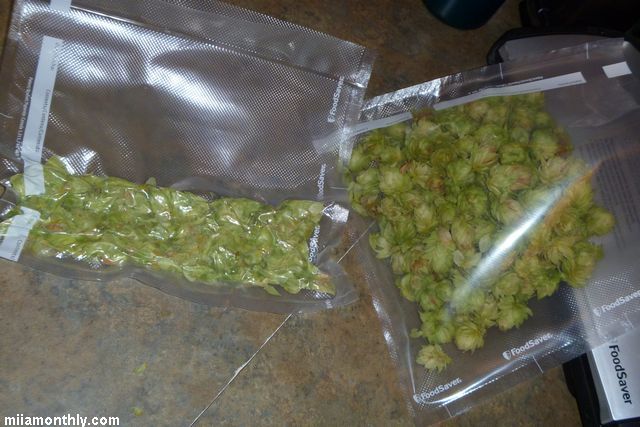
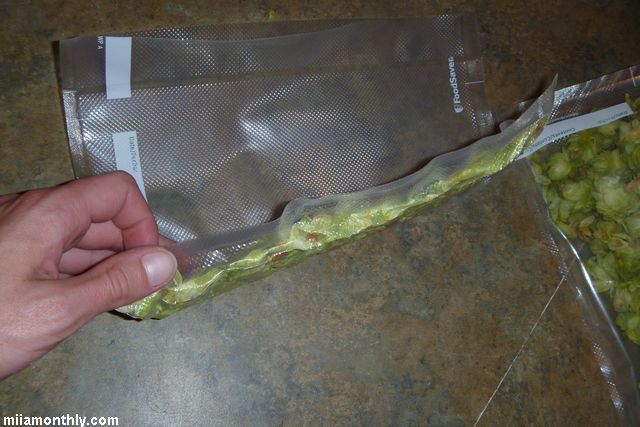
After the three days had passed, what started as 16 ounces of fresh hops became 4 ounces of dried hop cones. Talk about a loss in water weight! And of those four ounces, I divided them up into one ounces packets and vacuum sealed all four of them. And with the cones vacuum sealed, they’ll be sitting in the kegerator until I brew up another batch of beer in 2012.


New Year’s Dinner 2012
When I went to Baltimore for New Years a few weeks back, I hadn’t planned on having to do any cooking while on vacation. But as they say “duty calls”. So on New Year’s Eve I went on a trip to Wegmans out in Hunt Valley, MD with Boxcar to pick up all the main ingredients to make dinner on New Year’s Eve. As kind of a side note, I had never been to a Wegmans before that day, but I have to say, it was a pretty nice grocery store. So without further to do, here was the menu for New Year’s Eve from a couple of weeks back:
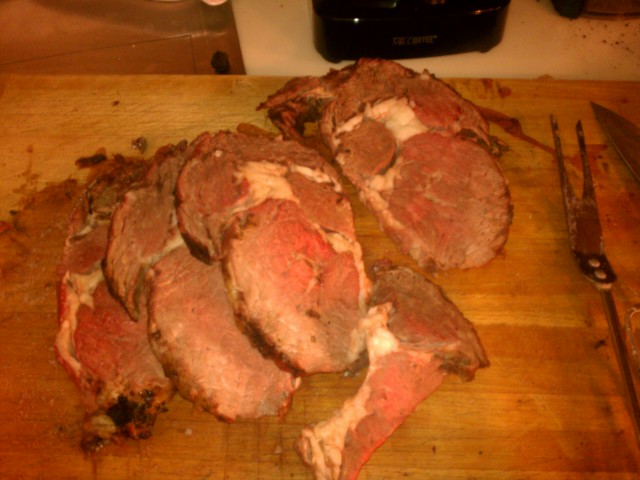
- A four-bone beef rib roast (~10lbs) paired with a cilantro chimichurri (or you can call it a salsa verde)
- Double baked potato skins
- Baked broccoli, with Italian breadcrumbs and cheddar cheese
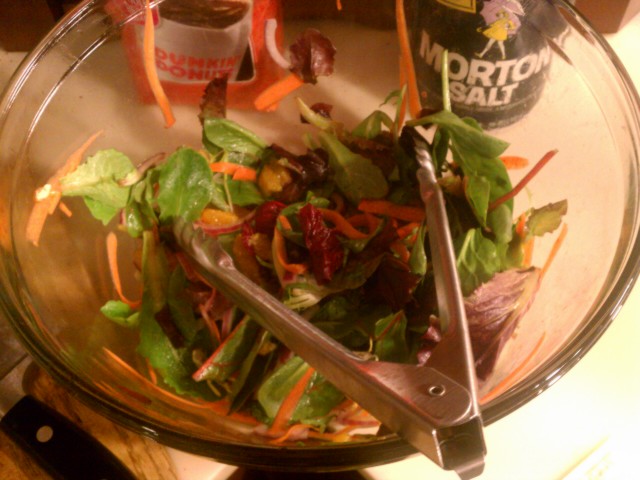
- Spring greens salad mix with raspberry vinaigrette and tangerine segments.
The protein was originally supposed to be a beef tenderloin, but when we got a Wegmans the tenderloin wasn’t looking so hot. But the beef rib roast on the other hand was much better looking, plus it was going to be large enough to feed the ever expanding dinner guest list. Because what started as dinner for ~8, ended up being dinner for ~13. But in the end, this four bone roast was enough to feed the crowd, with enough leftovers for breakfast in the morning. As far as cooking method goes, instead of cooking the rib roast in the oven, we grilled it outside on a gas grill. It ended up taking about 2 hrs of cooking time to get the roast to about medium/medium-rare. And with the taper of the meat, people that wanted more well done, were able to get what they wanted, along with the people that were looking more for a medium rare slice of beef.
As of the “sauce”, it was something that was fresh in my mind. Since I was just in Washington DC with the posse for sight seeing on Friday the 30th. And when we got into DC, we had lunch at José Andrés’ Oyamel Cocina (which by the way was a very good eatery), and one of the small plates that we ordered for lunch was Costilla de res con salsa verde (Beef short ribs with a tangy green sauce of cilantro, parsley and garlic). Let me tell you, this dish was awesome, the short rib was fork tender and the salsa verde went great with it. So with the salsa verde still stuck in my head from Friday’s lunch. When Big Red mentioned that he didn’t have any use for the remaining cilantro from his guacamole, the salsa verde popped into my head. The rough recipe that I came up with for the salsa verde was half of bunch of cilantro (finely chopped), about 2 tsp of horseradish, ½ a lime, and some olive oil. This salsa verde ended up being an excellent condiment to the beef.
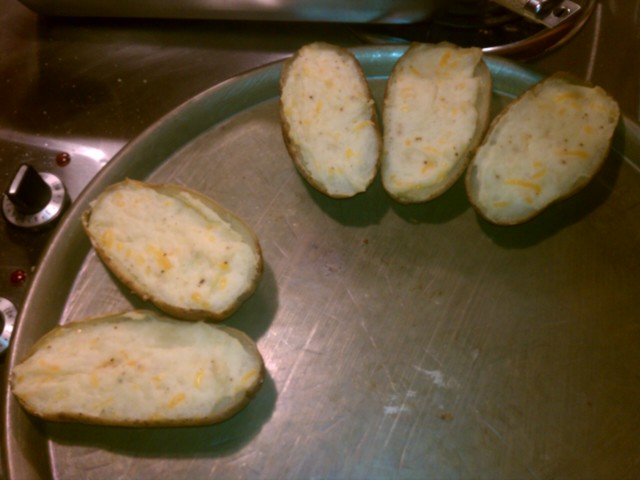
For a starch, we went with double baked potatoes, as this was a request from Boxcar, so I made it work. I started with 8 baking potatoes that I scrubbed and baked in the oven at around 375F for about an hour and a half until tender to the touch. From there the potatoes where cut in half length-wise, the insides scooped out and placed into a small pot. Then all the insides were mashed with milk, butter, olive oil, cheddar cheese, salt and pepper, and spooned back into the hollowed skins. I then popped the skins back in the oven at ~350F to bake while working on the rest of dinner.
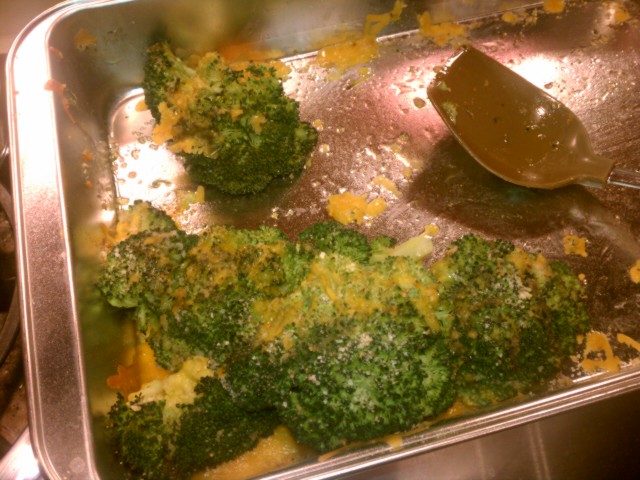
The broccoli I was on the fence about, since I really don’t eat that much broccoli, but it was another request from Boxcar, so I made it work. Personally I think that plain steamed broccoli is boring to eat, and boring to look at. So when I was in the shower the morning of New Year’s Eve I rolled around the idea of doing something different to jazz things up. So what I came up with was to first par blanch the broccoli (about 3 mins in boiling water), then adding it to a Pyrex dish with Italian breadcrumbs and cheddar cheese and baking it in the oven at the same time as the potato skins. The baking took care of a couple of tasks for this dish: 1) It will finish cooking the broccoli so that it is still firm but not a pile of mush and 2) it will brown up the breadcrumbs and melt the cheese.
Last up was the salad, which really took nothing to put together. Since all the salad was, was two bags of pre-washed spring mix greens, two carrots shredded with a peeler, a quarter of a finely chopped red onion, Wegmans own raspberry vinaigrette and four tangerines that were peeled and cut into segments. Then I just tossed it all together and served.
In total about 3 hours of cooking/kitchen time from about 5pm to ~8pm when dinner was served. There weren’t very many leftovers after dinner, so I’ll take that as a sign that people enjoyed the dinner.
Attached are some pics from my cell phone that I took that night.

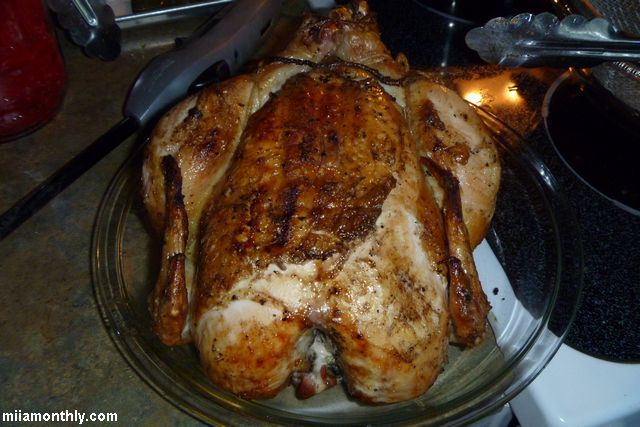
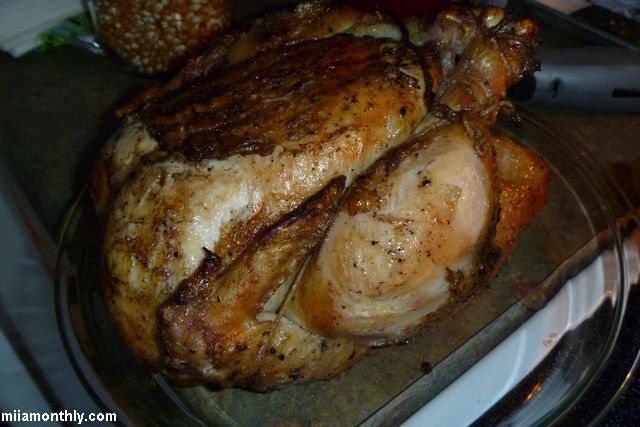
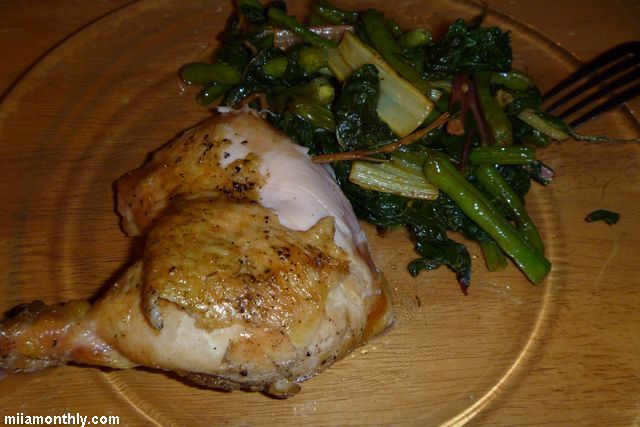
Grilled Whole Chicken & Shiracha Swiss Chard
Editors Note: This should have been posted about 6 months ago. But better late than never.
Whole chickens were on sale at the grocery store for $0.69 a lb. So I thought that it was high time to make a roasted chicken on the grill.
The cooking time couldn’t be simpler for this dirty bird. With the bird directly over the coals, grill 8 mins on breast side, flip, than 8 mins on the back side, finally another 2 mins on each side of the bird (20 mins total.) Then move to the cool side of the grill, with the breasts facing the coals. And let it go for 30-40 mins, until the bird is at 160F.
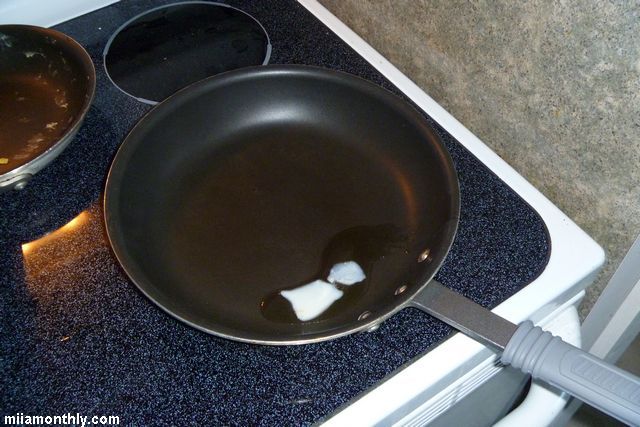
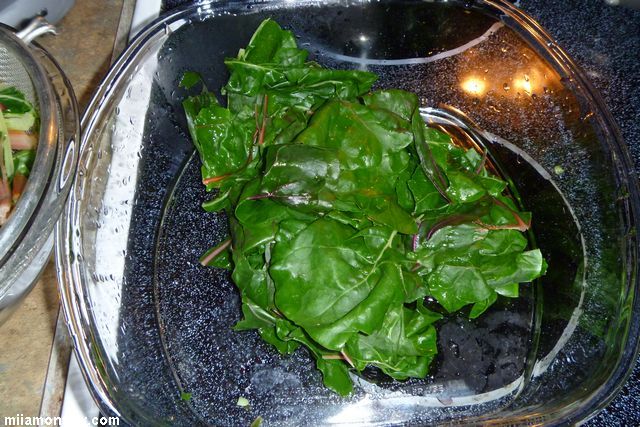
As for the swiss chard, my crop of swiss chard was a total disaster this year. So I ended up having to bum some swiss chard from my farmer neighbor. As for cooking method, I lightly blanched the swiss chard, along with some green beans for a couple of minutes. And then in a frying pan with a with a little bit of bacon fat, I sautéed the swiss chard and green beans until golden. And then at the end, I gave it a couple of squirts of sriracha for some heat. I might have added just a little too much sriracha (as you can tell from the pics), but I like it hot. Thought it could of used some kind of crunch in the mix, maybe french fried onions or breadcrumbs. But I consider a missing crunch, only a minor detail.


MIIA has been MIA
It’s been close to four months since my last post. Unfortunately my life has been very hectic since about mid-July, with side projects and general work stuff. I’ve got some new posts lined for after the new year. So I’ll see you in 2012.
Iowa State Fair 2011 – Oenology Competition Results
Well I just received my scoring sheets in the mail on Friday from the Iowa State Fair, and I have some very good news. My final judging scores were high enough that I received two bronze and one silver ribbon from the state fair.
And in reading the scoring sheets, the most surprising thing that I noticed was that the cider that I thought was the worst of the bunch, which was the one that used the Lalvin yeast scored the highest of the three entries that I submitted, winning a silver ribbon. While the cider that used the Premier Cuvee yeast scored the lowest of the three, which I thought was the best of the three. So go figure. But this is most certainly motivation for next year, to work on my brewing techniques.
So here is the breakdown of the final scoring:
21A – Vegetable Beer – Pumpkin Ale – Final Score: 29.5/50
27A – Common Cider – Final Score: 28.5/50
Yeast: Premier Cuvee
27B – English Cider – Final Score: 37/50
Yeast: Lalvin 71B-1122


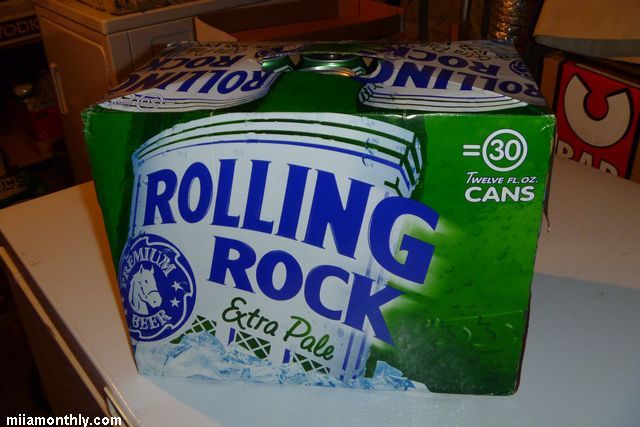
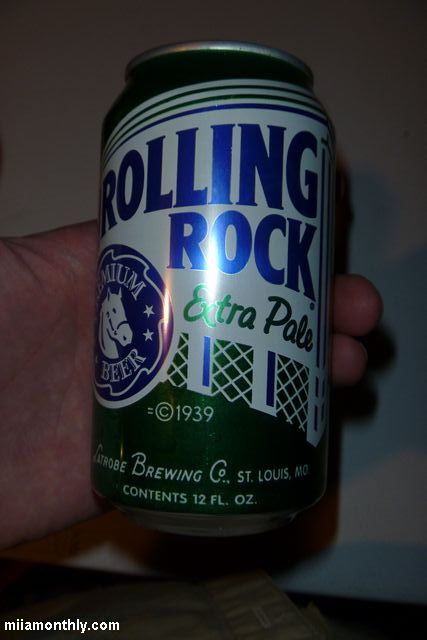
Rolling Rock in Cans!
Seeing how my last post was all about beer, let’s talk some more about beer. And with it being the middle of the dog days of summer, its time for me to partake in my favorite American summer time beer, that being Rolling Rock beer.
Yes, I know that Rolling Rock is no longer an independent company every since it was gobbled up years ago by Anheuser Busch (so sad). In the beer wars, I’m a Miller kind of guy, but when it comes to Rolling Rock, I’m not that much of a partisan ideologue that I’m going to stop drinking Rolling Rock and give up my summer beer.
With that said, each week I’ve usually been picking up a 12 pack of Rolling Rock bottles, to rotate with my homebrew on tap. But at $11.99 a 12 pack, it’s not exactly a good value play, since my usual value play is a 30 pack of Miller High Life cans for $15.99.
So too my utter and complete surprise this past weekend, the grocery store that I go to just north of my house, had 30 packs of Rolling Rock cans for $15.99. Well consider me sold, over and over again!
Since the last time I saw Rolling Rock in a can, was close to a decade ago in Michigan. And even then, it was only an 18 pk of cans, so a 30 pack is like manna from heaven for me. So until the grocery store stops carrying Rolling Rock in a can, the High Life is getting put on the back burner, since I plan on rocking the box of rocks for the rest of the summer.