Talk about a screw up my part. I got a little to close with the lawn mower next to the garden hose, and I ended up chopping off part of the male treads on the end of the garden hose. Call it an accidental circumcision on my part. Continue reading
Tag: water
Making chicken stock – Feb 2011
I haven’t made a chicken stock at home, in at least a couple of years. With the main reason being that I usually just buy chicken stock by the 1 quart carton at Aldi, which covers most of my chicken stock needs. But with chicken bones piling up in the fridge and freezer, it was time to finally bit the bullet and make up a batch of stock.
Personally I’ve gotten to the point where I really don’t even use a recipe when making up a batch of stock, but I do make sure that it always includes the following four items: water, chicken, vegetables, and herbs/spices.
So to break it down even further, here is what I ended up using for this batch of chicken stock:
Chicken:
One whole young chicken cut up into seven pieces (2 breasts, 2 wings, 2 thighs and the spine)
Three Quart sized plastic bags of “chicken bones” (this includes wing tips, leftover skin, breast bones & thigh bones)
Vegetables:
A large handful of frozen parsley stems
A quart sized bag of frozen green onions
One whole head of fresh celery
6-10 large carrots
Spices:
A couple of tablespoons of whole black peppercorns
Four or five Bay Leaves
Four or five cloves of frozen garlic
Liquids:
Enough water to cover all the ingredients by 1″, plus you’ll need to add more water after the first 12 hours of simmering.
Technique:
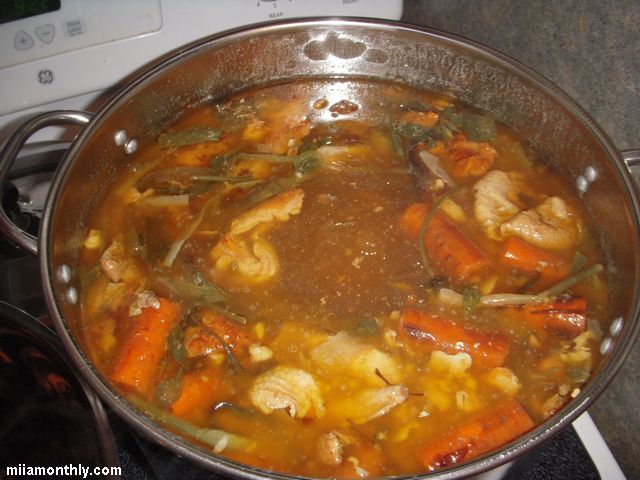
Having assembled all the ingredients, I realized that I needed to use my strike water kettle from my homebrewing set-up to cook this stock, since my 12 quart pot wasn’t going to cut it for all these ingredients. As a side note, since I was using my strike water kettle. I should have heated up the pot and contents on my propane turkey fryer burner, since it would have brought the mixture up to boiling much more rapidly compared to my electric range. But with that lesson out of the way, it’s time for the “boring” part of making stock, which is letting the mixture simmer for as long as possible. So after the stock was brought to a boil, I let is simmer for 24 hours, so that every last bit of flavor was extracted from the ingredients.
And speaking of flavor, I almost forgot to mention a step before the actual boiling/simmering of the stock. Which is roasting all the ingredients under the broiler. Since I had so many ingredients for this stock, I ended up using two half-sized jelly roll pans for all the ingredients (except for the bay & peppercorns.) Make sure to give everything a light coating of olive oil, and then roast the ingredients (turning often) until they are good and browned all around, which should take about 30-60 mins depending on your broiler and the rack setting of your oven.
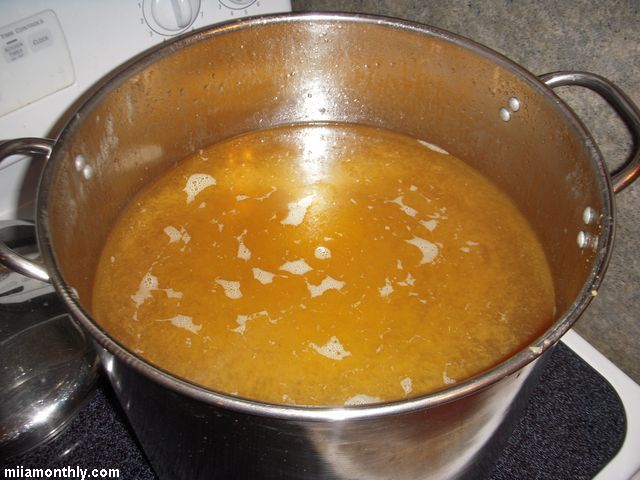
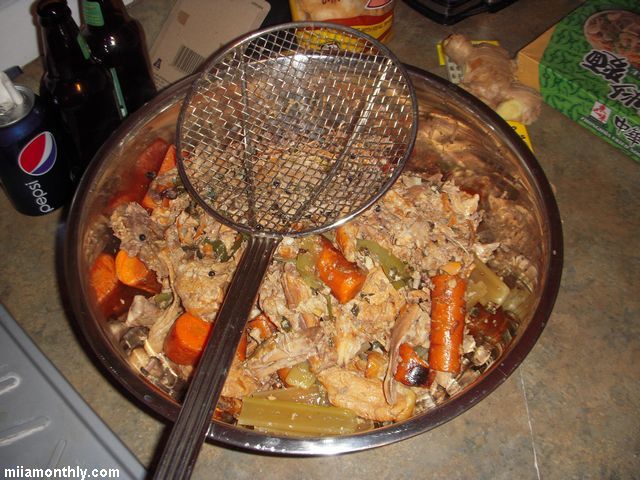
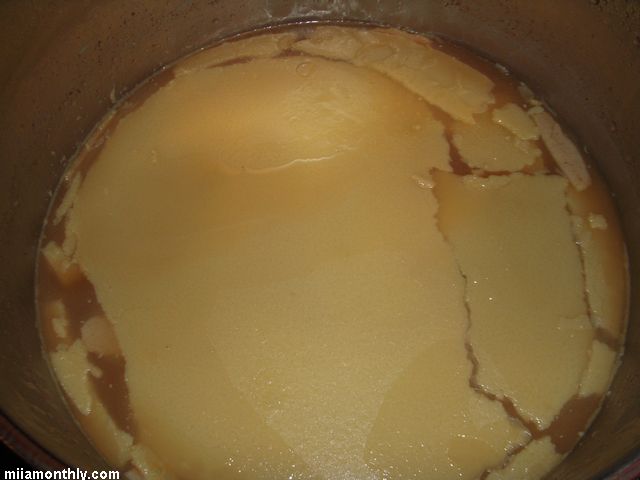
So with the roasting and simmering done, strain out all of the solids from the stock, and chill overnight. The next day, remove the fat cap on the stock, and bring the stock to a full boil, and reduce by about half to concentrate the flavors. And now you have a pot of chicken stock to use for whatever cooking needs you have.

Homemade Tahini recipe – v1
Part of the reason I wanted to try and make my own tahini, was just to see if it could be done. Since really how hard could it be to turn whole sesame seeds into a smooth paste? (see side notes) So with a little bit of searching on the interest, I found three recipes that I could use as a starting point, so here is the recipe that I came up with:
Ingredients & Technique:
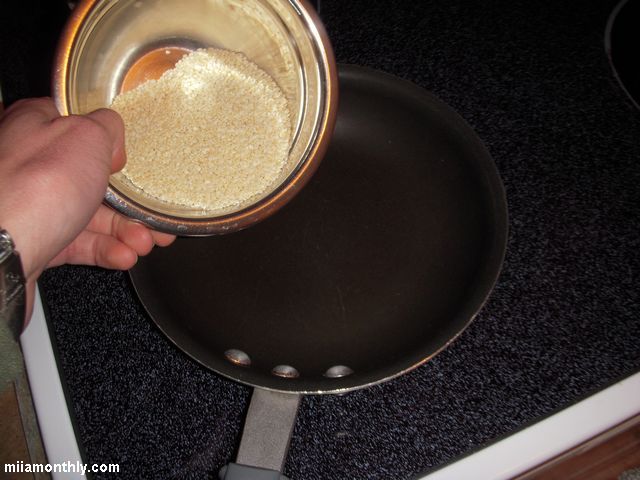
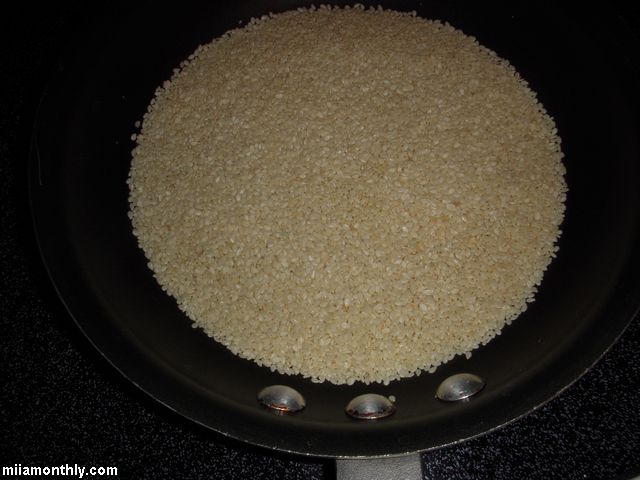
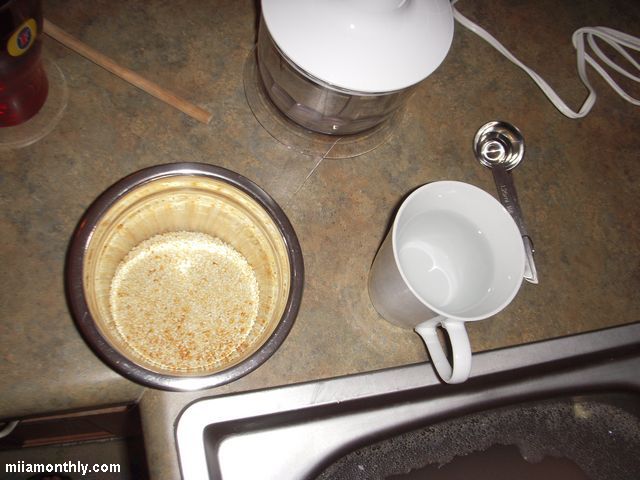
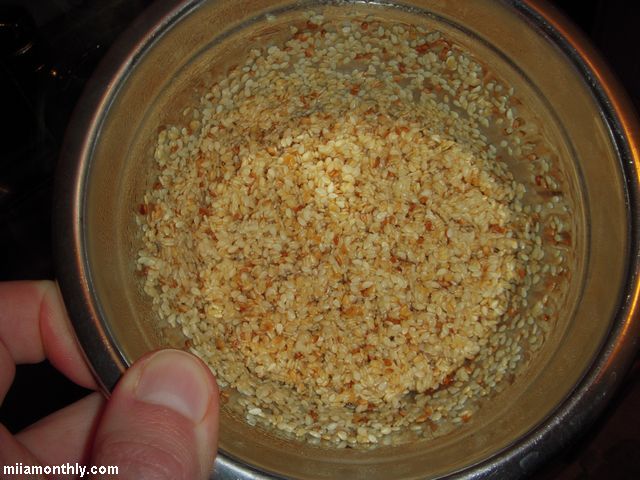
- 1/2 cup of white hulled sesame seeds, lightly toasted in a dry pan
- 10 TB of Warm water
- 4 TB of Vegetable oil
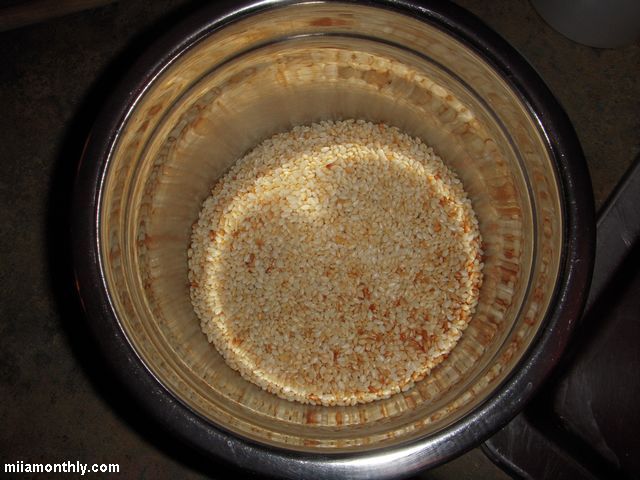
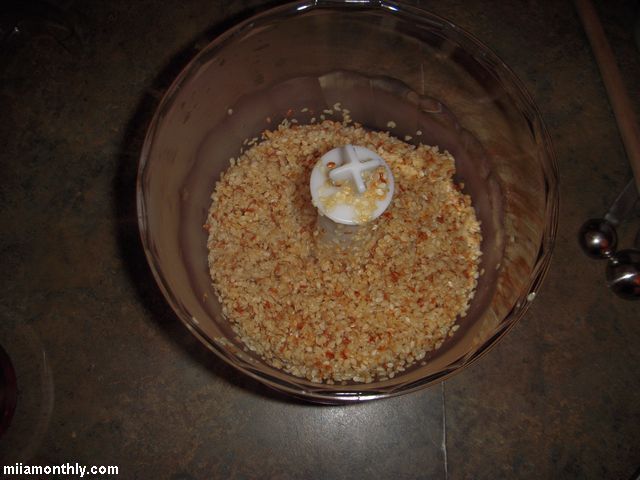
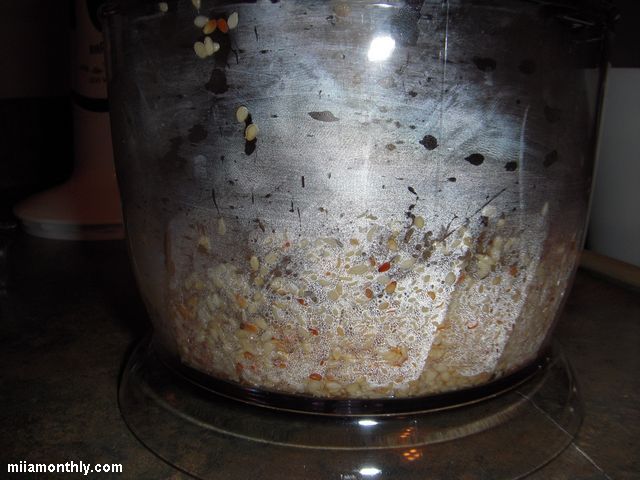
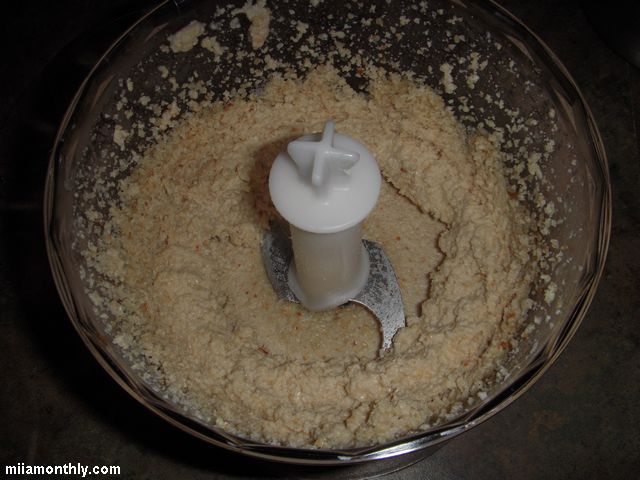
Toast sesame seeds in a dry pan over medium heat for about 5-10 minutes. Allow to cool for about 5 minutes. Then add the sesame seeds, the vegetable oil and the warm water to the food processor and process for about 10 minutes until very smooth.
Side Notes:
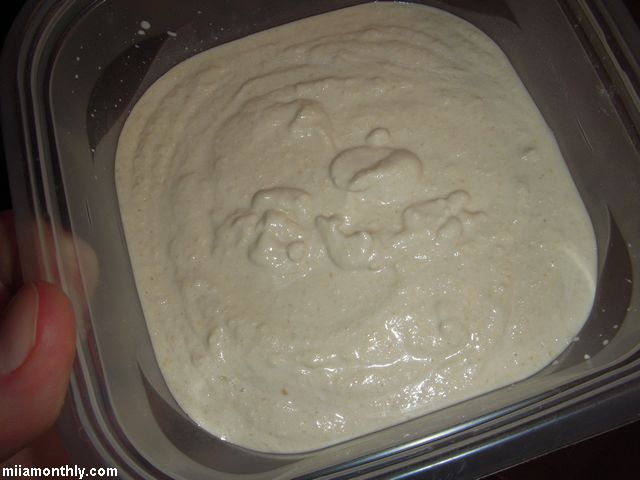
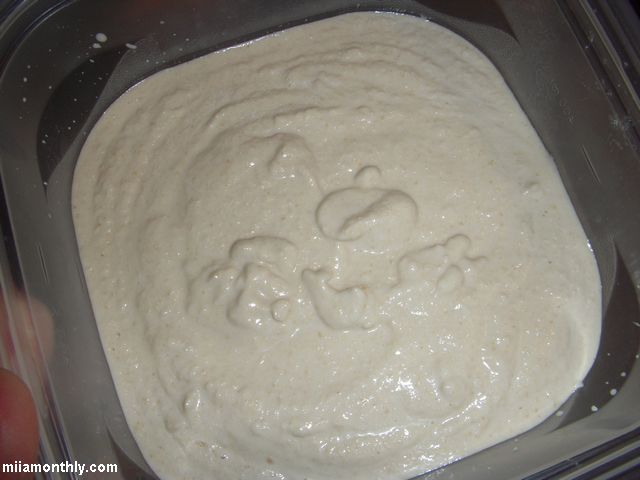
1) On first glance, my version of tahini looks pretty close to the stuff that you get at the store. Though it does look just a little bit less brown in color than the store bought variety. Additional toasting would probably solve this issue.
2) Also this tahini seems thinner than what you would get at the store. So I might need to decrease the amount of water in the recipe, to thicken things up.
3) Here is something funny that I only realized after I finished making the tahini. I had toasted sesame oil in my kitchen cabinet the whole time, but I forget to use it, and used vegetable oil instead. So next time I make tahini I’ll have to use the toasted sesame oil instead of vegetable oil.
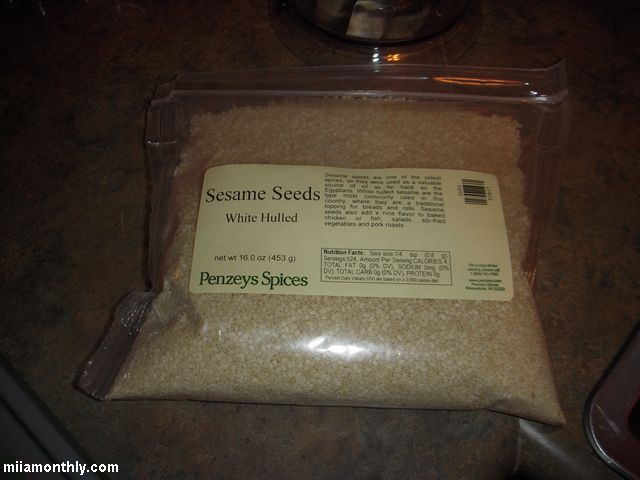
4) Personally I’m on the fence, about making my own tahini again. Yeah it was easy and cheap and it tasted pretty good, but the final product really doesn’t compare to what you would get from the grocery store. But I’m willing to try and make it a couple more, if only to use up the rest of the 1 lb sack of sesame seeds that I picked up at Penzeys for a couple of bucks.
Links:
GroupRecipes – Homemade Tahini Recipe
Suite101 – Make Your Own Tahini Sesame Seed Paste
Food.com – Homemade Tahini


Cream of Carrot Soup – v2
With winter weather basically upon us, its time to start getting into soup & stew mode. So while cooking for a wedding rehearsal dinner last year with JRR & Nook, one of the items that we made was a cream of carrot soup recipe that I found in an old issue of Food & Wine magazine. At first glance the recipe appears to be super easy to make (with only 8 main ingredients), and it also appears that it would be a good base recipe for any kind of cream of vegetable soup, such as broccoli or cauliflower soup. So lets dig in. Continue reading
Canning Homegrown Aji Limon Peppers – October 2010
You might remember these peppers from last year, when I received a random bag of them from my farmer neighbor, which I ended up canning into 2 pints of finished peppers. Well with the saved seeds from last year’s peppers, I was able to grow about 6 plants with varying degree of vigor. But after a roller coaster of a year, that included a freak hailstorm in early spring, as well as an early frost in the beginning of October. I thought that I wouldn’t take any more chances, and process all the ripen peppers before another frost rolled into town. Continue reading
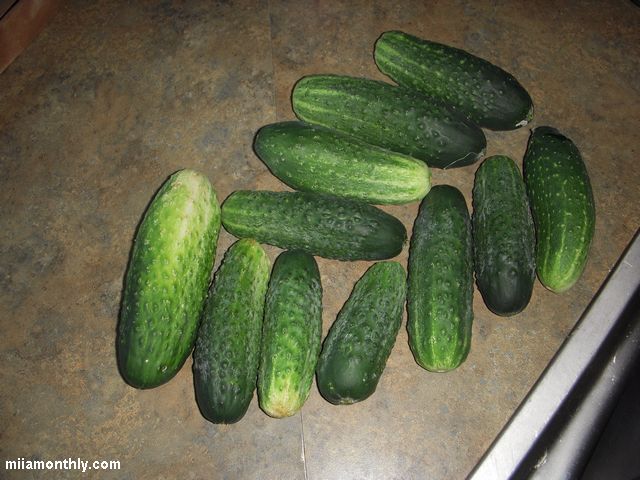
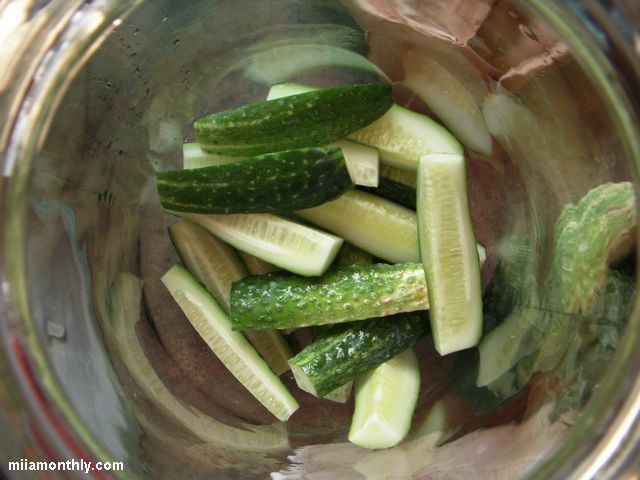
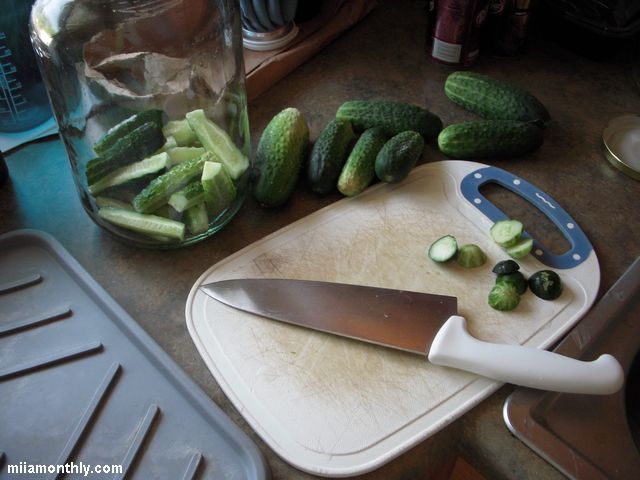
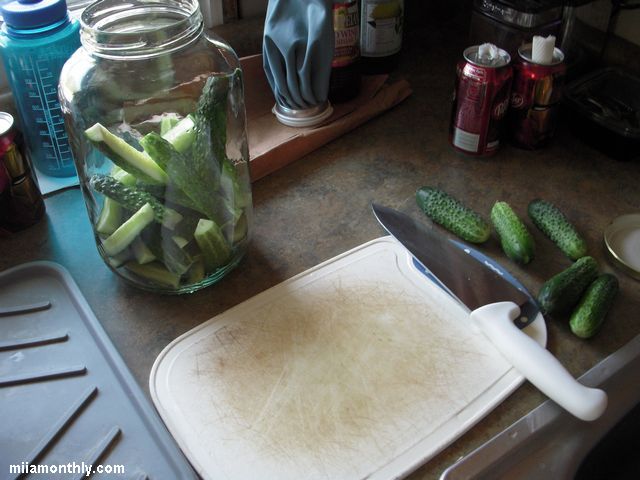
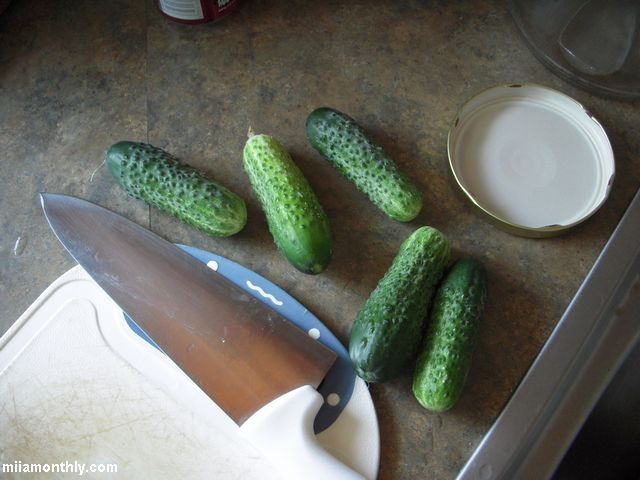
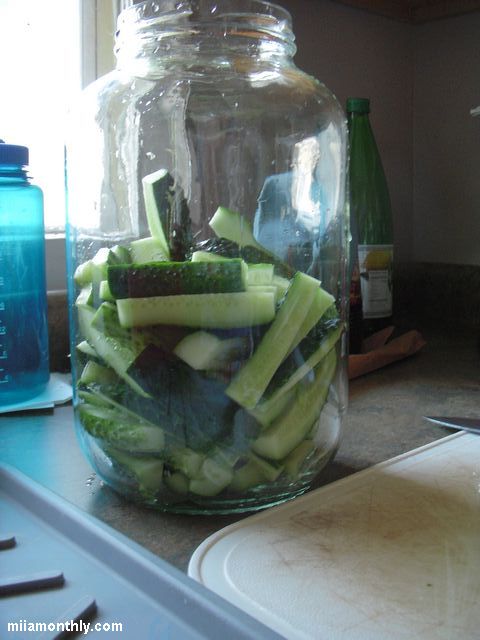
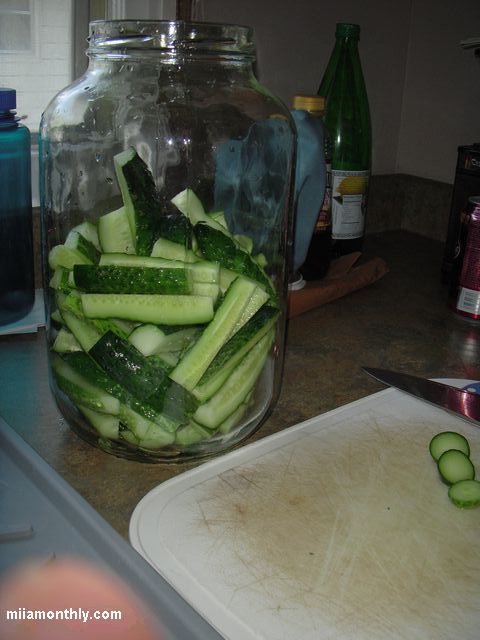
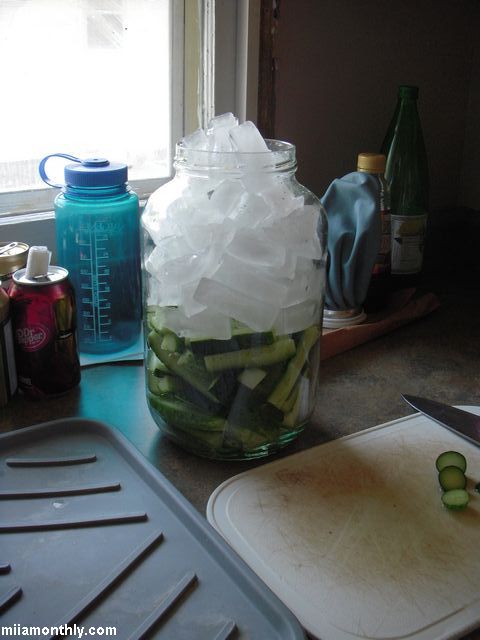
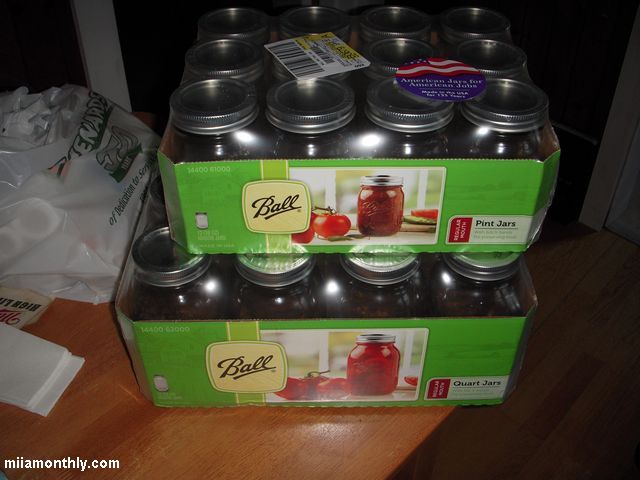
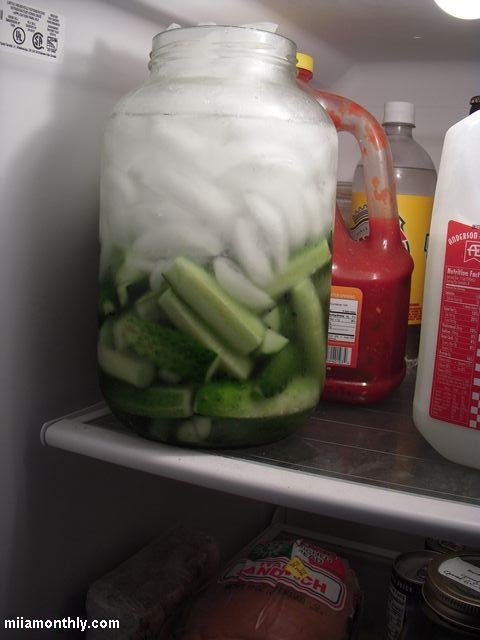
Dill Pickles – Brined – v4 – September 2010
At first I thought that I was going to process all the pickles that I bought at the downtown Farmer’s Market into v2 & v3 pickles. But while processing the ~7lbs of cucumbers for v2 & v3, I thought that I would go a different route and try to make some brine fermented pickles. Years and years ago back in Michigan I tried to make fermented pickles, and the experiment was an utter failure. So now that I’ve got a little bit more canning and homebrewing experience under my belt, I thought that I would give fermented pickles another try. Before this fermented experiment begun, I stopped by the library to pick up a copy of The Joy of Pickling by Linda Ziedrich(not the revised edition), to try and get a base recipe down, as well as some tips and tricks.
Continue reading
Dill Pickles – v2 & v3 – September 2010
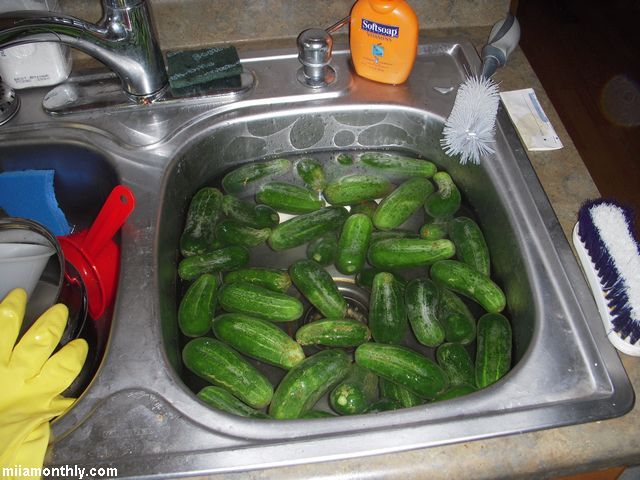
Since the downtown farmer’s market isn’t going to be around for very much longer, I though that I should take advantage of the situation and make some more pickles before the season is over.
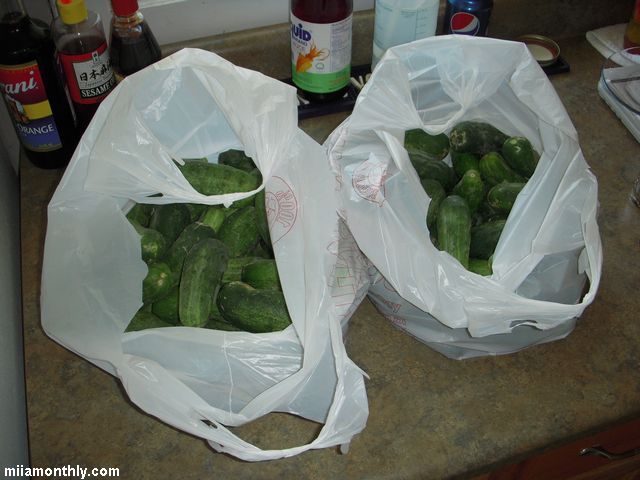
After doing a quick walk around to gauge the prices, I finally found a vendor that was selling 1 1/2 pint containers of pickling cucumbers for $2.00 each. Wanting to get the price even lower, I offer them $15 for 10 containers. We eventually settled on $18 for 10 containers (a $2 total discount). I have a feeling that if I had waited until noon (when the market stops) instead of when I was there at 11am, I could have gotten them for $15.
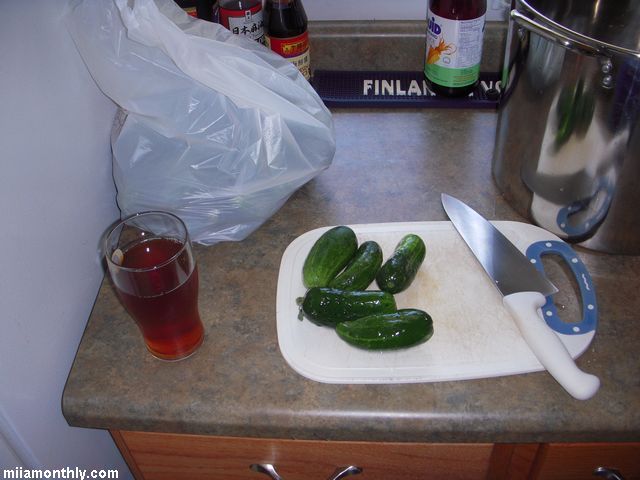
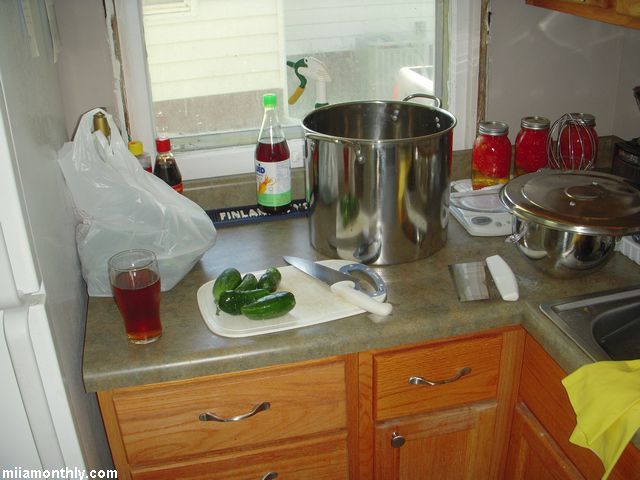
But I still got a hell of a good deal, since the two bags of cucumbers ended up weighing ~15 lbs, so at ~$1.20 lb it was still a great deal. Later on I didn’t realize how much ~15 lbs of cucumbers were until I started to process them. After getting through the first ~7 lb bag, I decided to make the pickles two different ways, fermented/brined and hot processed vinegar pickling (like v1.) Below you’ll see the recipes that I used for versions 2 and 3 of the vinegar pickles. The brined pickles (version 4) will be getting their own separate post.
Version 2.0
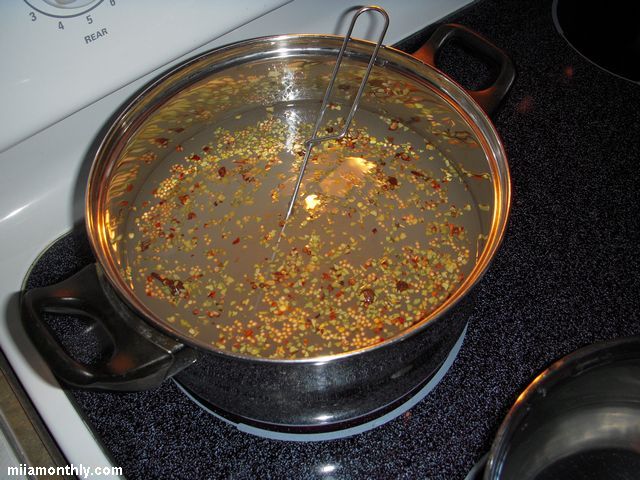
Brine:
(note: less vinegar & more water compared to v1)
- 3.5 cups vinegar
- 4.5 cups water
- 2 TB pickling spice mix
- 1/4 cup white sugar
- 1/2 cup canning salt
Bring Mixture to a boil, then simmer for 15 mins.
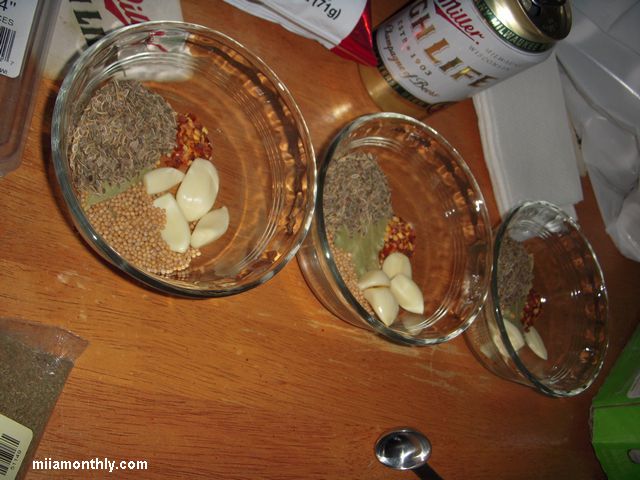
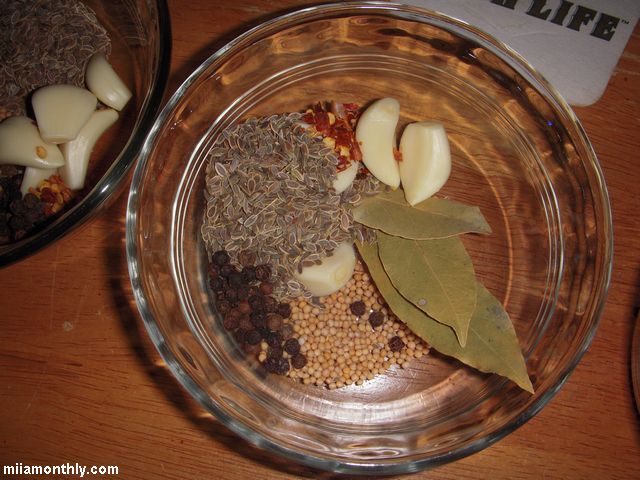
Per quart jar add:
(note: added black peppercorns & celery seeds compared to v1)
- 2 bay leaves
- 4 cloves garlic
- 1/4 tsp red pepper flakes
- 1/2 tsp whole black peppercorns
- 3/4 tsp celery seed
- 2 tsp mustard seed
- 3 tsp Dill seed
Process 15 mins in a boiling water canner
Yield: 3 quart jars
Version 3.0
I had some remaining brine from v2, so I just strained it. I then added 1.5 cups vinegar, 2.5 cups water, 4 TB white sugar, 1/4 cup of salt. This addition was just a little bit short. So I topped off the jars with a mixture of 1/4 cup vinegar & 1/4 cup water.
Brine:
(note: less vinegar & more water, also removed the pickling spice compared to v1 & v2)
- 3 cups vinegar
- 5 cups water
- 1/4 cup white sugar
- 1/2 cup canning salt
Bring Mixture to a boil, then simmer for 15 mins.
Per quart jar add:
(note: increased the red pepper flakes to 1/2 tsp, and increased the celery seed to 1 tsp compared to v2)
- 2 bay leaves
- 4 cloves garlic
- 1/2 tsp red pepper flakes
- 1/2 tsp whole black peppercorns
- 1 tsp celery seed
- 2 tsp mustard seed
- 3 tsp Dill seed
Process 15 mins in a boiling water canner
Yield: 4 quart jars
Side Notes:
1) Add the celery seeds after removing all the air from the jar with the food saver attachment. If you don’t, you’ll end up with a lot of seeds inside the attachment, instead of inside the jar.
2) One of the v3 jars doesn’t have any garlic inside, since I used up the rest of the garlic for the other three jars in v3. This was a one time problem, since I then ended up purchasing a 3 lb jug of peeled garlic.
3) Don’t over fill the jars, since it looks like with v3, I had a bit of a boil over in the canner kettle. Since the water was a little bit green after processing.


Pickled Spicy Beans – v2 & v3 – September 2010
When I saw the Labor Day ad from my local grocery store, it had a sale item that I had to pick-up. And what food item got me so interested, that I had to get it? Why none other then Michigan grown green beans for $0.58 lb. Yes, you read that right $0.58 a pound. And having finally cracked open a jar of the wax beans, and enjoyed the results. I thought that I would give it another try, but with green beans, and also with a couple of recipe modifications. Here are the results: Continue reading
Canning Tomatoes – Fall 2010
This year I’ve eaten more then my fair share of fresh tomatoes from the garden. So instead of letting a lot of tomatoes rot on the vine. I thought that it would be a good time to can all the tomatoes that are currently ripe. So this year, instead of using only “roma” type tomatoes, I’m basically going to be using a blend of all the tomatoes in the garden. Since a few weeks back I used of blend of tomatoes (roma, cherry/grape, heirloom, big boy) to make a quick tomato sauce, and it turned out awesome. Continue reading
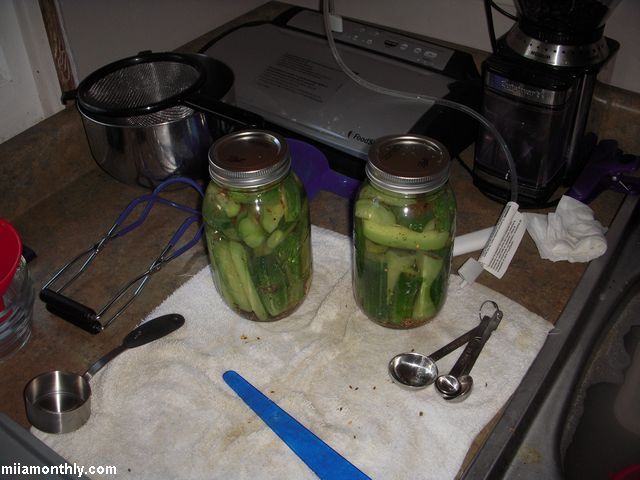
Dill Pickles – v1 – 07/14/2010
And now for the final canning recipe, even though I made these a couple of days before the carrots and beans. I kind of went in a totally different route, in that I didn’t soak the pickle spears in a brine before canning. Since I’ve noticed that all the brine pre-soak does, is make your final product extra salty. So somewhere online, I saw a bunch of tips on soaking the sliced cucumbers in an ice-bath to increase the final pickles “crispness”. But seeing how I only soaked them for an hour before processing, I really don’t know if it added much to the recipe, since most recipes were suggesting a 4 to 5 hour ice bath before processing.
So on to rest of the recipe:
Brine
- 1 qt (4 cups) vinegar
- 1 qt (4 cups) water
- 2 TB pickling mix
- 1/4 cup white sugar
- 1/2 cup canning salt
Bring Mixture to a boil, then simmer for 15 mins.
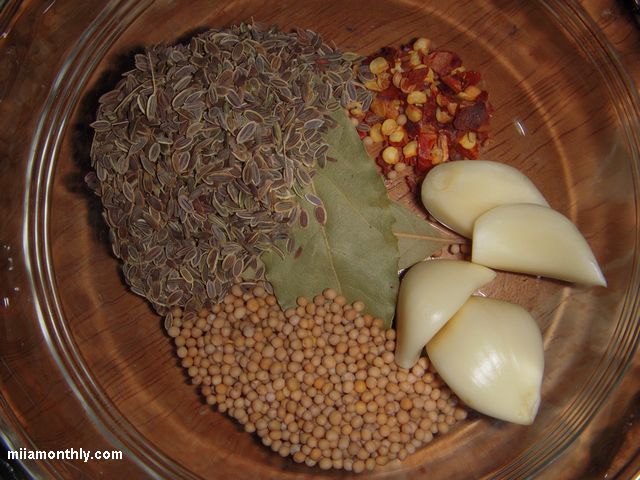
Per quart jar add:
- 2 bay leaves
- 4 cloves garlic
- 1/4 tsp red pepper flakes
- 2 tsp mustard seed
- 3 tsp Dill seed
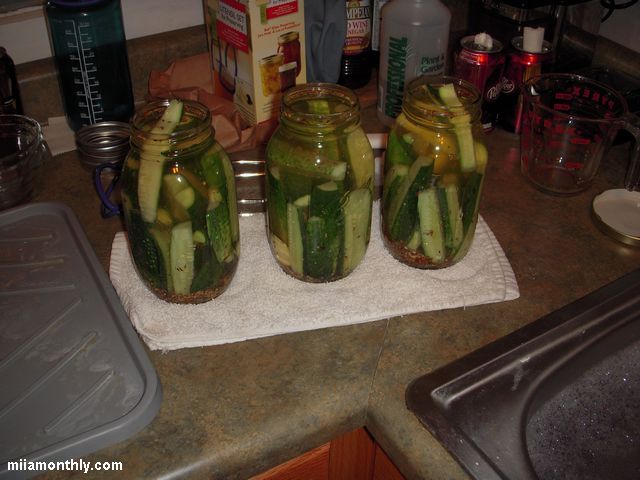
Remember to make sure and use to plastic knife to get out the air bubbles. I also use the mason jar attachment for the food saver to get all the bubbles out.
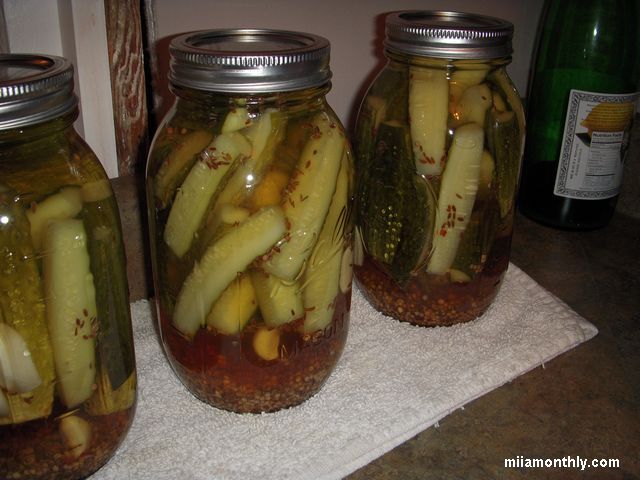
Yield: 3 quart jars
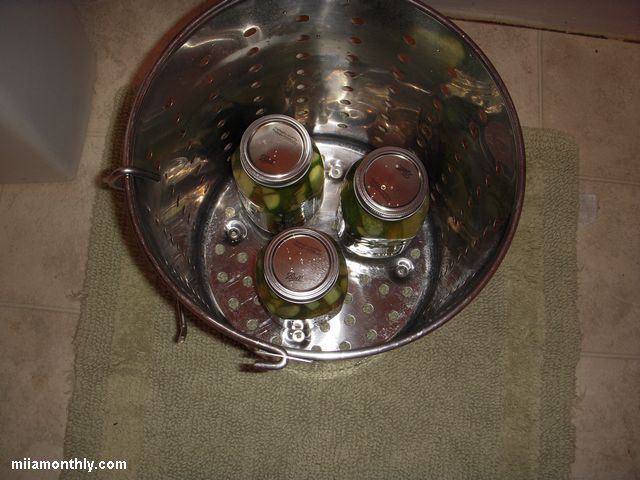
Process 15 mins in a boiling water canner
Side Notes:
1) Since these pickles were the first canning experiment of the year, I forgot a bunch of steps that I would normally do. The big one being to get the air bubbles out the jar before processing. I was lucky that all the jars sealed after processing. But I guess this is what I get for the first canning session of the year.
2) The brine amount in the recipe ended up being the prefect amount for three quart jars, with no waste.
3) Since I forgot to grow fresh dill this year to add to the pickles, I went with dill seed instead.