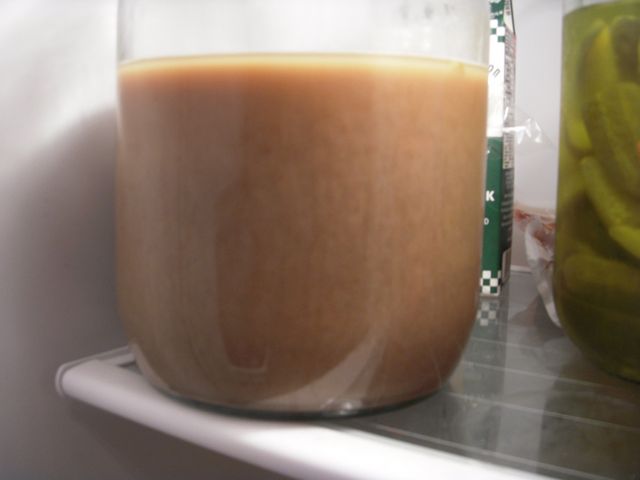
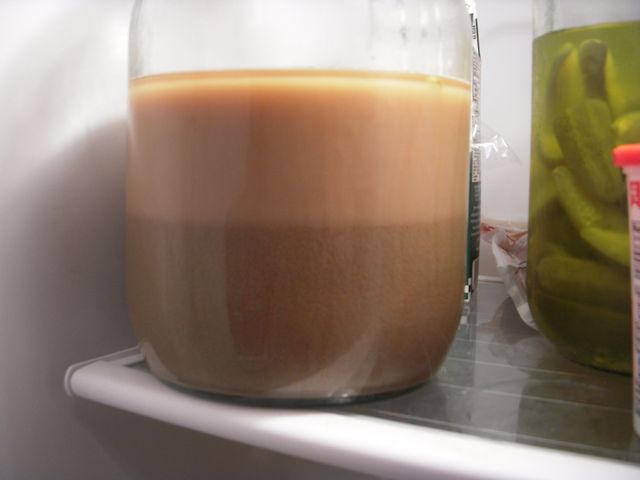
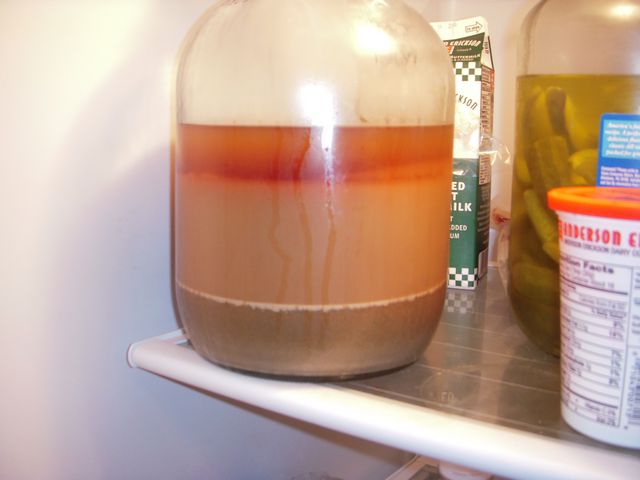
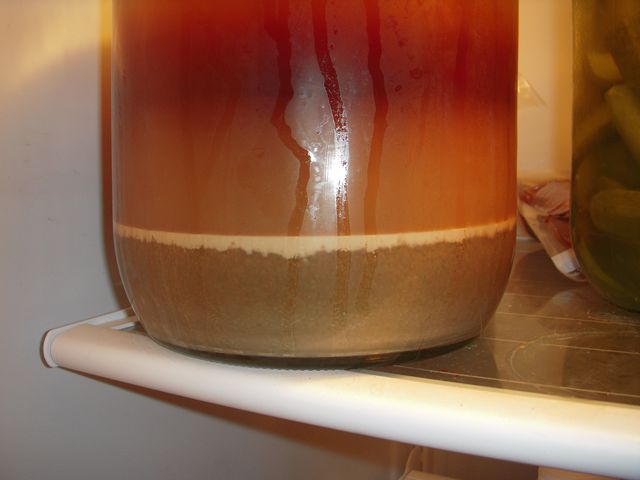
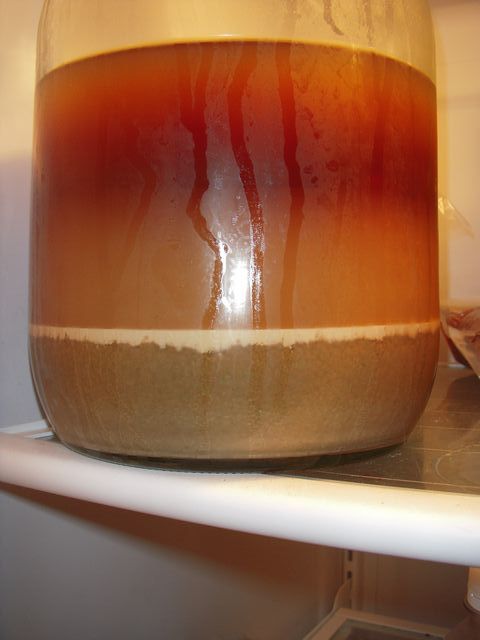
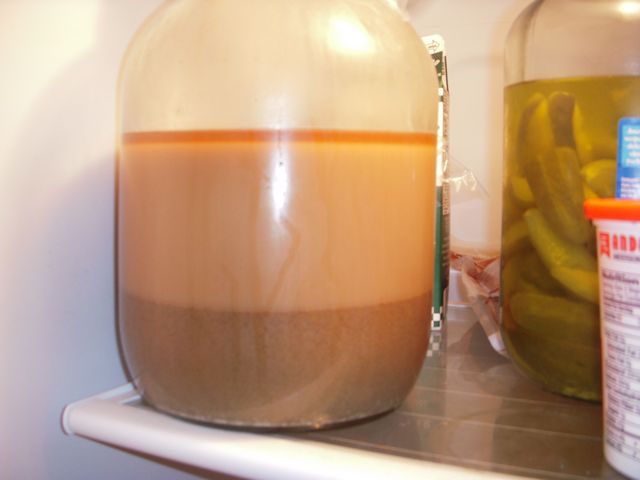
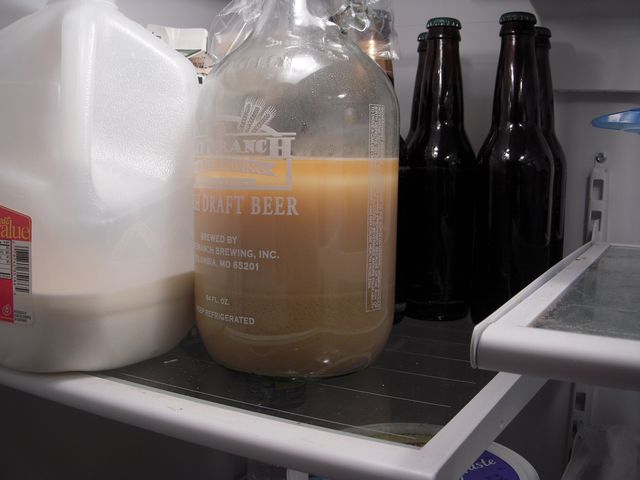
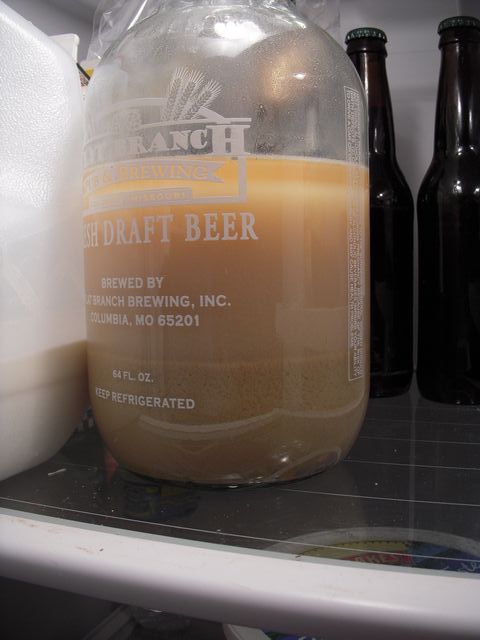
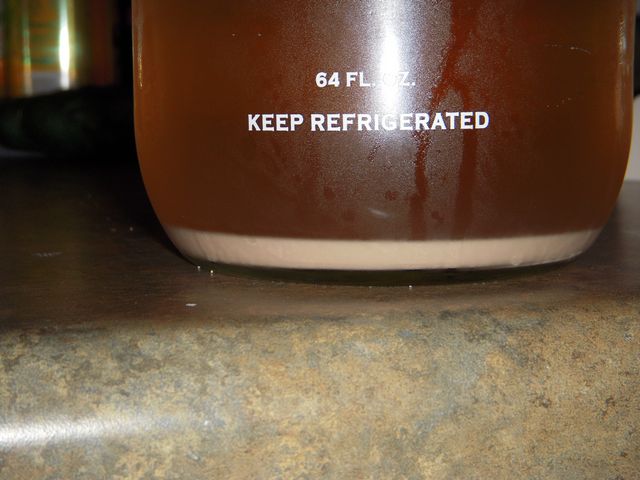
One tip on separating yeast in the fridge, don’t let it sit in the fridge overnight. Since the yeast in suspension will eventually settle on top of the trub. It may look pretty cool in the growler, to see all the gradations of trub and yeast. But all it does is forces you to start from scratch, putting everything back in suspension. The lesson I learned is don’t rack beer at 1:00 am, since more then likely you won’t be up at 4:00 am to separate out the yeast in suspension from the trub.
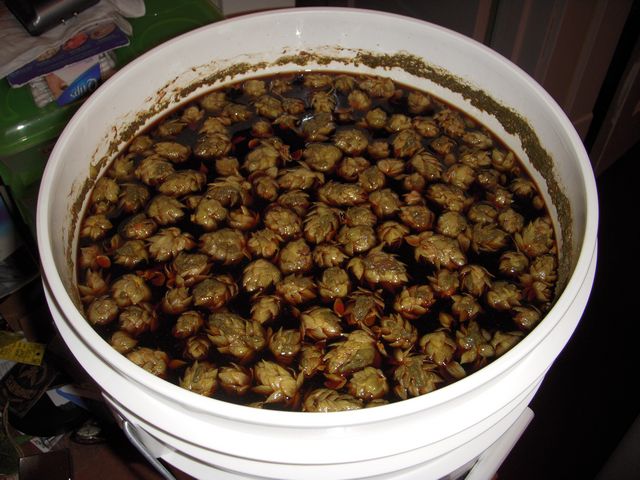
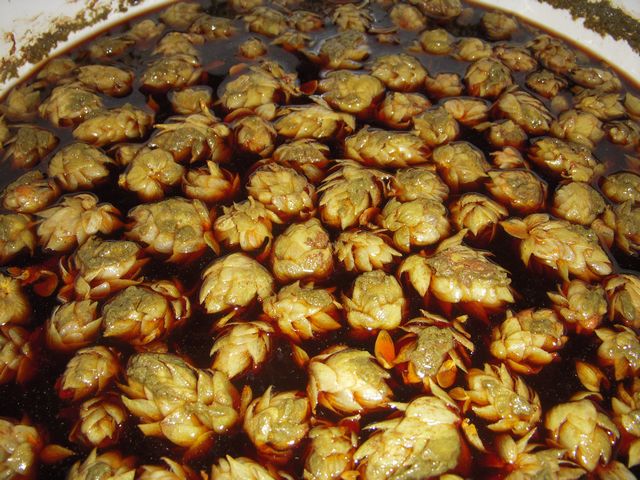
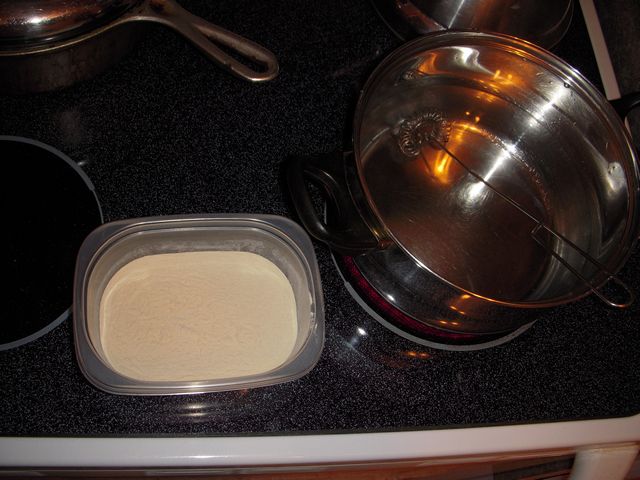
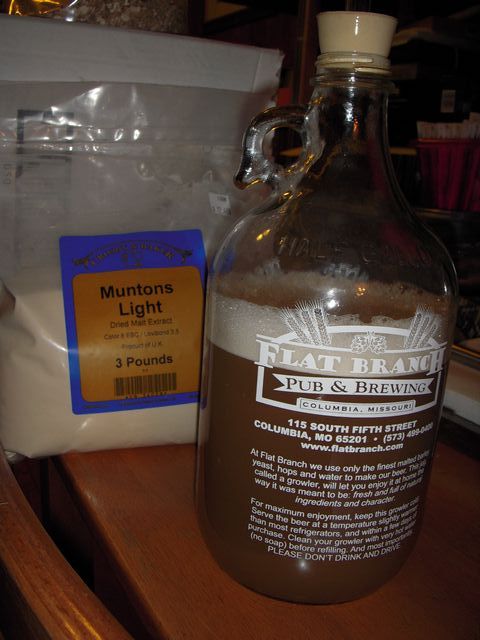
It looks like the centennial hops have reached there peak, so it’s time for a brew session on Saturday. After quickly hashing out an IPA recipe with JRR (recipe and brew session to be posted later.) I made a quick trip to my favorite local homebrew shop to get all the grains for the brew and some light DME for the yeast starter.
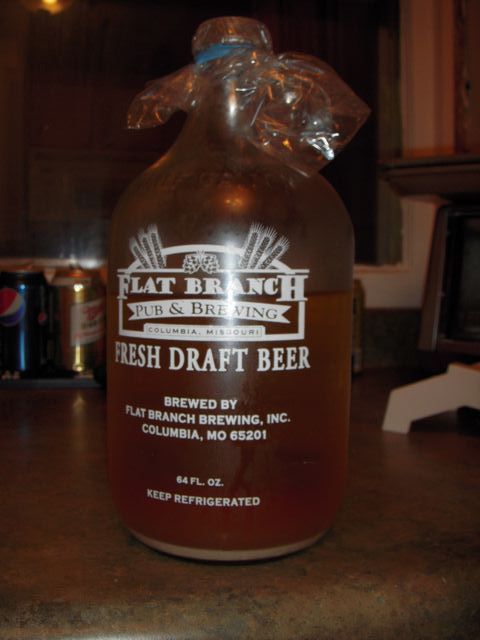
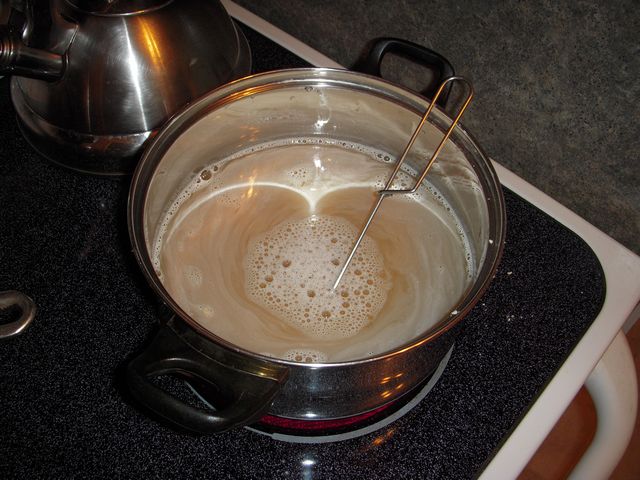
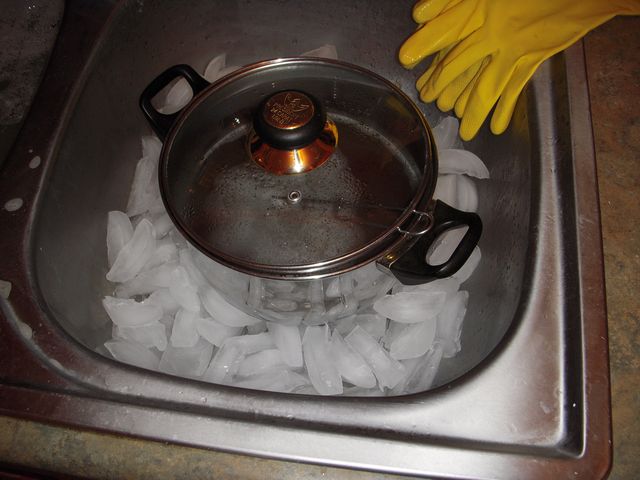
My mixing ratio for the yeast starter was 2 oz (by weight) light DME to 16 fluid oz of water. I put the mix on the stove and brought it to a boil, letting it boil for 15 mins. I then cleared out my ice maker of all the old ice, dumping it in the kitchen sink. Putting the pot on the ice pile to cool it all down to room temperature. Keep in mind that the separated yeast that I am using has been sitting in a growler in the back of my fridge since St. Patty’s this year. So hopefully this starter will get the yeast alive and kicking again.
As kind of a side note, it’s amazing how cheap a brew session can get when you don’t have to get hops or yeast. All the grains for this weekends 5.5 gallon brew session ran $17.23 (not including tax.) That’s nuts, when you consider that it costs ~$18 for 4 oz of dried hops and a vile of White Labs yeast. No wonder a lot of guy/gals are now starting to grow their own hops and reusing yeast. The money saving is just undeniable.