I haven’t made a chicken stock at home, in at least a couple of years. With the main reason being that I usually just buy chicken stock by the 1 quart carton at Aldi, which covers most of my chicken stock needs. But with chicken bones piling up in the fridge and freezer, it was time to finally bit the bullet and make up a batch of stock.
Personally I’ve gotten to the point where I really don’t even use a recipe when making up a batch of stock, but I do make sure that it always includes the following four items: water, chicken, vegetables, and herbs/spices.
So to break it down even further, here is what I ended up using for this batch of chicken stock:
Chicken:
One whole young chicken cut up into seven pieces (2 breasts, 2 wings, 2 thighs and the spine)
Three Quart sized plastic bags of “chicken bones” (this includes wing tips, leftover skin, breast bones & thigh bones)
Vegetables:
A large handful of frozen parsley stems
A quart sized bag of frozen green onions
One whole head of fresh celery
6-10 large carrots
Spices:
A couple of tablespoons of whole black peppercorns
Four or five Bay Leaves
Four or five cloves of frozen garlic
Liquids:
Enough water to cover all the ingredients by 1″, plus you’ll need to add more water after the first 12 hours of simmering.
Technique:
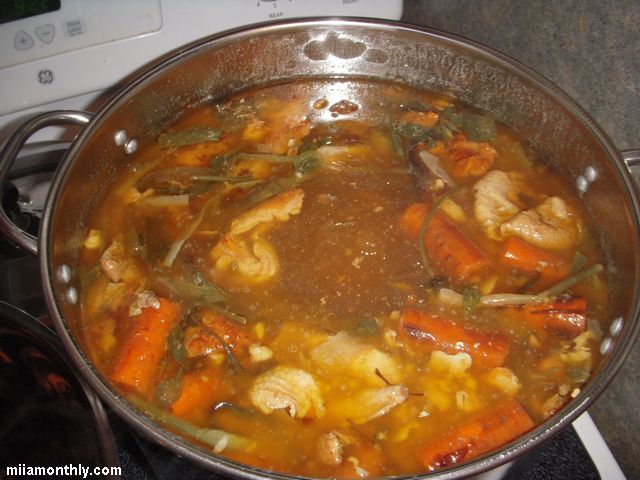
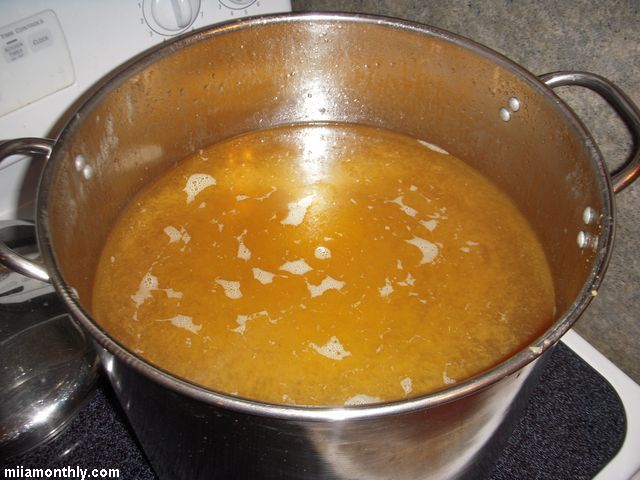
Having assembled all the ingredients, I realized that I needed to use my strike water kettle from my homebrewing set-up to cook this stock, since my 12 quart pot wasn’t going to cut it for all these ingredients. As a side note, since I was using my strike water kettle. I should have heated up the pot and contents on my propane turkey fryer burner, since it would have brought the mixture up to boiling much more rapidly compared to my electric range. But with that lesson out of the way, it’s time for the “boring” part of making stock, which is letting the mixture simmer for as long as possible. So after the stock was brought to a boil, I let is simmer for 24 hours, so that every last bit of flavor was extracted from the ingredients.
And speaking of flavor, I almost forgot to mention a step before the actual boiling/simmering of the stock. Which is roasting all the ingredients under the broiler. Since I had so many ingredients for this stock, I ended up using two half-sized jelly roll pans for all the ingredients (except for the bay & peppercorns.) Make sure to give everything a light coating of olive oil, and then roast the ingredients (turning often) until they are good and browned all around, which should take about 30-60 mins depending on your broiler and the rack setting of your oven.
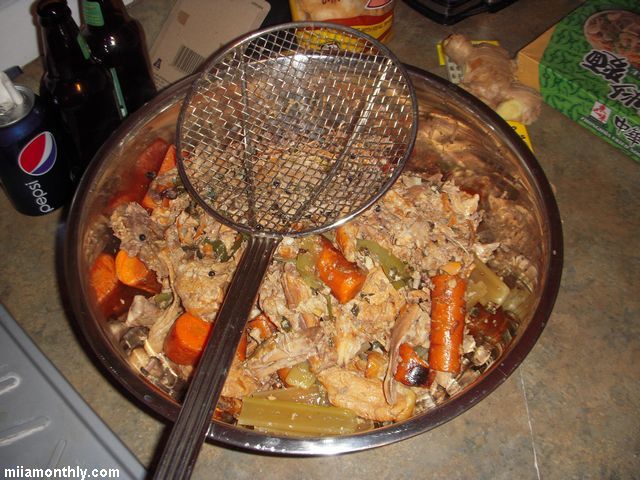
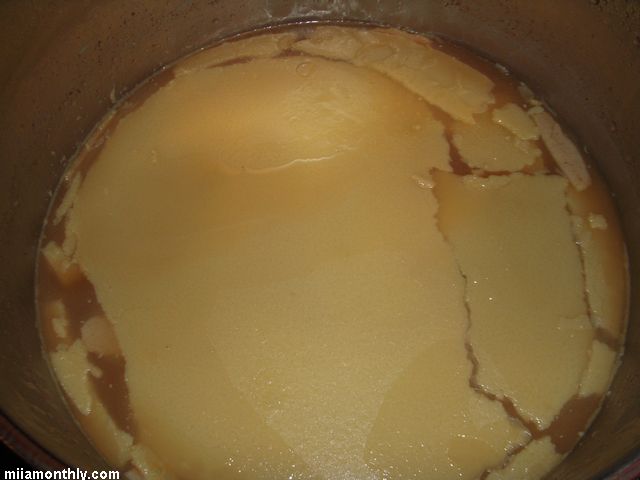
So with the roasting and simmering done, strain out all of the solids from the stock, and chill overnight. The next day, remove the fat cap on the stock, and bring the stock to a full boil, and reduce by about half to concentrate the flavors. And now you have a pot of chicken stock to use for whatever cooking needs you have.