Making chicken stock – Feb 2011

I haven’t made a chicken stock at home, in at least a couple of years. With the main reason being that I usually just buy chicken stock by the 1 quart carton at Aldi, which covers most of my chicken stock needs. But with chicken bones piling up in the fridge and freezer, it was time to finally bit the bullet and make up a batch of stock.

Personally I’ve gotten to the point where I really don’t even use a recipe when making up a batch of stock, but I do make sure that it always includes the following four items: water, chicken, vegetables, and herbs/spices.

So to break it down even further, here is what I ended up using for this batch of chicken stock:

Chicken:
One whole young chicken cut up into seven pieces (2 breasts, 2 wings, 2 thighs and the spine)
Three Quart sized plastic bags of “chicken bones” (this includes wing tips, leftover skin, breast bones & thigh bones)

Vegetables:
A large handful of frozen parsley stems
A quart sized bag of frozen green onions
One whole head of fresh celery
6-10 large carrots

Spices:
A couple of tablespoons of whole black peppercorns
Four or five Bay Leaves
Four or five cloves of frozen garlic

Liquids:
Enough water to cover all the ingredients by 1″, plus you’ll need to add more water after the first 12 hours of simmering.

Technique:
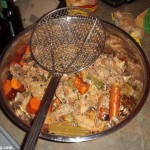
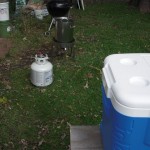
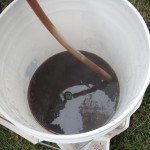
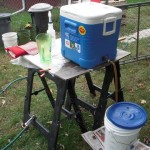
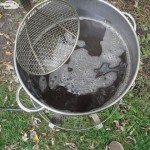
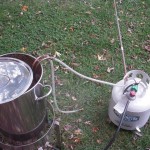
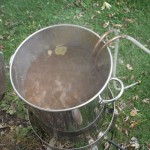
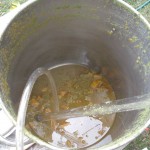
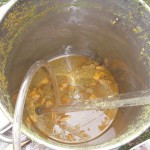
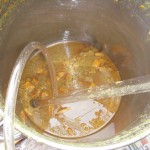
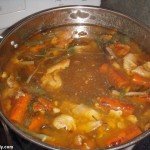
Having assembled all the ingredients, I realized that I needed to use my strike water kettle from my homebrewing set-up to cook this stock, since my 12 quart pot wasn’t going to cut it for all these ingredients. As a side note, since I was using my strike water kettle. I should have heated up the pot and contents on my propane turkey fryer burner, since it would have brought the mixture up to boiling much more rapidly compared to my electric range. But with that lesson out of the way, it’s time for the “boring” part of making stock, which is letting the mixture simmer for as long as possible. So after the stock was brought to a boil, I let is simmer for 24 hours, so that every last bit of flavor was extracted from the ingredients.

And speaking of flavor, I almost forgot to mention a step before the actual boiling/simmering of the stock. Which is roasting all the ingredients under the broiler. Since I had so many ingredients for this stock, I ended up using two half-sized jelly roll pans for all the ingredients (except for the bay & peppercorns.) Make sure to give everything a light coating of olive oil, and then roast the ingredients (turning often) until they are good and browned all around, which should take about 30-60 mins depending on your broiler and the rack setting of your oven.

So with the roasting and simmering done, strain out all of the solids from the stock, and chill overnight. The next day, remove the fat cap on the stock, and bring the stock to a full boil, and reduce by about half to concentrate the flavors. And now you have a pot of chicken stock to use for whatever cooking needs you have.
Pumpkin Ale – Keged and Bottled this weekend

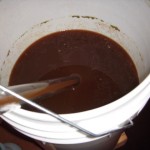
Boy did I leave this beer in the secondary a long time, just shy of a month. But this time around I’m doing something a little different, in that I’m priming the entire 5 gallon batch of homebrew before bottling & kegging. I’ve had this discussion with JRR offline, but the gist of the conversation was about the pro & cons of kegging homebrew. With the major downside of kegging being the inconsistency in carbonation, when the homebrew is force carbonated.

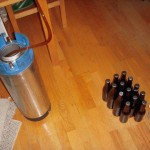
So I’m using this Pumpkin Ale to test out if priming in a keg will produce a better carbonated product compared to force carbonation. Conceptually when you think about it, its like you are basically carbonating one giant bottle of beer, when dealing with a keg. Plus with priming the whole batch, it allows me to bottle part of the batch and keg the rest. I ended up only bottling 13 bottles of the Pumpkin Ale. Since I had 13 open slots in the cardboard case that currently has 11 bottles of the Dry Stout I made a while back. I guess we’ll see in a couple of weeks, the results of this little experiment. Wish me luck.

Side Notes:
FG – 1.014
Priming ratio – 3/4 cup Corn Sugar (Dextrose) & 2 cups of water, with both brought to a boil
Brewed on 10/17/09
Racked to Secondary on 10/27/09
Bottled & Kegged on 11/21/09

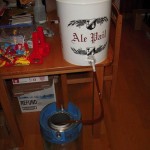
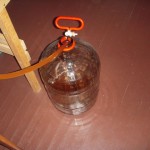
Pumpkin Beer racked to secondary

Last week I ended up racking the Pumpkin beer to a glass secondary, and I took a quick FG reading and it was at 1.014. Which isn’t too shabby. At first I thought about saving the yeast from this batch, but as I kept racking the yeast between jugs. I just couldn’t remove all the spice aroma that the yeast was giving off, so I ended up having to dump it down the sink.

It’s a good thing that I saved some of the Wyeast 1056 yeast right out of the smack pack, so that it could be deposited in my personal “yeast bank” in the back of my kitchen refrigerator.

I’ll give the beer another week or two in the secondary, or basically until I can free up some space in the kegerator, which currently has a 1/2 barrel of BL (which was free) and three corny kegs of homebrew (JRR’s stuff, IPA & dry stout.)

So with that hi ho, hi ho, its off to drink I go!

Pumpkin Ale – Recipe and Notes – Mid-October 2009

There is no point in rehashing the post from 10 days ago about the Pumpkin Ale. So then lets dive in head first into the nitty gritty from this brew session.

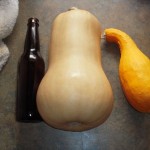
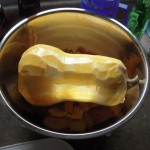
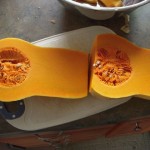
Last Saturday morning I headed out to the farmer’s market to pick up a butternut squash, after a quick walk around to gauge what was available for purchase. I found a vendor that had a 5.5 lb butternut for $2.00. Consider it sold! Now with the butternut in my possession, it time for all the prep work.

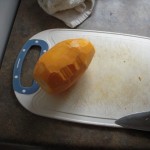
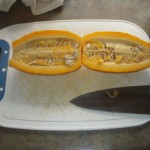
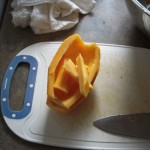
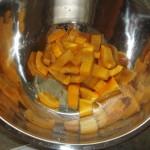
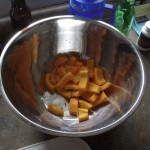
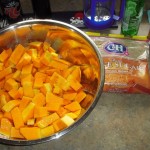
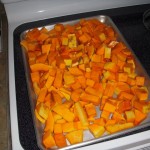
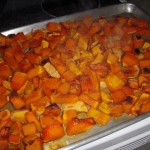
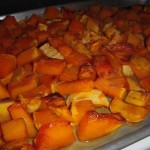
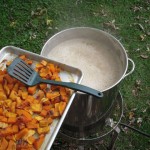
I already had a yellow neck squash from the end of season harvest in the garden. I had no idea what to do with, so I though that I might as well use it along with the butternut. After prepping both squash (peel, de-seed & dice), I tossed all the squash with 1/4 cup of light C & H brown sugar (4oz by weight), before putting it under the broiler. It turned out to be just enough sugar to coat everything evenly, but not so much that I had leftover sugar in the bottom of the mixing bowl.

I roasted the butternut/yellow squash under a low, then high broiler for about 90 minutes. After about 45 mins of no broiling action under low, I cranked it up to high so that it would actually roast. Now with that bit out of the way, here is the complete recipe:

Jack-off Ale Recipe (Powers Brewery format at the bottom)
6 lbs – Pale Malt (6 row) USA
2 lbs – Munich Malt – 10L
.25 lb – Chocolate Malt (UK)
1 lb – Caramel/Crystal Malt 20L
1 lb – Flaked Barley
.25 lb – Light C&H Brown Sugar

Wyeast American Ale – 1056

~5 lbs of cleaned Butternut squash – 75 mins

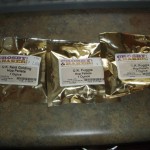
Fuggles – 1oz pellets- 4% AA – 60 mins
East Kent Golding – 1oz pellets- 5% AA – 15 mins
Fuggles – 1oz pellets- 4% AA – 3 mins

Spices added during final 30 mins of boil:
2 tsp – Nutmeg
2 tsp – Cinnamon
1 tsp – Allspice

Other info: Mashed for about 90 minutes at 150-154F with 3 gallons of water; batch sparged with 1.5 gallons of boiling water & 3.5 gallons of 170F water; First running was 2.75 gal and the second/final running was 3.75 gal; 90 minute boil; 10 days in the primary, OG 1.048 @ 80F.

I actually spent some time this go around, looking at how the Powers web page was set-up. And after making a couple of adjustments for the dead space in my mash/lauter tun, I basically hit the recipe right on the nose, both in OG and final volume, which is a first for me. Now for the hardest part…..waiting to drink the final product.

RO^Jack’off Ale^October 17, 2009^94^75^5^60^9^4^73^100^8.8^0.3^0.1^0.4^0.4^0.25^72^72^6^64^64^2^41^41^0.25^31^31^
1^7^7^1^0^0^0^0^0^0^0^0^0^45^45^14^1^60^0^1^12^1^15^0^1^14^1^3^0^1^0^0^0^0^1^0
^0^0^0^1^0^0^0^0^1^0^63^153^1.2^^^^~5 lbs of cleaned/diced/roasted Butternut squash, coated in
4 oz of Light C&H brown sugar; All spices added during final 30 mins of boil, Nutmeg 2 tsp, Cinnamon 2 tsp,
Allspice 1 tsp.^^^^^^^^^^^^^^^^^^^^5^5^5^0^0^0^0.1^

Brewing Pumpkin Ale this Weekend – Mid-October 2009

Since I really don’t have anything lined up this weekend, other then swapping the battery in my truck. Why not brew up another batch of beer, since I’m starting to run low on the dry stout and IPA down in the kegerator. This time I thought that I would brew up something totally different, but very fitting for the Fall Season, that being a Pumpkin Ale. I’ve had a couple different pumpkin ales over the years, with the most notable being the Pumpkin at Lakefront in Milwaukee.

Yesterday I stopped by the LHBS to get all the raw materials, now I just need to stop by the farmers market on Saturday morning to get a large butternut squash. I talked with the guys at the shop, and one of the guy said that if I was going to roast the squash in the oven that I should toss it in a little bit of brown sugar to help the butternut caramelize when broiled. Plus the brown sugar will add a little bit to the gravity, but I only plan on use a couple of tablespoons. So the gravity difference will be negligible.

Wish me luck, and I’ll post the recipe after the brew session.