I’ve made chicharrónes once before with JRR and it came out semi-successfully, only because we really didn’t know what we were doing when we tried to make them the first time around. So this time around, I took some tips from the Momofuku cookbook, and talk about a totally different end result.
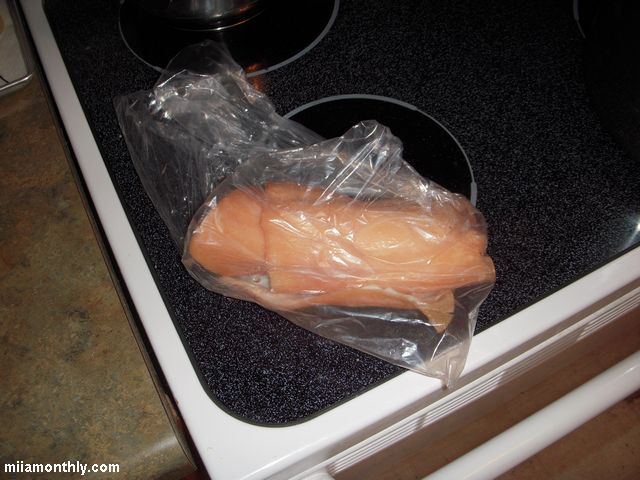
So a little bit of the back story on the first batch of skins. After me and JRR were done butchering half of a pig, we had a couple of bags of skin to divide up between all the butchered pig buyers. And from what I remember, from the first time that I made these with JRR, we didn’t remove all the fat from the skin before frying the fresh skins in hot oil. What a mistake! Since when the rind puffed up in the hot oil, any spots on the skin that had fat remaining were chewy as hell after frying (think jerky). Which really isn’t the desired effect you’re going for with pork rinds.
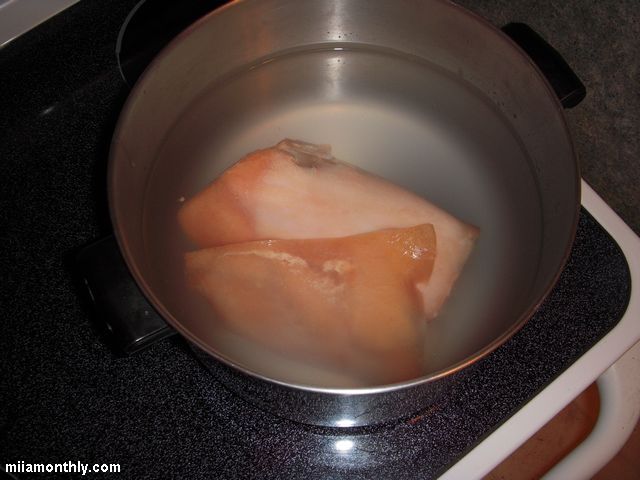
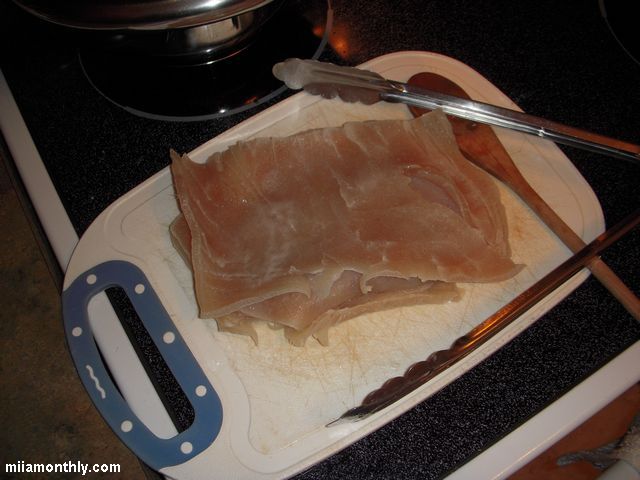
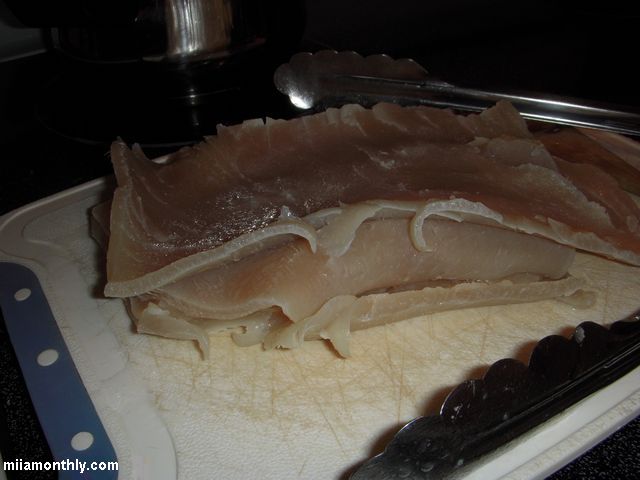
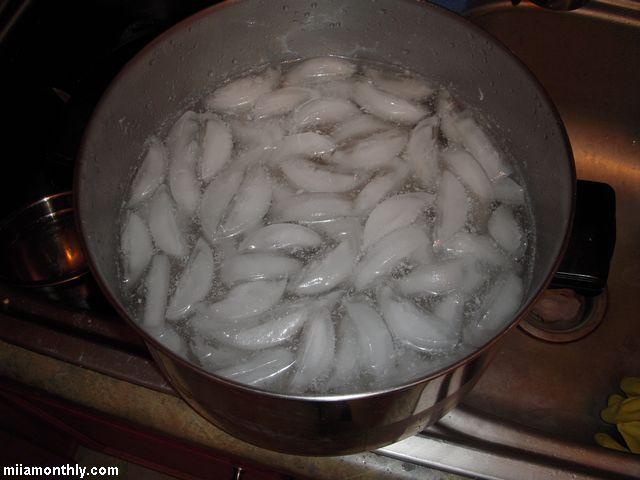
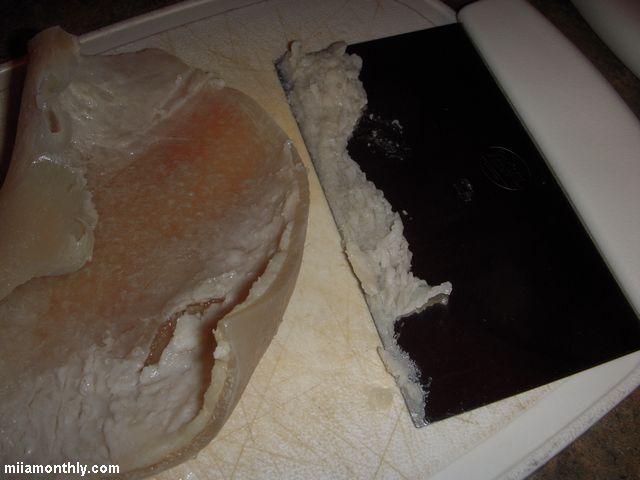
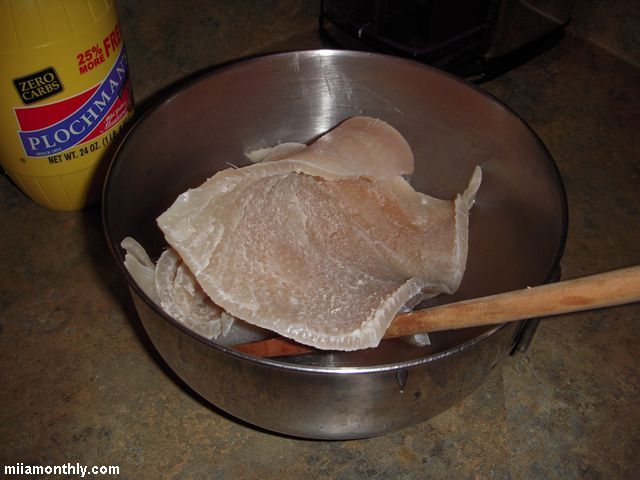
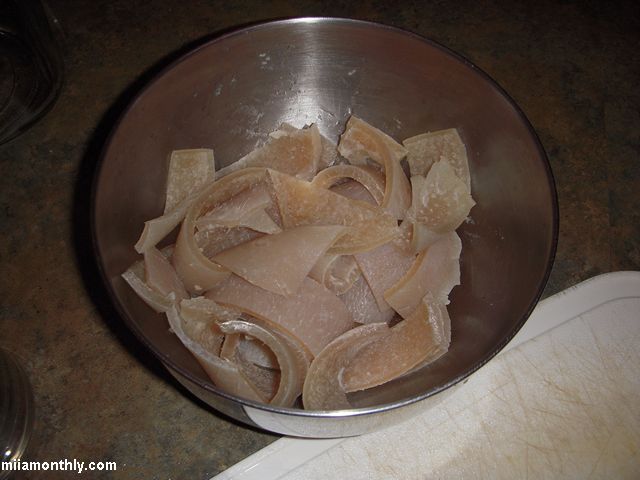
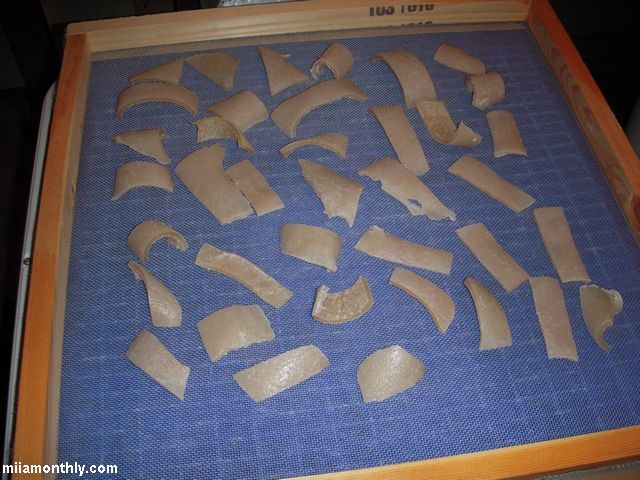
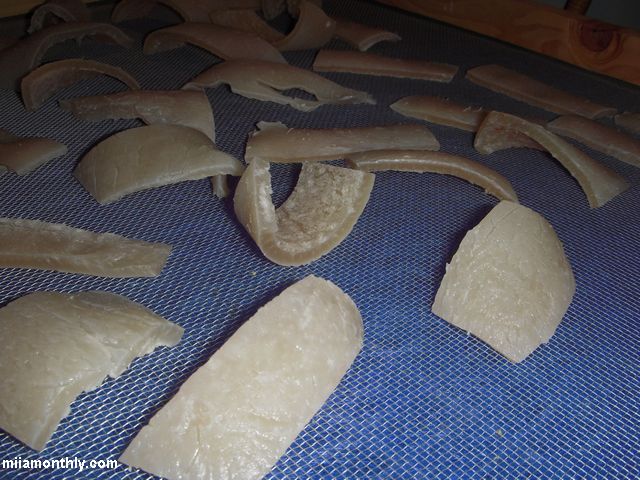
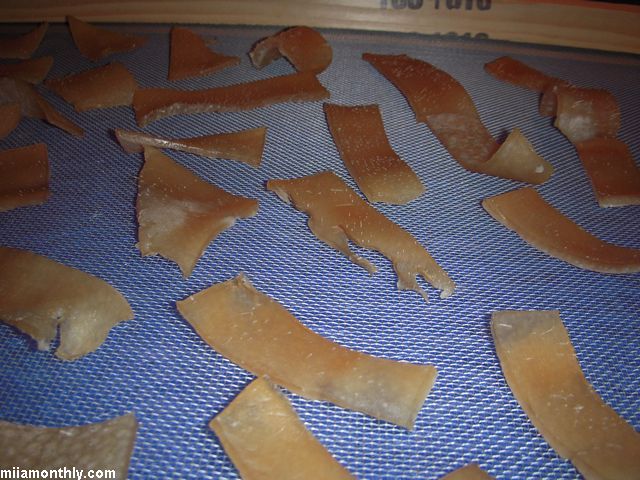
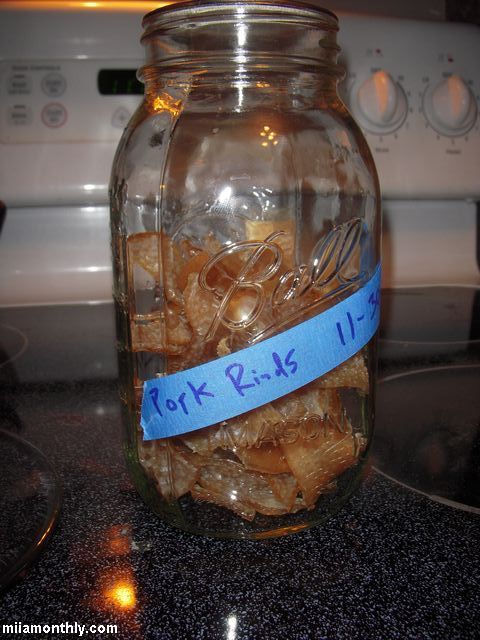
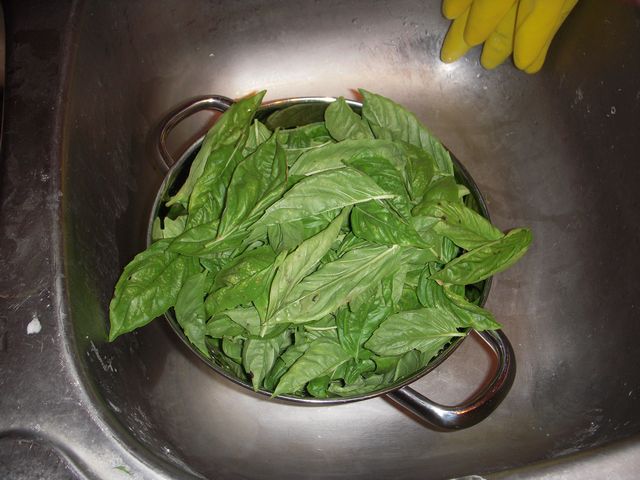
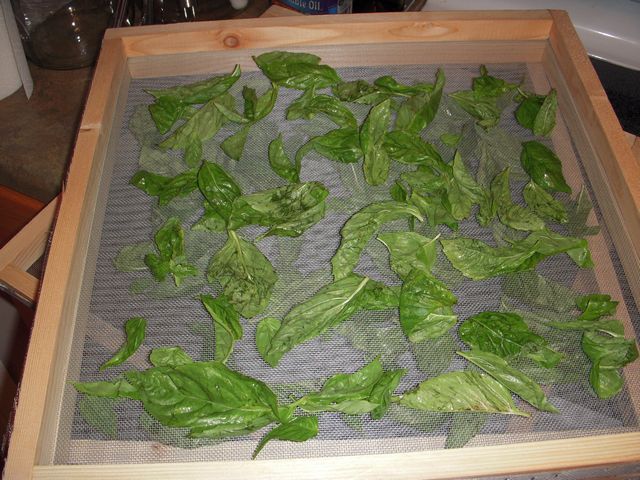
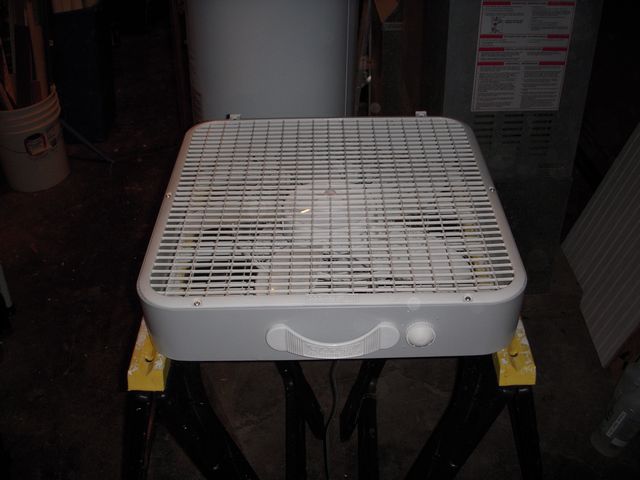
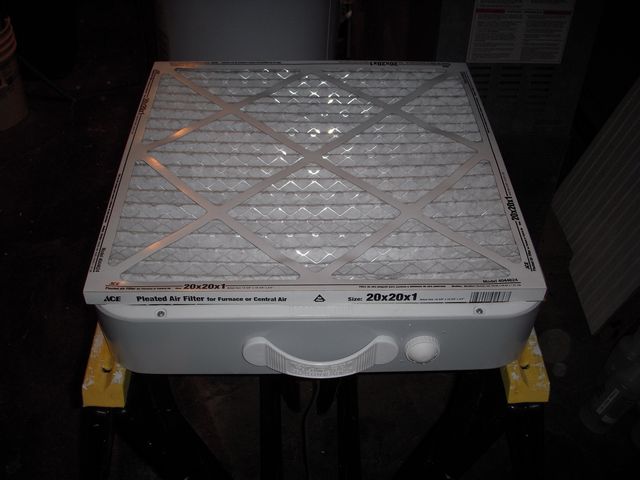
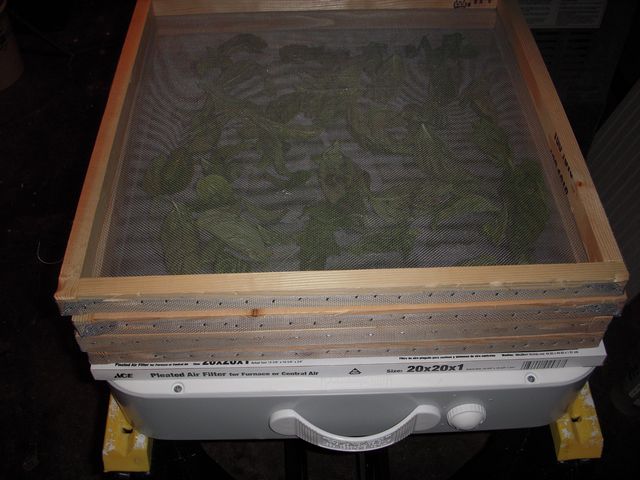
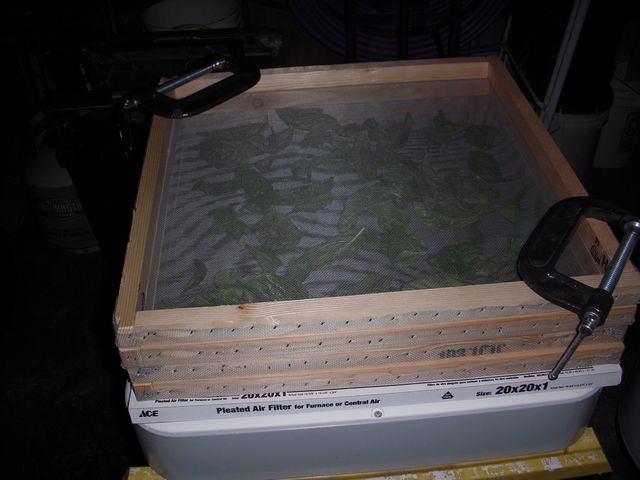
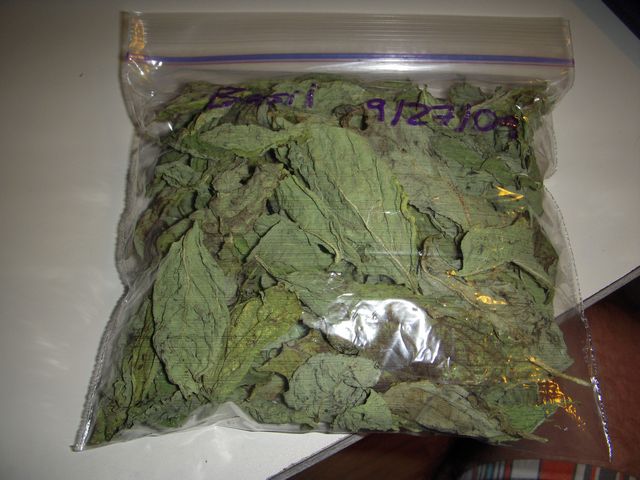
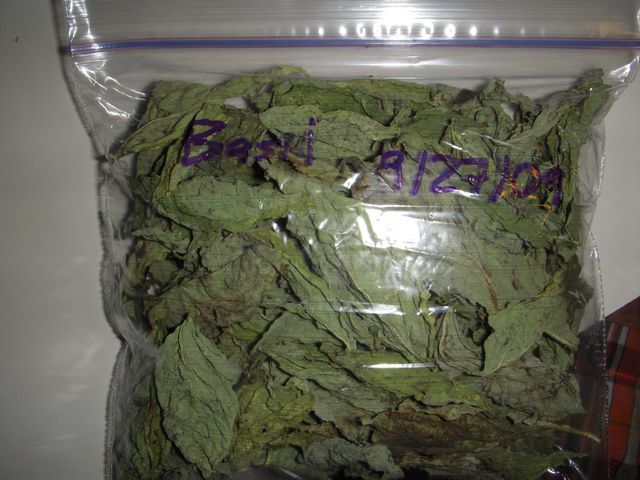
The major problem with this ad hoc prep system the first time around, is the remaining fat on the skin, since hand trimming isn’t the ideal solution to this fat problem. So after plenty of back and forth with JRR on how to remedy this situation. I think he finally mentioned something about Momofuku having a technique for making chicharrónes. So with that, I was off to the local public library to check out a copy. And it turns out that the tips in Momofuku for making chicharrónes are pretty cleaver. But the major point of the technique is how to prepare the skins before frying them up. And it basically encompasses boiling the pork skins for an hour, then chilling them in an ice bath for ~15 mins, which then enables you to scrape all the remaining fat from the surface of the skins (I used a bench scraper for this task, instead of the back of a chef’s knife.) So with that bit of major prep work out of the way, Momofuku recommends to dry the skins out in a food dehydrator until brittle. Then you can store the dried skins until you want to make up some chicharrónes on demand.
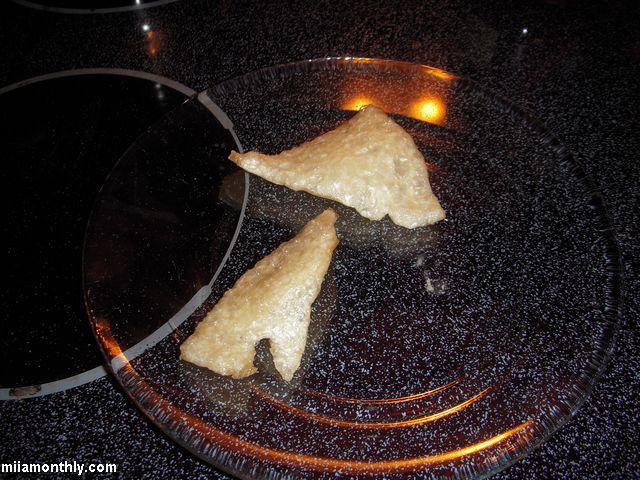
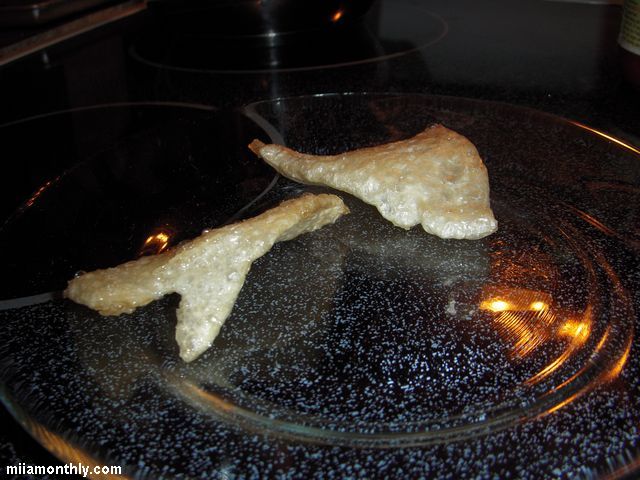
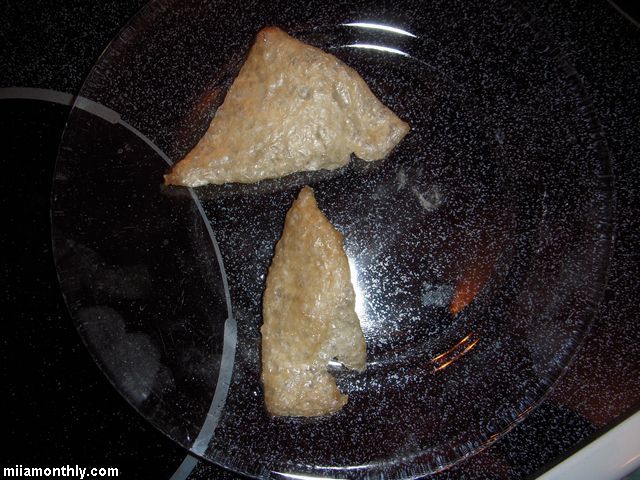
Talk about the difference between night and day for this new batch of chicharrónes. Light, puffy and crunchy, it’s like I almost pulled the chicharrón from a bag that you would get at the grocery store. And topped with just a light coating of Frank’s Red Hot after cooking, talk about a real treat for any pork lover.
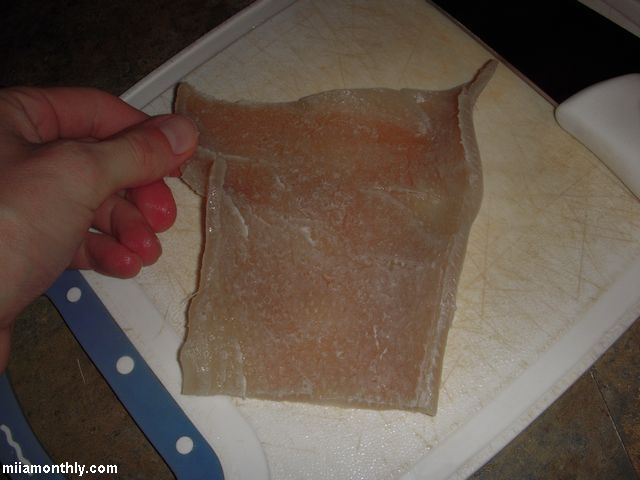
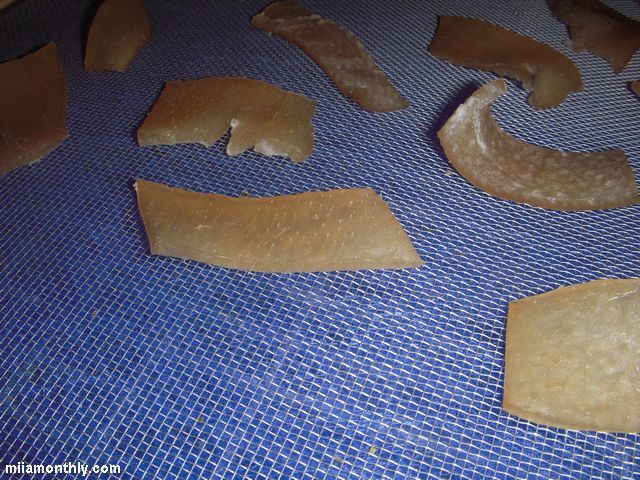
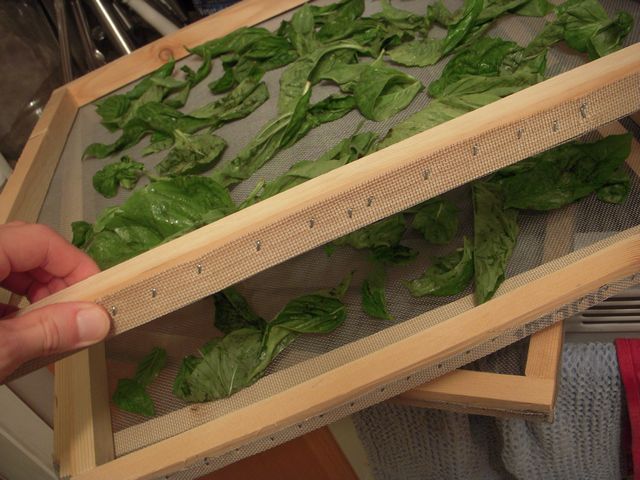
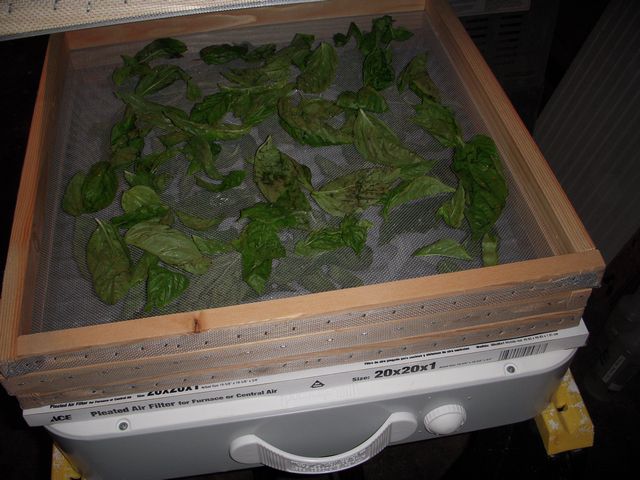
Oh, I almost forgot to mention, the actual cooking method used, and surprisingly it’s not in the fryer, but in the microwave. Yes you read that correctly, cooking pork rinds in the microwave, instead of deep fat frying them. Somehow I stumbled upon this cooking concept while randomly surfing the internet for tips on prepping the skins. You might be able to see it in the pictures, but there is just the lightest of fat coating still on the skins after being in the dehydrator. And for some reason, when you microwave the skins on HIGH for about 1 to 1:30 mins, that light coating of fat kind of “fries” the chicharrónes in the microwave. So you get the speed of the microwave (in case you want a quick snack), but you also get the frying action as if they were deep fat fried, without any of the mess associated with setting up the deep fat fryer.
What a relief in gaining the tips from the Momofuku cookbook. For a while there, I was worried that I would have a couple of bags of pork skin sitting in my freezer indefinitely. But seeing how I now have a successful technique for processes these pork skins. I now just have to find a free weekend to process all the skins in the freezer, and finally regain some of my freezer space back.