Salad Table – Start of Cell 1 – June 21, 2011

Once again I have another planting project that should have been started at least two months ago but wasn’t and that was the salad table.

This is one of those things that only takes 15-20 minutes to plant, but I just kept on putting it off. You’ll notice that in some of the other salad table cells, are the remaining seedlings. The plan is when I visit my sister for 4th of July weekend, that I’ll give her all the remaining seedlings. Even though transplanting them in July, is way late in the season. But who knows, maybe something will turn out from this experiment.

And speaking of late season transplants, you’ll notice that I’ve transplants all the remaining seedlings from their 9-cell packs into 10 oz plastic cups. This way the plants will be a little bit less root bound, come transplant time on the 4th of July.

Green Bean and Potato Hash – March 2011

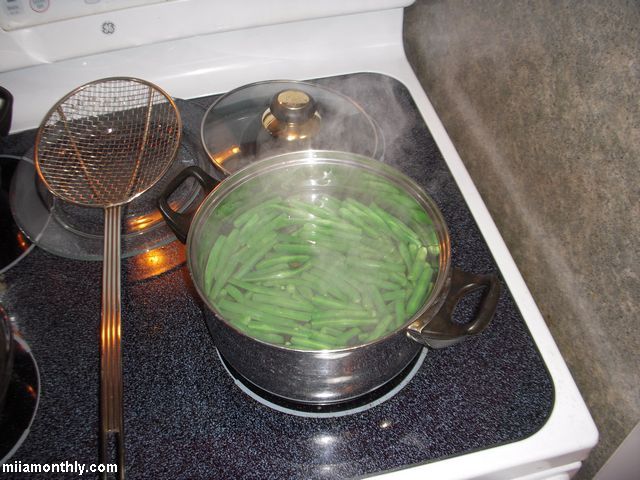
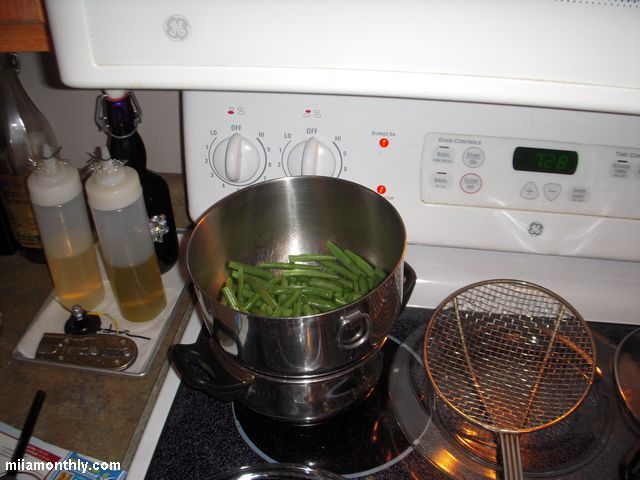
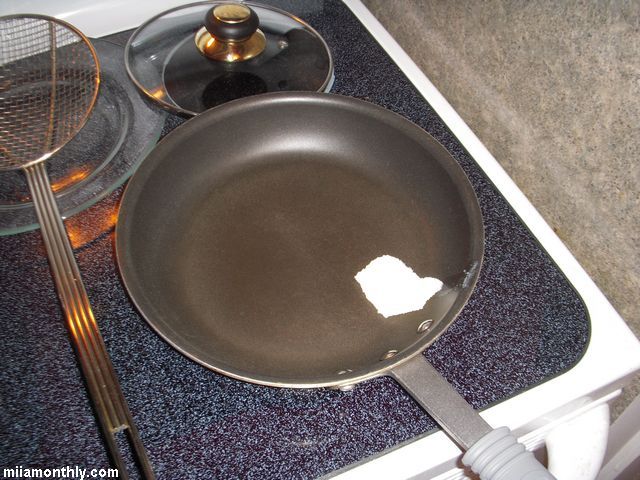
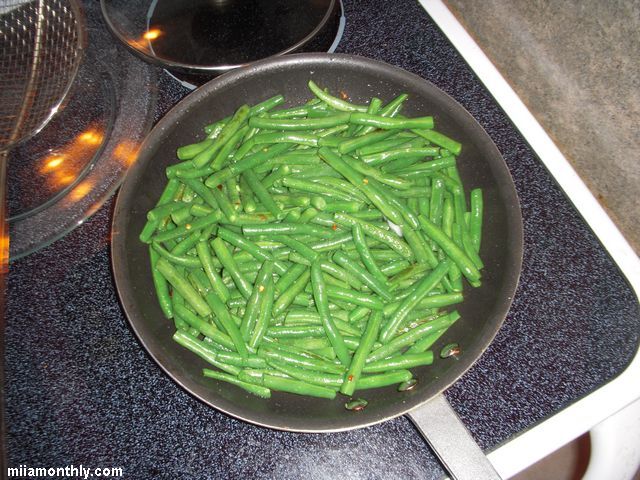
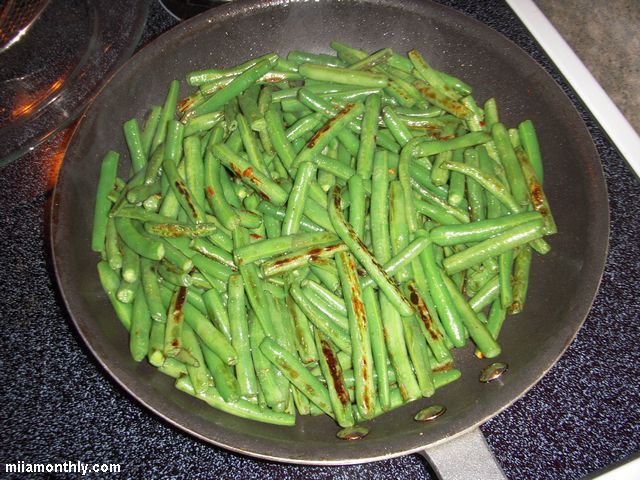
This is totally a random creation on my part, but a pretty taste one. It all started earlier in the week, when I cooked up some green beans to go with my dinner. Which ended up being nothing more then boiling 1.66 lbs of green beans for 5 mins, then adding them to a hot frying pan with a little bit of bacon fat, red pepper flakes and garlic powder, and just cooking them on medium high heat until browned (about 5-10 mins.)

It wasn’t until after I made all those beans, that I realized I needed to re-purpose those beans into another dish, since eating just a pile of cooked beans is boring.

As usual I dug into my memory banks, and the week before in Utah, JRR made up this hash for breakfast one morning with leftover steak and fingerling potatoes. As usual, I had a bunch of random stuff in the fridge, so here was what I came up with for a quick hash:

Ingredients:

  • A large handful of cooked green beans (using cooking direction above)
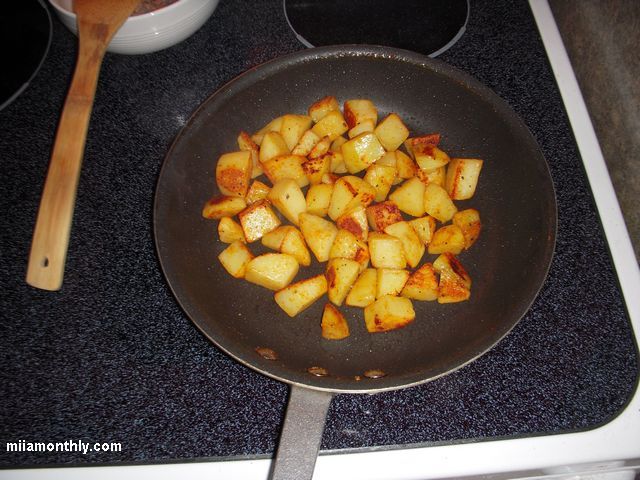
  • 4-5 russet potatoes, peeled, cubed
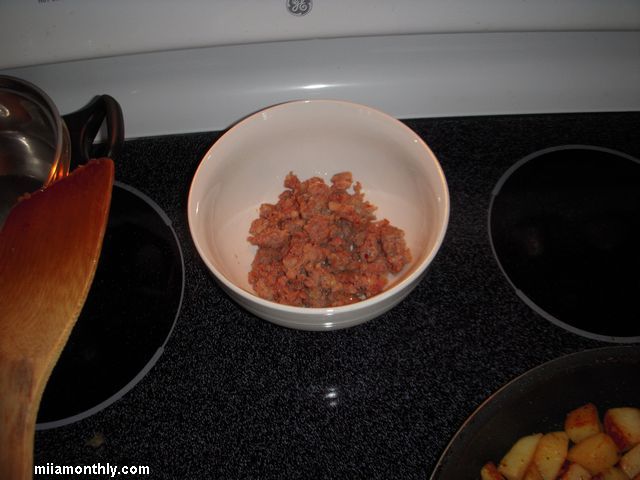
  • 1/3 lb of hot breakfast sausage
  • Rendered bacon fat
  • Lawry’s Season Salt
  • Black pepper

Technique:
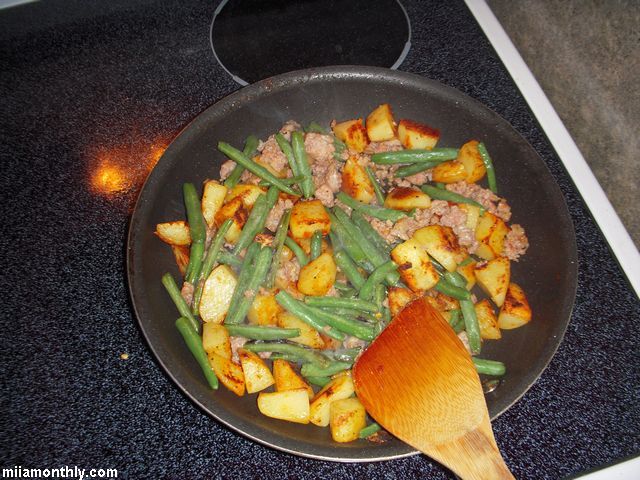
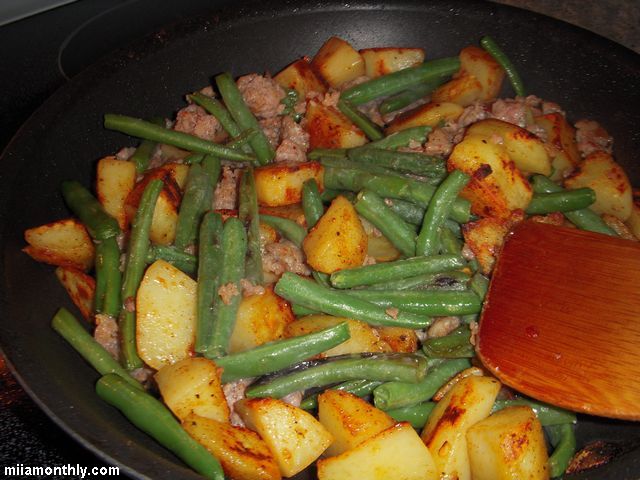
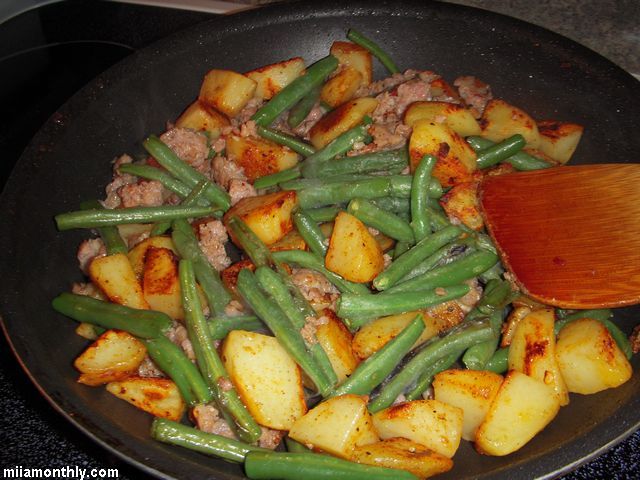
It really could be simpler to make this dish. First thing, in a hot frying pan, brown the breakfast sausage until fully cooked. While you’re cooking the sausage, microwave the potatoes using this recipe. With the sausage cooked, and transferred to a bowl to cool, add the bacon fat to the hot pan, season and cook the potatoes using the same recipe. Finally during the last 2-3 mins of cooking time on the potatoes, add in the sausage and green beans, and toss until the green beans have heating thru, then serve and enjoy.

Side Notes:
1) The green beans were pretty good on their own, with the garlic powder, bacon fat and red pepper flakes. But they are out of this world with the potatoes and sausage, so this “recipe” is a keeper in my book.
2) When I originally made the green beans, I didn’t really anticipate using them for another dish. So they were fully cooked the first time around. This was part of the reason why I added the green beans at the very end of the potato cooking, since they really only needed to be re-heating, from being in the fridge overnight.

Hash Browns – Home fry style – v3

I’ve been working on this recipe for about the last 9 months, until I arrived at the recipe you see below. I’m not going to bother posting any of the earlier versions of the recipe, since they mostly resulted in being complete and utter failures. But some of the low lights from v1 & v2 include bland flavor, soft texture and excruciatingly long cooking times. So with that out of the way, it’s onto the winning recipe listed below. Continue reading

Salad Table – 06/10/2010

I’ve posted a couple of close up shots of the compost/potato bins, so that you can get a good look at the coat hanger wires that are used to hold all the pallets together. Boy do those grass clipping need a good turning in the bin, but its kind of surprising that I’m still able to add grass clippings to the pile. Since with last years cinder block compost bin, in only two mowing I had filled the bin to the top. Plus now that I’m looking it over, I might pull some of the clippings out of the bin, and lay them down as ground mulch out in the garden, since the weed situation on the right half of the garden is still out of control. I ended up pulled up two 5 gallon buckets of weeds from the garden one afternoon and it barely looks like I made a dent. Continue reading

Potato Chip Review – Barcel Kettle Style – Jalapeno & A La Diabla

You know sometimes I roll the dice on a couple of random bags of chips. My last random roll was at my local Mexican bodega on two bags of Barcel brand kettle cooked chips, with the flavors being Jalapeno and the other A La Diabla (red hot chili pepper.) And the results were 50/50, so lets start with the loser, which were the a la diabla, and talk about a strange looking chip. First off they had a strange color, almost like they had been rolled around in cinnamon sugar instead of chili powder. And the taste, it’s like a citric acid overload with a little bit of chili heat. So if you are looking for fake lime taste and some chili heat, on a cinnamon sugar looking chips, then check these out. But personally I’ll take a pass.

So onto the stand out flavor, which were the Jalapeno kettle chips. And talk about a winner in my book. The first thing that got me sucked in was the smell from the bag. Since the chips smelled exactly like a bag of fresh cut jalapenos. But for the smell being so strong the taste was very mild, and that kind of surprised me in a good way. In that the chips had a jalapeno/green pepper kind of flavor, but not very much of that jalapeno heat, so it made them very easy to eat. And because they are kettle style chips, the crunchiness of these chips kind of reminded me of Kruncher’s Jalapano chips. So notch these Jalapeno chips up of the totem pole, because I would definitely like to get them again.

Side notes for both of these chips:

  1. The cartoon pepper on both bags is pretty funny, but it wasn’t enough to sway my decision on not liking the a la diabla flavored chips. I guess better luck next time Barcel.
  2. &

  3. For both of these Barcel brand chips, of all the ingredients listed on the bag, one of the ingredients is MSG, and its listed in bold no less! I really don’t know how to react to this, other then with “oh well”. But I guess if your looking to go out of your way to get some potato chips with MSG, than check out the chips from Barcel.

Used wooden pallets as a potato growing bin – 2010

Editors Note: This should have been posted months ago. Sorry for the delay, but this should hopefully answer a bunch of questions about the pallet set-up from other pics posted on miia.

When I was in Michigan a few months back for a little bit of R & R. In the backyard of my buddy’s house, he had converted a bunch of old pallets into three side-by-side composting bins. So after a few beers and some meat smoking, it got me to thinking about the large pile of pallets just sitting at the end of driveway that I never bothered to dispose of (it was more like I felt bad throwing away good wood, so that’s why the pallets were really piled up.) In that instead of using the pallets for a compost bin, that maybe I could grow potatoes in them instead. Continue reading

Seed Starting – 05/10/2010

Look at that sweet corn grow! And check out all the rest of the random stuff that I’ve gotten from my farmer neighbor (leeks, fingerling seed potatoes), as well as from the local nursery (white and red onion sets, sage, basil, cilantro, rosemary.)

You can also see in photo #5 the free seeds (see here) that I got from my neighbor starting to germinate.

Seed starting – Both Flats – 04/26/2010

Alright I ended up only transplanting 18 of 27 cells of the cucumbers and the zucchini tonight, so you’ll see a couple of before and after pictures below. Also you can see that I’m going to give growing potatoes another shot this year (more details to come on the pallet growing bins) hence why those potatoes are under the grow lights.

Seed starting – 04/23/2010

The pics for this set came out pretty bad, since I didn’t have the camera flash turned on. So the only light, is the light coming off of the florescent grow lights. From now on for the seedling posts, I’m going to stick with just the calendar date instead of the number of days that the flat has been growing. Things are just starting to get a little bit too confusing for me trying to remember the numbers of days instead of the date.

So here is a quick breakdown of when the two flats were started:
Flat #1: 04/13/2010
Flat #2: 04/21/2010