Green Bean and Potato Hash – March 2011

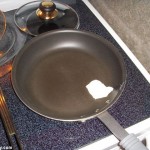
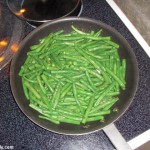
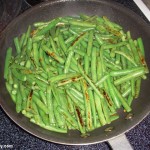
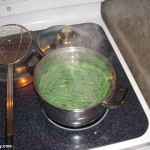
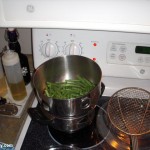
This is totally a random creation on my part, but a pretty taste one. It all started earlier in the week, when I cooked up some green beans to go with my dinner. Which ended up being nothing more then boiling 1.66 lbs of green beans for 5 mins, then adding them to a hot frying pan with a little bit of bacon fat, red pepper flakes and garlic powder, and just cooking them on medium high heat until browned (about 5-10 mins.)

It wasn’t until after I made all those beans, that I realized I needed to re-purpose those beans into another dish, since eating just a pile of cooked beans is boring.

As usual I dug into my memory banks, and the week before in Utah, JRR made up this hash for breakfast one morning with leftover steak and fingerling potatoes. As usual, I had a bunch of random stuff in the fridge, so here was what I came up with for a quick hash:

Ingredients:

  • A large handful of cooked green beans (using cooking direction above)
  • 4-5 russet potatoes, peeled, cubed
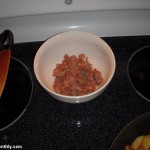
  • 1/3 lb of hot breakfast sausage
  • Rendered bacon fat
  • Lawry’s Season Salt
  • Black pepper

Technique:
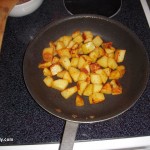
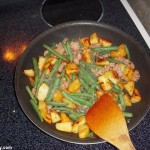
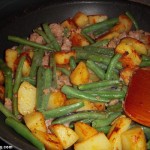
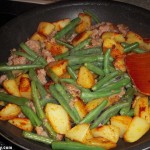
It really could be simpler to make this dish. First thing, in a hot frying pan, brown the breakfast sausage until fully cooked. While you’re cooking the sausage, microwave the potatoes using this recipe. With the sausage cooked, and transferred to a bowl to cool, add the bacon fat to the hot pan, season and cook the potatoes using the same recipe. Finally during the last 2-3 mins of cooking time on the potatoes, add in the sausage and green beans, and toss until the green beans have heating thru, then serve and enjoy.

Side Notes:
1) The green beans were pretty good on their own, with the garlic powder, bacon fat and red pepper flakes. But they are out of this world with the potatoes and sausage, so this “recipe” is a keeper in my book.
2) When I originally made the green beans, I didn’t really anticipate using them for another dish. So they were fully cooked the first time around. This was part of the reason why I added the green beans at the very end of the potato cooking, since they really only needed to be re-heating, from being in the fridge overnight.
Shepherd’s Pie – v4 – Janurary 2011

I never had shepherd’s pie as a kid of dinner, so I really had no concept of what should go into a “true” Shepherd’s Pie. So starting with a base recipe off of Food Network. Here is the heavily modified recipe that I came up with.  Since if I’m going to rework a recipe, I might as well add stuff that I would want to eat. Continue reading
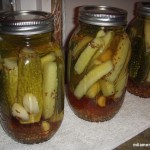
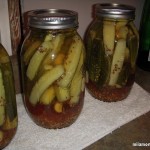
Dill Pickles – Brined – v4 – September 2010

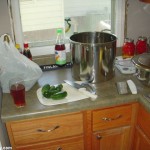
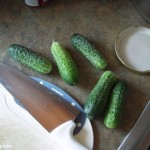
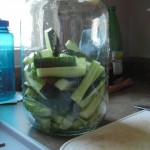
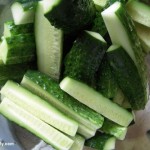
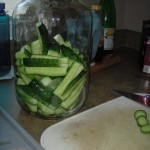
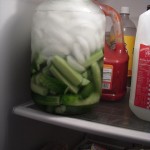
At first I thought that I was going to process all the pickles that I bought at the downtown Farmer’s Market into v2 & v3 pickles. But while processing the ~7lbs of cucumbers for v2 & v3, I thought that I would go a different route and try to make some brine fermented pickles. Years and years ago back in Michigan I tried to make fermented pickles, and the experiment was an utter failure. So now that I’ve got a little bit more canning and homebrewing experience under my belt, I thought that I would give fermented pickles another try. Before this fermented experiment begun, I stopped by the library to pick up a copy of The Joy of Pickling by Linda Ziedrich(not the revised edition), to try and get a base recipe down, as well as some tips and tricks.
Continue reading

Dill Pickles – v2 & v3 – September 2010

Since the downtown farmer’s market isn’t going to be around for very much longer, I though that I should take advantage of the situation and make some more pickles before the season is over.

After doing a quick walk around to gauge the prices, I finally found a vendor that was selling 1 1/2 pint containers of pickling cucumbers for $2.00 each. Wanting to get the price even lower, I offer them $15 for 10 containers. We eventually settled on $18 for 10 containers (a $2 total discount). I have a feeling that if I had waited until noon (when the market stops) instead of when I was there at 11am, I could have gotten them for $15.

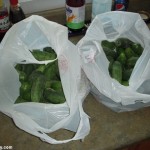
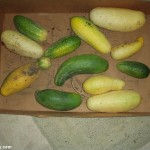
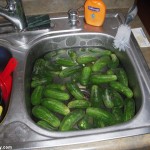
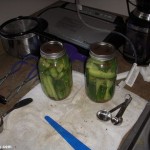
But I still got a hell of a good deal, since the two bags of cucumbers ended up weighing ~15 lbs, so at ~$1.20 lb it was still a great deal. Later on I didn’t realize how much ~15 lbs of cucumbers were until I started to process them. After getting through the first ~7 lb bag, I decided to make the pickles two different ways, fermented/brined and hot processed vinegar pickling (like v1.) Below you’ll see the recipes that I used for versions 2 and 3 of the vinegar pickles. The brined pickles (version 4) will be getting their own separate post.

Version 2.0

Brine:
(note: less vinegar & more water compared to v1)

  • 3.5 cups vinegar
  • 4.5 cups water
  • 2 TB pickling spice mix
  • 1/4 cup white sugar
  • 1/2 cup canning salt

Bring Mixture to a boil, then simmer for 15 mins.

Per quart jar add:
(note: added black peppercorns & celery seeds compared to v1)

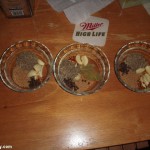
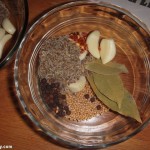
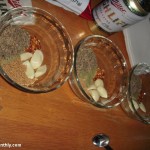
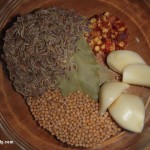
  • 2 bay leaves
  • 4 cloves garlic
  • 1/4 tsp red pepper flakes
  • 1/2 tsp whole black peppercorns
  • 3/4 tsp celery seed
  • 2 tsp mustard seed
  • 3 tsp Dill seed

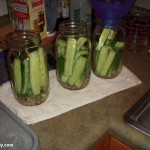
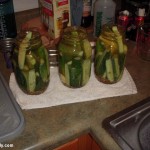
Process 15 mins in a boiling water canner
Yield: 3 quart jars


Version 3.0
I had some remaining brine from v2, so I just strained it. I then added 1.5 cups vinegar, 2.5 cups water, 4 TB white sugar, 1/4 cup of salt. This addition was just a little bit short. So I topped off the jars with a mixture of 1/4 cup vinegar & 1/4 cup water.

Brine:
(note: less vinegar & more water, also removed the pickling spice compared to v1 & v2)

  • 3 cups vinegar
  • 5 cups water
  • 1/4 cup white sugar
  • 1/2 cup canning salt

Bring Mixture to a boil, then simmer for 15 mins.

Per quart jar add:
(note: increased the red pepper flakes to 1/2 tsp, and increased the celery seed to 1 tsp compared to v2)

  • 2 bay leaves
  • 4 cloves garlic
  • 1/2 tsp red pepper flakes
  • 1/2 tsp whole black peppercorns
  • 1 tsp celery seed
  • 2 tsp mustard seed
  • 3 tsp Dill seed

Process 15 mins in a boiling water canner
Yield: 4 quart jars


Side Notes:
1) Add the celery seeds after removing all the air from the jar with the food saver attachment. If you don’t, you’ll end up with a lot of seeds inside the attachment, instead of inside the jar.
2) One of the v3 jars doesn’t have any garlic inside, since I used up the rest of the garlic for the other three jars in v3. This was a one time problem, since I then ended up purchasing a 3 lb jug of peeled garlic.
3) Don’t over fill the jars, since it looks like with v3, I had a bit of a boil over in the canner kettle. Since the water was a little bit green after processing.

Pickled Spicy Beans – v2 & v3 – September 2010

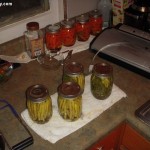
When I saw the Labor Day ad from my local grocery store, it had a sale item that I had to pick-up. And what food item got me so interested, that I had to get it? Why none other then Michigan grown green beans for $0.58 lb. Yes, you read that right $0.58 a pound. And having finally cracked open a jar of the wax beans, and enjoyed the results. I thought that I would give it another try, but with green beans, and also with a couple of recipe modifications. Here are the results: Continue reading

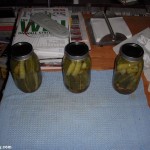
Dill Pickles – v1 – 07/14/2010

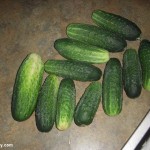
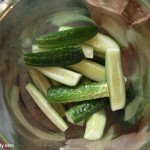
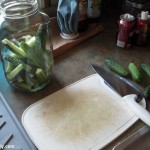
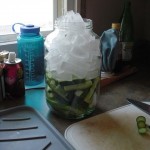
And now for the final canning recipe, even though I made these a couple of days before the carrots and beans. I kind of went in a totally different route, in that I didn’t soak the pickle spears in a brine before canning. Since I’ve noticed that all the brine pre-soak does, is make your final product extra salty. So somewhere online, I saw a bunch of tips on soaking the sliced cucumbers in an ice-bath to increase the final pickles “crispness”. But seeing how I only soaked them for an hour before processing, I really don’t know if it added much to the recipe, since most recipes were suggesting a 4 to 5 hour ice bath before processing.

So on to rest of the recipe:

Brine

  • 1 qt (4 cups) vinegar
  • 1 qt (4 cups) water
  • 2 TB pickling mix
  • 1/4 cup white sugar
  • 1/2 cup canning salt

Bring Mixture to a boil, then simmer for 15 mins.

Per quart jar add:

  • 2 bay leaves
  • 4 cloves garlic
  • 1/4 tsp red pepper flakes
  • 2 tsp mustard seed
  • 3 tsp Dill seed

Remember to make sure and use to plastic knife to get out the air bubbles. I also use the mason jar attachment for the food saver to get all the bubbles out.

Yield: 3 quart jars
Process 15 mins in a boiling water canner

Side Notes:
1) Since these pickles were the first canning experiment of the year, I forgot a bunch of steps that I would normally do. The big one being to get the air bubbles out the jar before processing. I was lucky that all the jars sealed after processing. But I guess this is what I get for the first canning session of the year.
2) The brine amount in the recipe ended up being the prefect amount for three quart jars, with no waste.
3) Since I forgot to grow fresh dill this year to add to the pickles, I went with dill seed instead.

Pickled Spicy Beans – v1 – July 2010

So onto canning recipe number two and the spicy pickled beans. My original thinking about making the spicy pickled beans, was as a garnish for my occasional bloody mary’s. Plus this is another way for me to clear out all the bean plants, so that I can get the plot ready for a second planting of beans in a few weeks. Continue reading

Pickled Carrots – v1 – July 2010

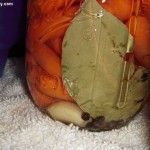
So onto one of the first canning experiment, making a batch of pickled carrots. My original idea was to use the bag of carrots that I had in the fridge to make a carrot soup recipe that I saw in Food & Wine magazine. But as usual, one thing led to another, and the carrots that were meant for soup ended up being pickled.

Here are the two base recipes (Number 1 & Number 2) that I used as a starting point. But I ended up taking more of a cue from recipe #2, since it was an adapted recipe from Gourmet Magazine:

  • 2 lbs baby carrots (Dole carrots in a bag)

Brine:

  • 2 1/2 cups water
  • 2 cup plain vinegar
  • 1/2 cup white sugar
  • 3 TB canning salt

Per pint jar:

  • 1 whole clove of garlic
  • 1 dried bay leaf
  • 1/2 tsp whole black peppercorns

Yield 4 pints

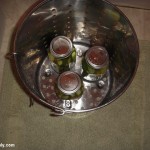
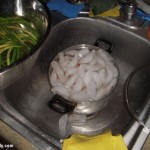
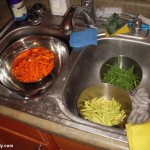
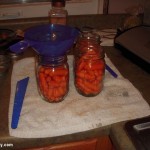
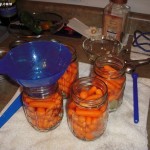
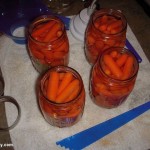
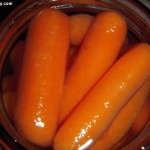
In a pot of salted water, I cooked the baby carrots for 5 mins so that they were halfway cooked. The carrots were then cooled down in an ice water bath, to stop the cooking process. While the carrots were cooking and then cooling down, in another pot bring all the brine ingredients to a boil, then keep the mixture simmering for at least 15 minutes.  At the same time that you are heating up the brine, pre-heat four pint sized canning jars in large pot of hot water. Once the brine is done cooking, remove the pint jars from the pot and drain. Then place the spice mix at the bottom of each jar, placing the par-cooked carrots on top of the spice mix. Finally fill the jars with the hot brine to within a 1/4″ of the top of the jar, remove all the air bubbles using your preferred method (mine is using the Food Saver jar attachment),  cap, and then process in a boiling water canner for 15 minutes. After the jar are done processing, place them on a tea towel in a draft-free location to let the vacuum seal form, and to allow the jars to cool down. After 24 hours, any jars that haven’t seal need to be refrigerated, and the others that did seal can be put away to “age” before consuming.

Side Notes:
1) Since I only canned these carrots this past weekend (so 5-6 days ago.) I’m going to wait another week or two before giving them a taste test. That way the vinegar will have some time to mellow and spices will get a little more time to work their flavor magic.
2) Strangely enough, the amount of liquid listed above is enough to fill up all four pint jars with no waste.
3) For some reason online, their are a lot of recipes for pickled carrots with dill. And the idea of pairing dill and pickled carrots just wasn’t doing it for me. So I pretty much went off into my own direction, with a lot of guidance from the Gourmet recipe for a starting point.
4) Most of the pickled carrot recipes I read online, were all over the board is far as sugar in the brine (1/2 cup to 2 cups.) which to me seemed like way too much. So I went with the Gourmet recommendation of 1/4 cup per pound of carrots.

Sausagefest – July 2010

Nothing to me says Forth of July, like grilling out with family and friends. So I thought that I would do something a little special this year and make my own sausages for the Forth. But what really spurred the decision to make fresh sausage was when I found out that Fareway sells fresh casing packed in brine for $14.99 a pound. So after I bought a 1/2 lbs worth of casing, it kind of pushed me in the direction of making fresh sausages. Continue reading

Potato Chip Review – Better Made – Salvatore’s Sicilian Style Parmesan & Garlic

Its strange how the same cut of chips, in this case Krinkle Cut from Better Made could be so different. On the one hand you have Salvatore’s Sicilian Style Parmesan & Garlic Krinkle Cut chips that are totally awesome, and on the other hand you have the ho-hum taste of the plain Kinkle Cut chips. Continue reading