New Year’s Dinner 2012

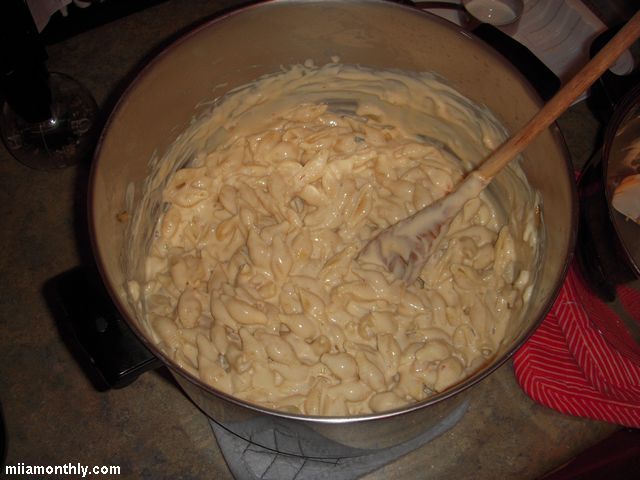
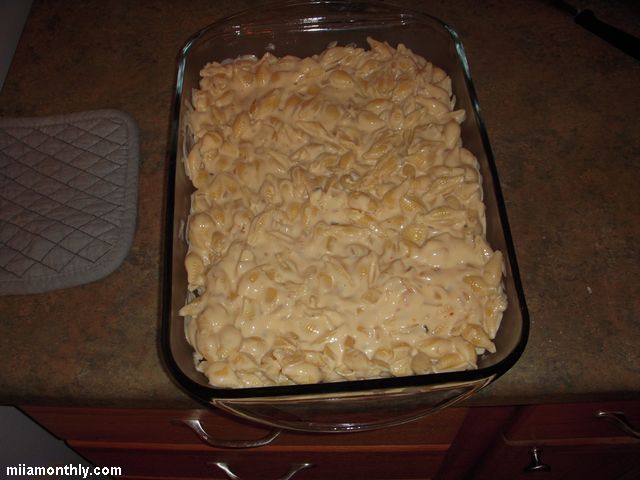
When I went to Baltimore for New Years a few weeks back, I hadn’t planned on having to do any cooking while on vacation. But as they say “duty calls”. So on New Year’s Eve I went on a trip to Wegmans out in Hunt Valley, MD with Boxcar to pick up all the main ingredients to make dinner on New Year’s Eve. As kind of a side note, I had never been to a Wegmans before that day, but I have to say, it was a pretty nice grocery store. So without further to do, here was the menu for New Year’s Eve from a couple of weeks back:

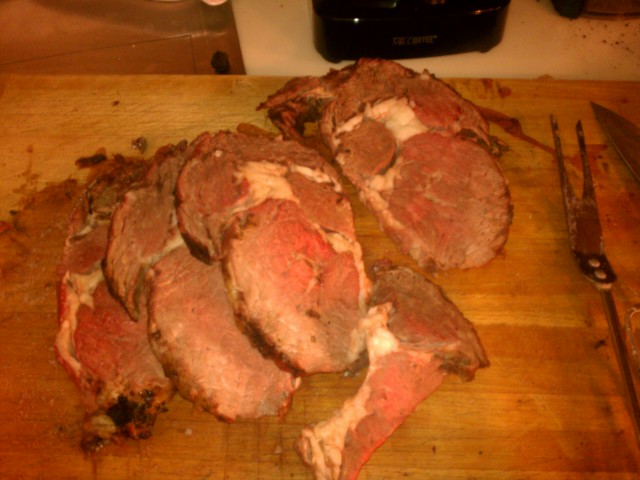
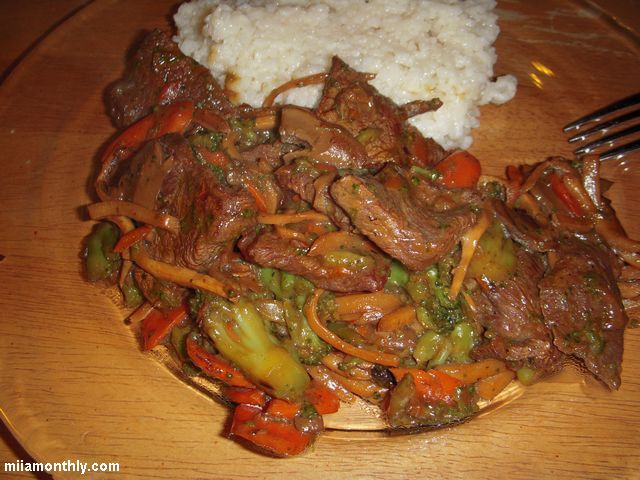
  • A four-bone beef rib roast (~10lbs) paired with a cilantro chimichurri (or you can call it a salsa verde)
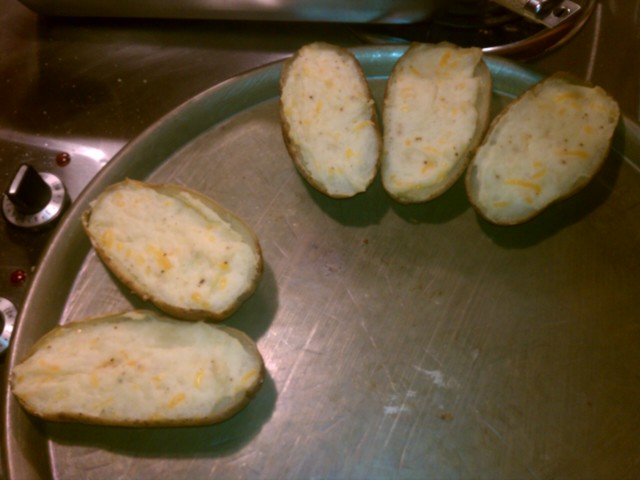
  • Double baked potato skins
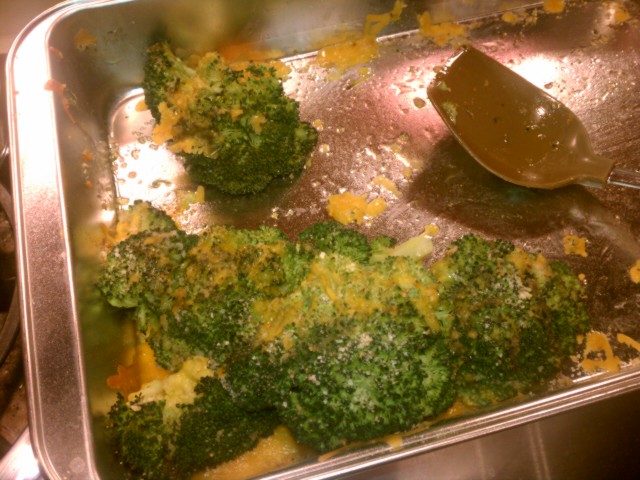
  • Baked broccoli, with Italian breadcrumbs and cheddar cheese
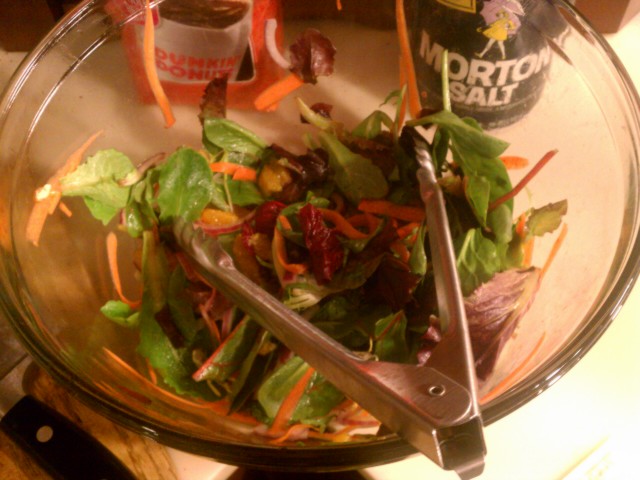
  • Spring greens salad mix with raspberry vinaigrette and tangerine segments.

The protein was originally supposed to be a beef tenderloin, but when we got a Wegmans the tenderloin wasn’t looking so hot. But the beef rib roast on the other hand was much better looking, plus it was going to be large enough to feed the ever expanding dinner guest list. Because what started as dinner for ~8, ended up being dinner for ~13. But in the end, this four bone roast was enough to feed the crowd, with enough leftovers for breakfast in the morning. As far as cooking method goes, instead of cooking the rib roast in the oven, we grilled it outside on a gas grill. It ended up taking about 2 hrs of cooking time to get the roast to about medium/medium-rare. And with the taper of the meat, people that wanted more well done, were able to get what they wanted, along with the people that were looking more for a medium rare slice of beef.

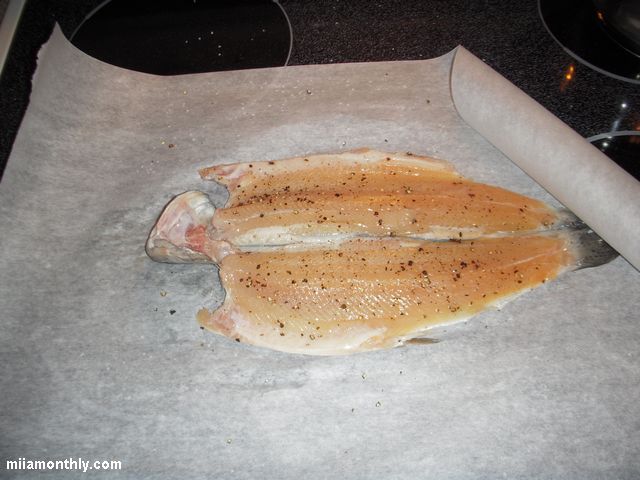
As of the “sauce”, it was something that was fresh in my mind. Since I was just in Washington DC with the posse for sight seeing on Friday the 30th. And when we got into DC, we had lunch at José Andrés’ Oyamel Cocina (which by the way was a very good eatery), and one of the small plates that we ordered for lunch was Costilla de res con salsa verde (Beef short ribs with a tangy green sauce of cilantro, parsley and garlic). Let me tell you, this dish was awesome, the short rib was fork tender and the salsa verde went great with it. So with the salsa verde still stuck in my head from Friday’s lunch. When Big Red mentioned that he didn’t have any use for the remaining cilantro from his guacamole, the salsa verde popped into my head. The rough recipe that I came up with for the salsa verde was half of bunch of cilantro (finely chopped), about 2 tsp of horseradish, ½ a lime, and some olive oil. This salsa verde ended up being an excellent condiment to the beef.

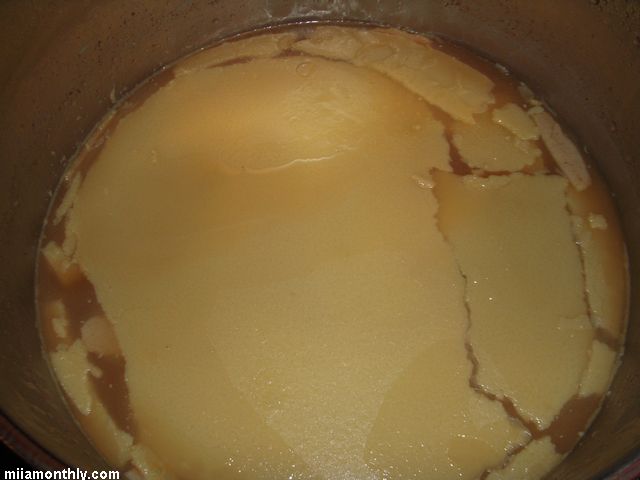
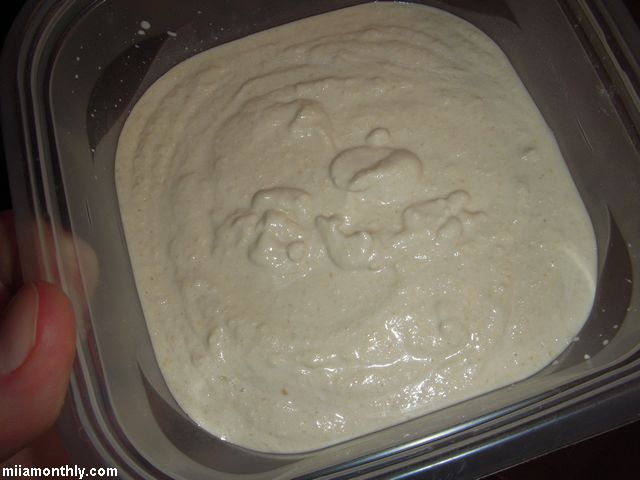
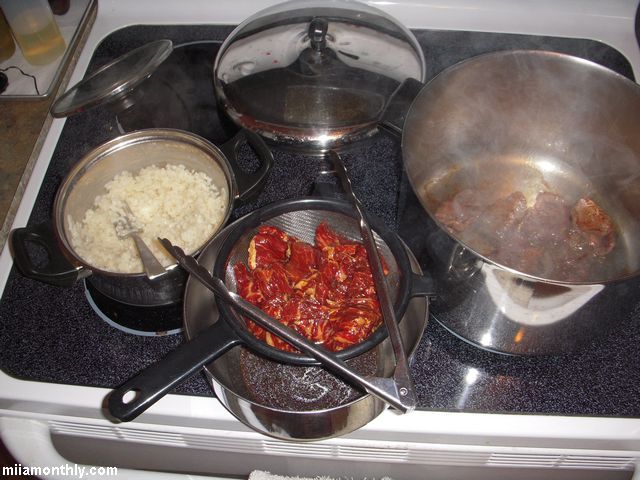
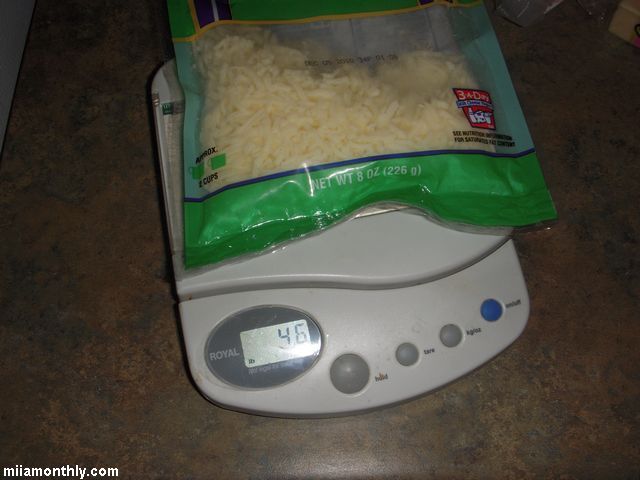
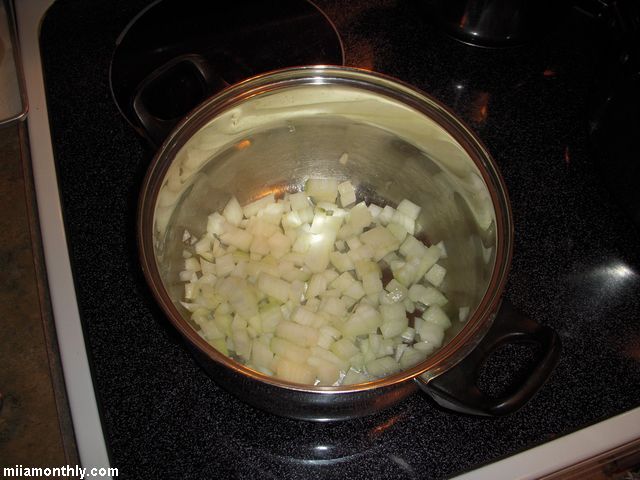
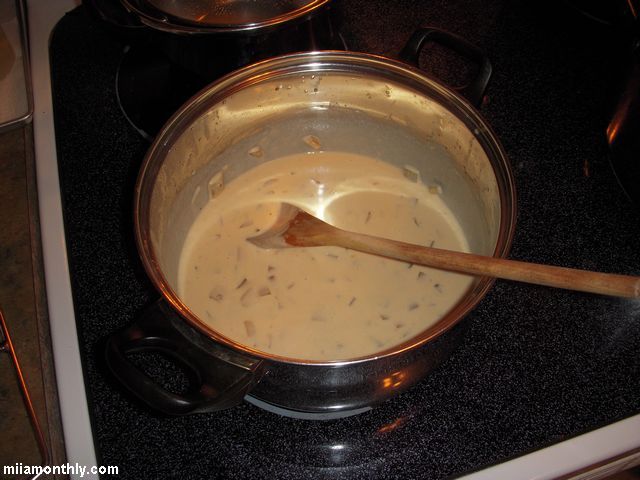
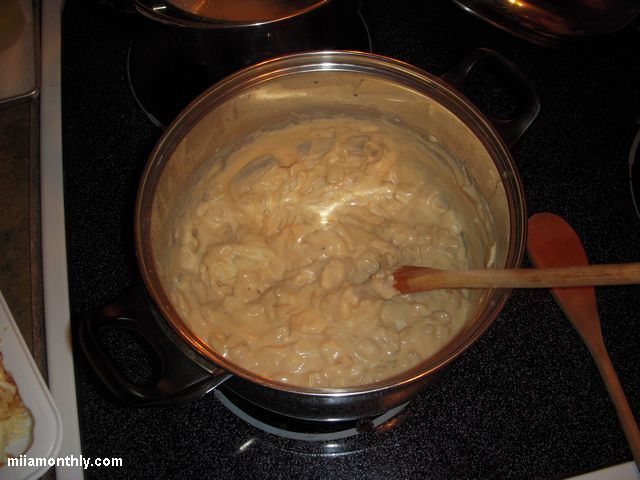
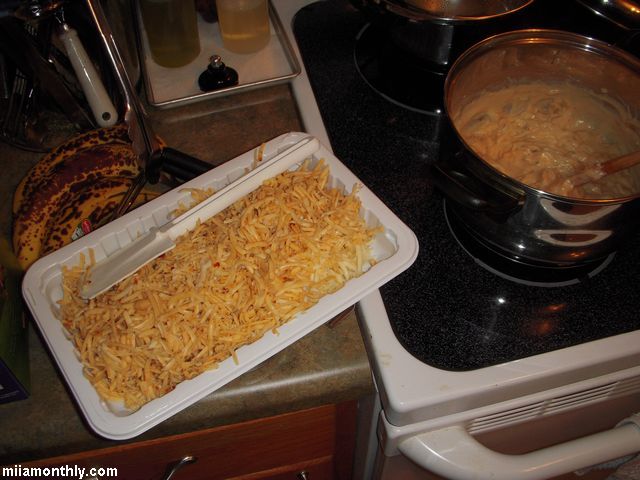
For a starch, we went with double baked potatoes, as this was a request from Boxcar, so I made it work. I started with 8 baking potatoes that I scrubbed and baked in the oven at around 375F for about an hour and a half until tender to the touch. From there the potatoes where cut in half length-wise, the insides scooped out and placed into a small pot. Then all the insides were mashed with milk, butter, olive oil, cheddar cheese, salt and pepper, and spooned back into the hollowed skins. I then popped the skins back in the oven at ~350F to bake while working on the rest of dinner.

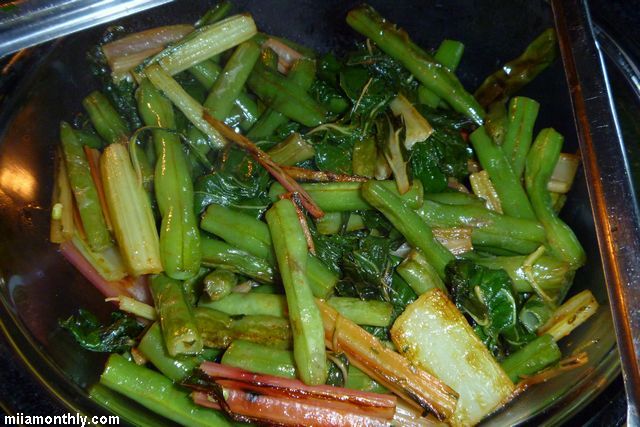
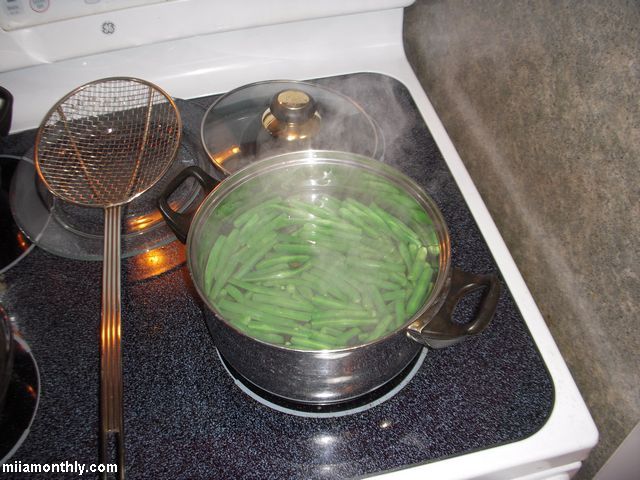
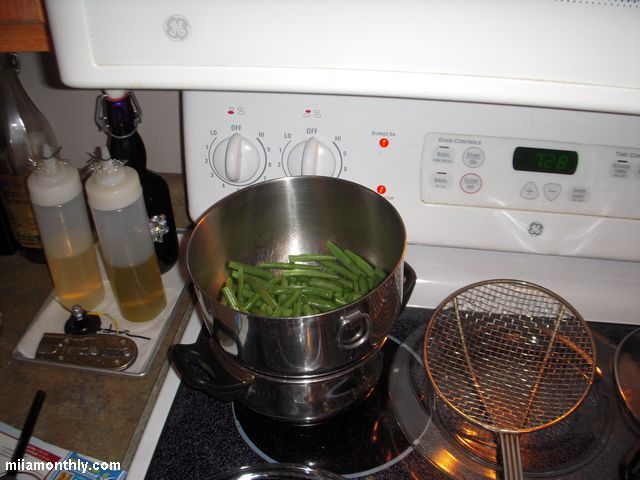
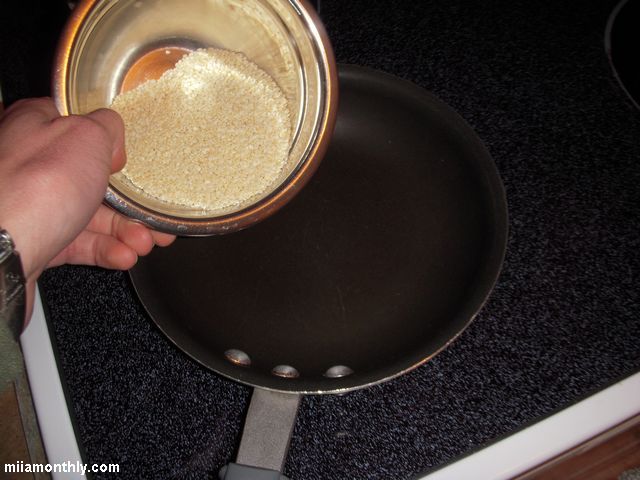
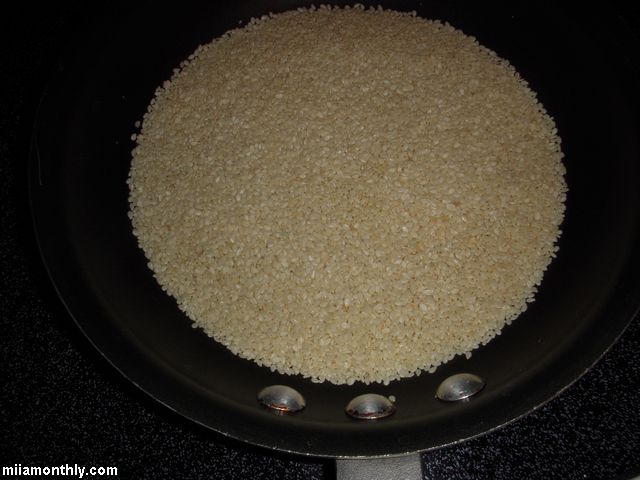
The broccoli I was on the fence about, since I really don’t eat that much broccoli, but it was another request from Boxcar, so I made it work. Personally I think that plain steamed broccoli is boring to eat, and boring to look at. So when I was in the shower the morning of New Year’s Eve I rolled around the idea of doing something different to jazz things up. So what I came up with was to first par blanch the broccoli (about 3 mins in boiling water), then adding it to a Pyrex dish with Italian breadcrumbs and cheddar cheese and baking it in the oven at the same time as the potato skins. The baking took care of a couple of tasks for this dish: 1) It will finish cooking the broccoli so that it is still firm but not a pile of mush and 2) it will brown up the breadcrumbs and melt the cheese.

Last up was the salad, which really took nothing to put together. Since all the salad was, was two bags of pre-washed spring mix greens, two carrots shredded with a peeler, a quarter of a finely chopped red onion, Wegmans own raspberry vinaigrette and four tangerines that were peeled and cut into segments. Then I just tossed it all together and served.

In total about 3 hours of cooking/kitchen time from about 5pm to ~8pm when dinner was served. There weren’t very many leftovers after dinner, so I’ll take that as a sign that people enjoyed the dinner.
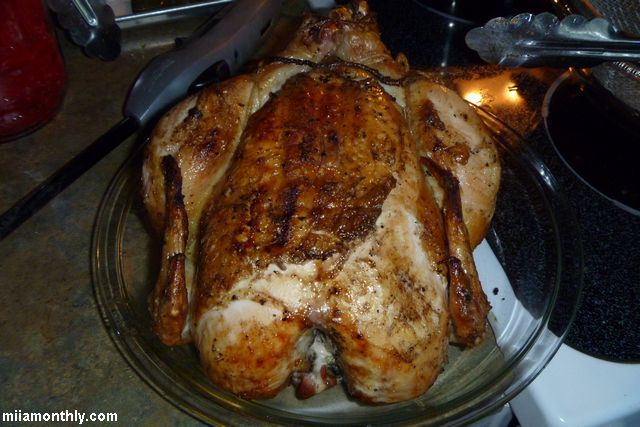
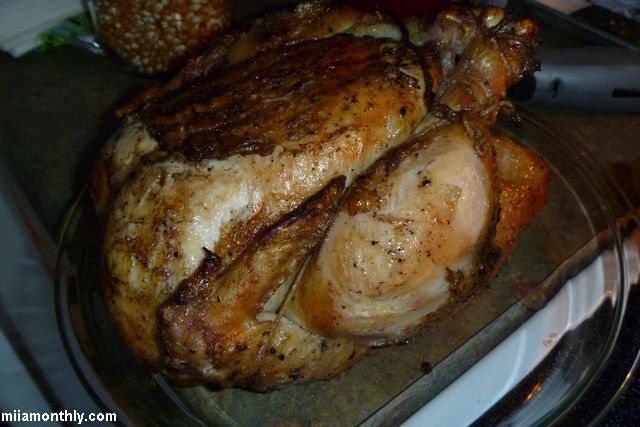
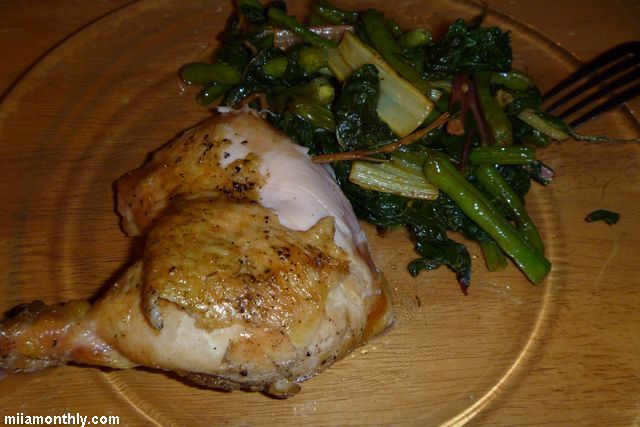
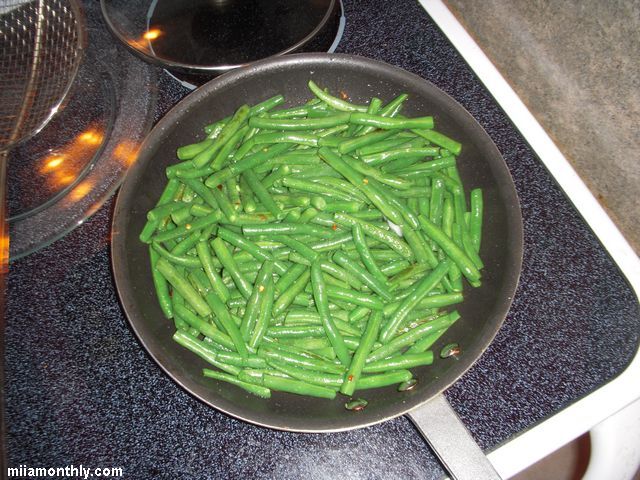
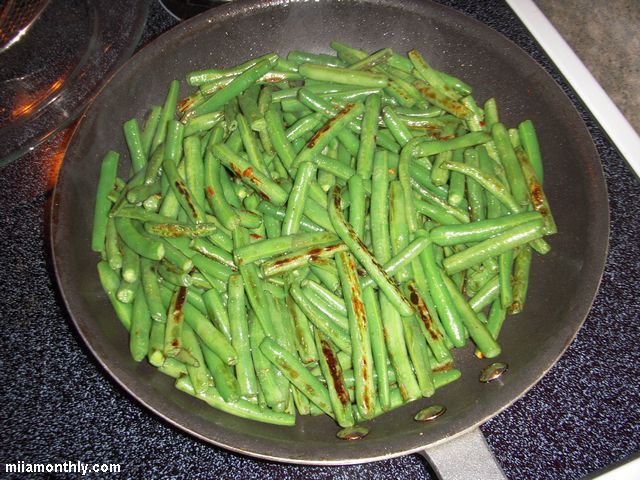
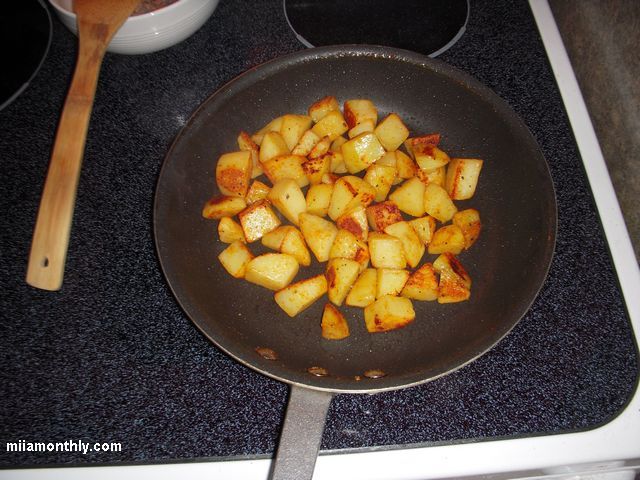
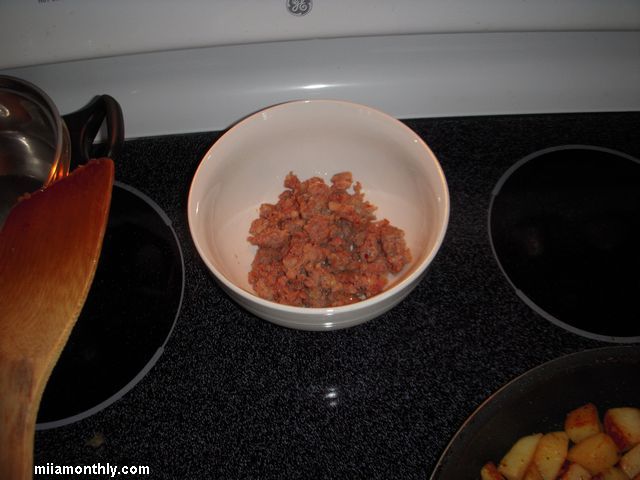
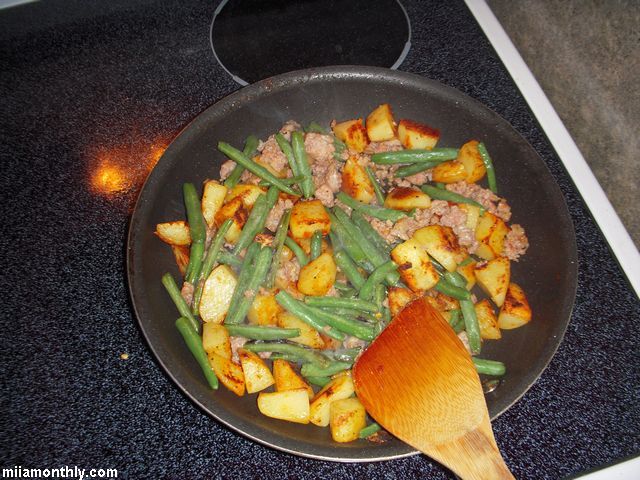
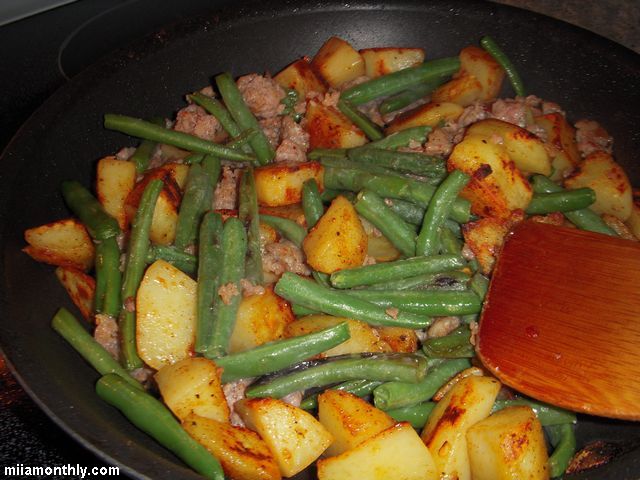
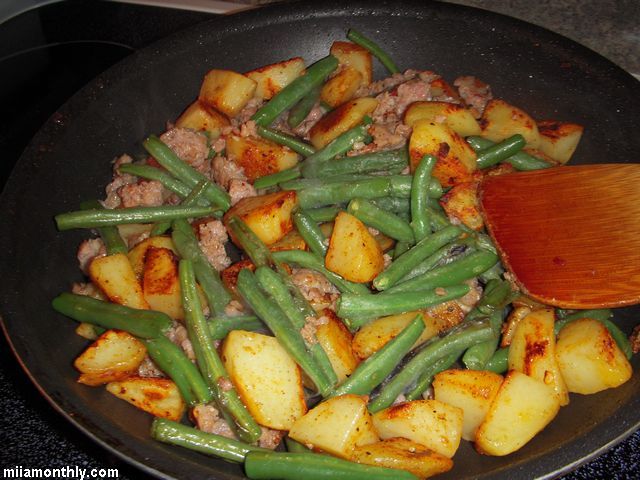
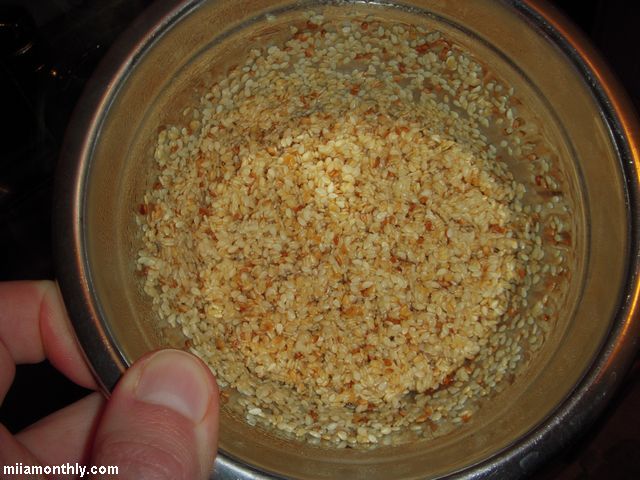
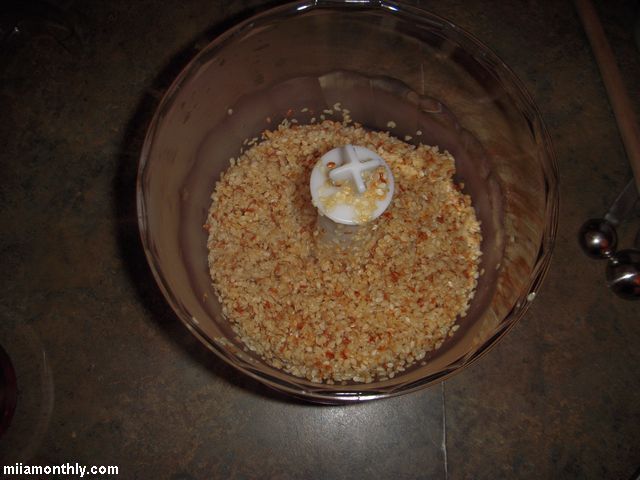
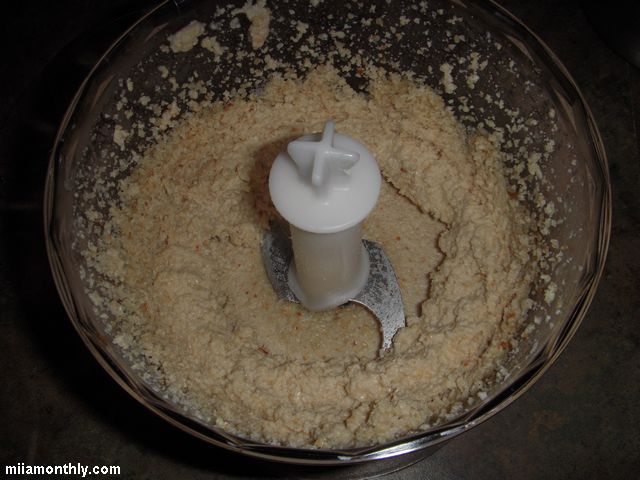
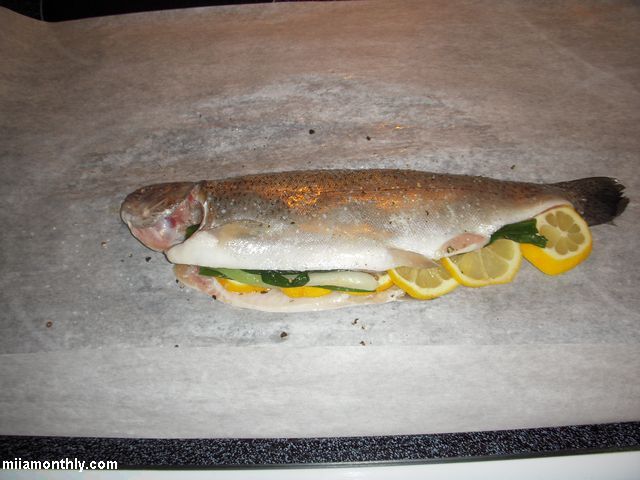
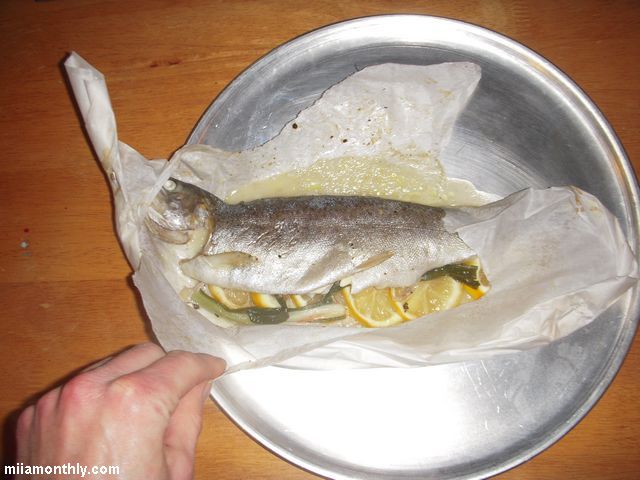
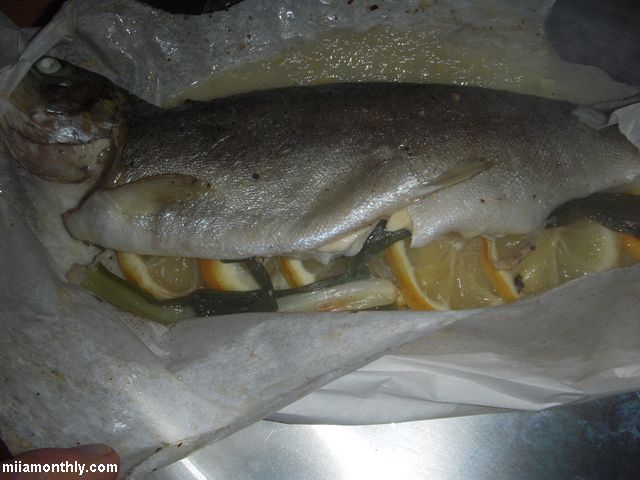
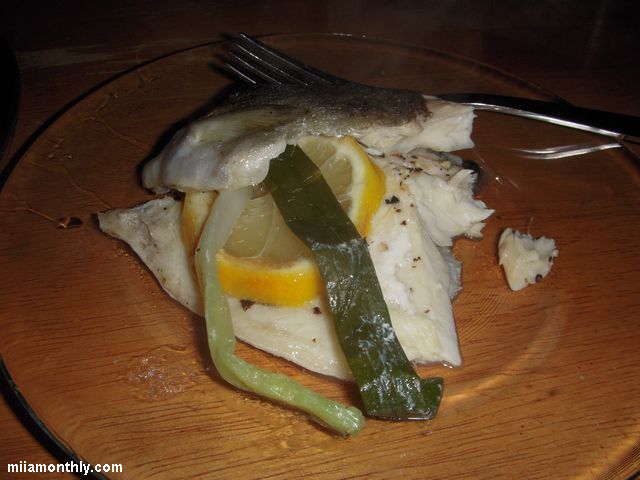
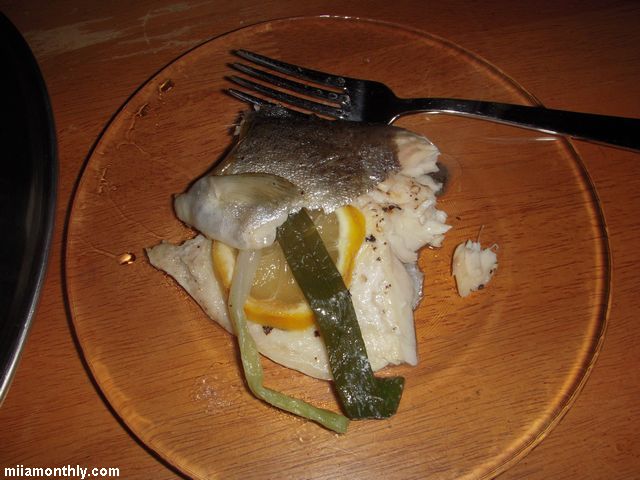
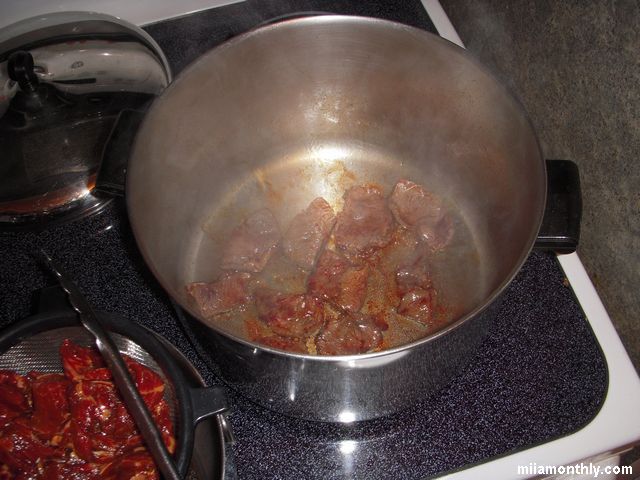
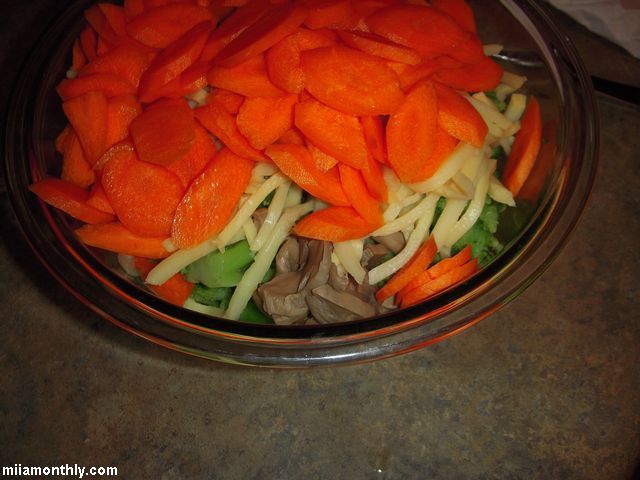
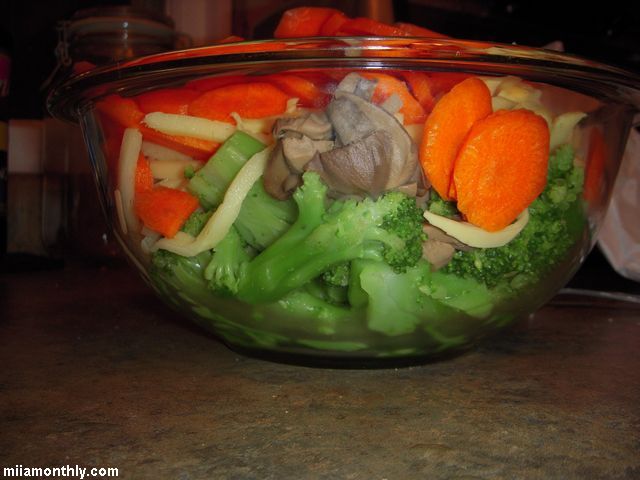
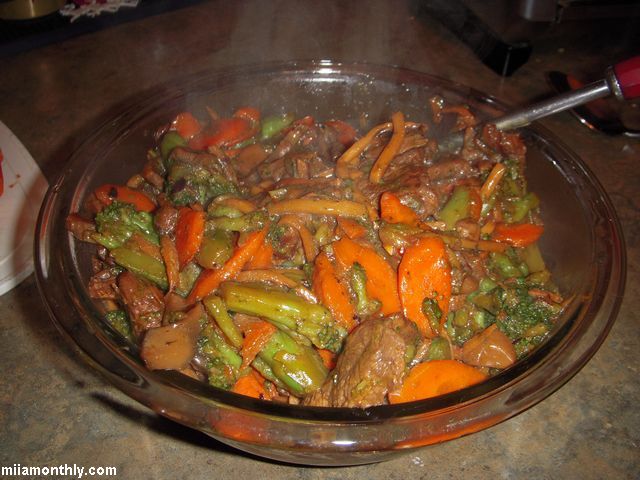
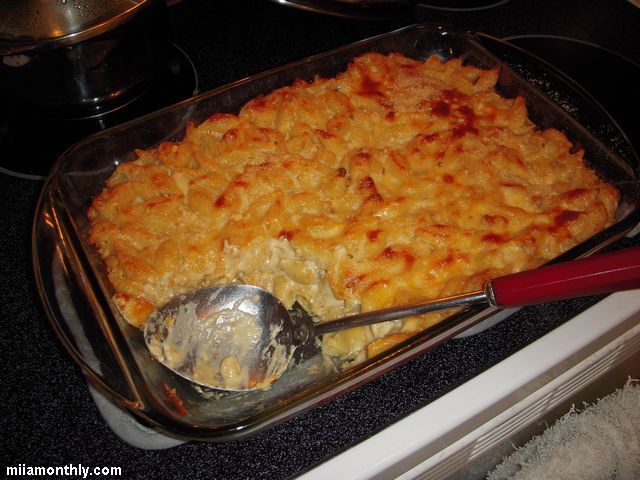
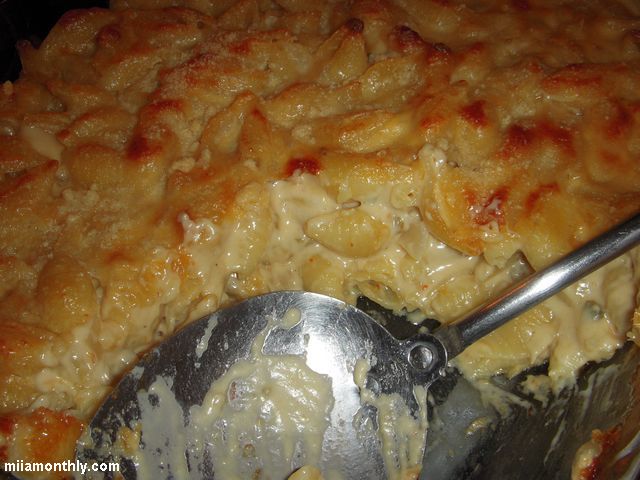
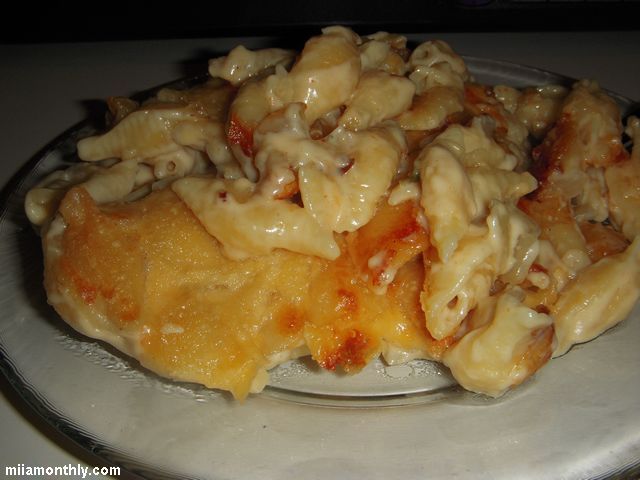
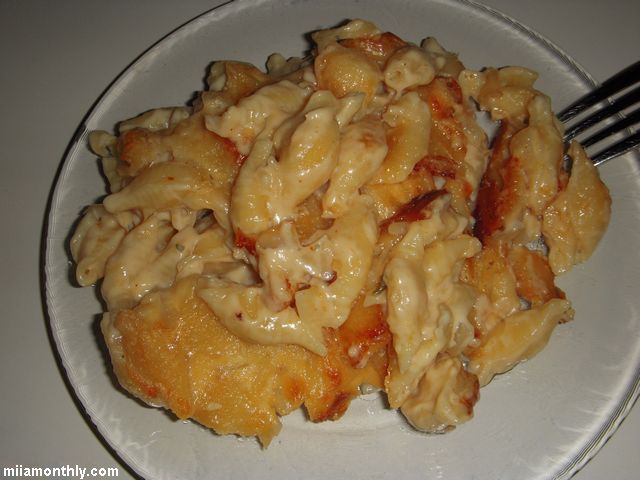
Attached are some pics from my cell phone that I took that night.

Grilled Whole Chicken & Shiracha Swiss Chard

Editors Note: This should have been posted about 6 months ago. But better late than never.

Whole chickens were on sale at the grocery store for $0.69 a lb. So I thought that it was high time to make a roasted chicken on the grill.

The cooking time couldn’t be simpler for this dirty bird. With the bird directly over the coals, grill 8 mins on breast side, flip, than 8 mins on the back side, finally another 2 mins on each side of the bird (20 mins total.) Then move to the cool side of the grill, with the breasts facing the coals. And let it go for 30-40 mins, until the bird is at 160F.

As for the swiss chard, my crop of swiss chard was a total disaster this year. So I ended up having to bum some swiss chard from my farmer neighbor. As for cooking method, I lightly blanched the swiss chard, along with some green beans for a couple of minutes. And then in a frying pan with a with a little bit of bacon fat, I sautéed the swiss chard and green beans until golden. And then at the end, I gave it a couple of squirts of sriracha for some heat. I might have added just a little too much sriracha (as you can tell from the pics), but I like it hot. Thought it could of used some kind of crunch in the mix, maybe french fried onions or breadcrumbs. But I consider a missing crunch, only a minor detail.

Making chicken stock – Feb 2011

I haven’t made a chicken stock at home, in at least a couple of years. With the main reason being that I usually just buy chicken stock by the 1 quart carton at Aldi, which covers most of my chicken stock needs. But with chicken bones piling up in the fridge and freezer, it was time to finally bit the bullet and make up a batch of stock.

Personally I’ve gotten to the point where I really don’t even use a recipe when making up a batch of stock, but I do make sure that it always includes the following four items: water, chicken, vegetables, and herbs/spices.

So to break it down even further, here is what I ended up using for this batch of chicken stock:

Chicken:
One whole young chicken cut up into seven pieces (2 breasts, 2 wings, 2 thighs and the spine)
Three Quart sized plastic bags of “chicken bones” (this includes wing tips, leftover skin, breast bones & thigh bones)

Vegetables:
A large handful of frozen parsley stems
A quart sized bag of frozen green onions
One whole head of fresh celery
6-10 large carrots

Spices:
A couple of tablespoons of whole black peppercorns
Four or five Bay Leaves
Four or five cloves of frozen garlic

Liquids:
Enough water to cover all the ingredients by 1″, plus you’ll need to add more water after the first 12 hours of simmering.

Technique:
Having assembled all the ingredients, I realized that I needed to use my strike water kettle from my homebrewing set-up to cook this stock, since my 12 quart pot wasn’t going to cut it for all these ingredients. As a side note, since I was using my strike water kettle. I should have heated up the pot and contents on my propane turkey fryer burner, since it would have brought the mixture up to boiling much more rapidly compared to my electric range. But with that lesson out of the way, it’s time for the “boring” part of making stock, which is letting the mixture simmer for as long as possible. So after the stock was brought to a boil, I let is simmer for 24 hours, so that every last bit of flavor was extracted from the ingredients.

And speaking of flavor, I almost forgot to mention a step before the actual boiling/simmering of the stock. Which is roasting all the ingredients under the broiler. Since I had so many ingredients for this stock, I ended up using two half-sized jelly roll pans for all the ingredients (except for the bay & peppercorns.) Make sure to give everything a light coating of olive oil, and then roast the ingredients (turning often) until they are good and browned all around, which should take about 30-60 mins depending on your broiler and the rack setting of your oven.

So with the roasting and simmering done, strain out all of the solids from the stock, and chill overnight. The next day, remove the fat cap on the stock, and bring the stock to a full boil, and reduce by about half to concentrate the flavors. And now you have a pot of chicken stock to use for whatever cooking needs you have.

Green Bean and Potato Hash – March 2011

This is totally a random creation on my part, but a pretty taste one. It all started earlier in the week, when I cooked up some green beans to go with my dinner. Which ended up being nothing more then boiling 1.66 lbs of green beans for 5 mins, then adding them to a hot frying pan with a little bit of bacon fat, red pepper flakes and garlic powder, and just cooking them on medium high heat until browned (about 5-10 mins.)

It wasn’t until after I made all those beans, that I realized I needed to re-purpose those beans into another dish, since eating just a pile of cooked beans is boring.

As usual I dug into my memory banks, and the week before in Utah, JRR made up this hash for breakfast one morning with leftover steak and fingerling potatoes. As usual, I had a bunch of random stuff in the fridge, so here was what I came up with for a quick hash:

Ingredients:

  • A large handful of cooked green beans (using cooking direction above)
  • 4-5 russet potatoes, peeled, cubed
  • 1/3 lb of hot breakfast sausage
  • Rendered bacon fat
  • Lawry’s Season Salt
  • Black pepper

Technique:
It really could be simpler to make this dish. First thing, in a hot frying pan, brown the breakfast sausage until fully cooked. While you’re cooking the sausage, microwave the potatoes using this recipe. With the sausage cooked, and transferred to a bowl to cool, add the bacon fat to the hot pan, season and cook the potatoes using the same recipe. Finally during the last 2-3 mins of cooking time on the potatoes, add in the sausage and green beans, and toss until the green beans have heating thru, then serve and enjoy.

Side Notes:
1) The green beans were pretty good on their own, with the garlic powder, bacon fat and red pepper flakes. But they are out of this world with the potatoes and sausage, so this “recipe” is a keeper in my book.
2) When I originally made the green beans, I didn’t really anticipate using them for another dish. So they were fully cooked the first time around. This was part of the reason why I added the green beans at the very end of the potato cooking, since they really only needed to be re-heating, from being in the fridge overnight.

Homemade Tahini recipe – v1

Part of the reason I wanted to try and make my own tahini, was just to see if it could be done. Since really how hard could it be to turn whole sesame seeds into a smooth paste? (see side notes) So with a little bit of searching on the interest, I found three recipes that I could use as a starting point, so here is the recipe that I came up with:

Ingredients & Technique:

  • 1/2 cup of white hulled sesame seeds, lightly toasted in a dry pan
  • 10 TB of Warm water
  • 4 TB of Vegetable oil

Toast sesame seeds in a dry pan over medium heat for about 5-10 minutes. Allow to cool for about 5 minutes. Then add the sesame seeds, the vegetable oil and the warm water to the food processor and process for about 10 minutes until very smooth.

Side Notes:
1) On first glance, my version of tahini looks pretty close to the stuff that you get at the store. Though it does look just a little bit less brown in color than the store bought variety. Additional toasting would probably solve this issue.
2) Also this tahini seems thinner than what you would get at the store. So I might need to decrease the amount of water in the recipe, to thicken things up.
3) Here is something funny that I only realized after I finished making the tahini. I had toasted sesame oil in my kitchen cabinet the whole time, but I forget to use it, and used vegetable oil instead. So next time I make tahini I’ll have to use the toasted sesame oil instead of vegetable oil.
4) Personally I’m on the fence, about making my own tahini again. Yeah it was easy and cheap and it tasted pretty good, but the final product really doesn’t compare to what you would get from the grocery store. But I’m willing to try and make it a couple more, if only to use up the rest of the 1 lb sack of sesame seeds that I picked up at Penzeys for a couple of bucks.

Links:
GroupRecipes – Homemade Tahini Recipe
Suite101 – Make Your Own Tahini Sesame Seed Paste
Food.com – Homemade Tahini

Cream of Carrot Soup – v2

With winter weather basically upon us, its time to start getting into soup & stew mode. So while cooking for a wedding rehearsal dinner last year with JRR & Nook, one of the items that we made was a cream of carrot soup recipe that I found in an old issue of Food & Wine magazine. At first glance the recipe appears to be super easy to make (with only 8 main ingredients), and it also appears that it would be a good base recipe for any kind of cream of vegetable soup, such as broccoli or cauliflower soup. So lets dig in. Continue reading

Shepherd’s Pie – v4 – Janurary 2011

I never had shepherd’s pie as a kid of dinner, so I really had no concept of what should go into a “true” Shepherd’s Pie. So starting with a base recipe off of Food Network. Here is the heavily modified recipe that I came up with.  Since if I’m going to rework a recipe, I might as well add stuff that I would want to eat. Continue reading

Christmas Eve 2010 – Baked rainbow trout with lemon & green onions

I needed a quick and easy recipe to bake a fish for Christmas Eve, so I ended up finding a recipe on the Food Network website, and modified the hell out of it as usual.

My original inspiration for making this dish, was seeing Jacques Pépin a long time ago on either Fast Food My Way, or Cooking with Julia, but I just can’t remember which one off  hand. But what I do remember from Jacques, was him using a parchment paper pouch to cook the fish in the oven.

So with my basic recipe in hand, and a vague memory from Jacques, I was off and running.

Ingredients (serves 2-3):

  • One farm raised rainbow trout, head-on, approximately 3/4 lb in total weight
  • One whole lemon, sliced
  • Herbs (most recipe use thyme or rosemary, but I had some green onions on hand that I wanted to use)
  • Kosher Salt and Finely ground black pepper
  • Extra Virgin Olive Oil

Technique:
Pre-heat the oven to 375F. Wash the fish inside and out, then season with salt and pepper on all sides. Lay the fish on a sheet of parchment paper, and place the lemon and herbs inside the fishes belly. Fold the fish back together, drizzle with olive oil, and fold the pouch to seal tightly. Place the parchment pouch on a rimmed baking sheet, and pop it into the oven to bake for 20-25 mins. Once done baking serve immediately.

Side Notes:
1) If the fish is about 3/4 lb, go with 20 mins, but if closer to 1 lb go with 25 mins. For the 3/4 lb fish that I cooked, I went with 25 minutes, and the fish ended up being slightly on the dry side. So don’t overcook that poor fish.
2) Like I mentioned with the herbs, I used green onions, only because I had of bunch of them on hand. So feel free to experiment with fresh or dried herbs.
3) Don’t go overboard on the black pepper. For some reason, a little goes a long ways in the recipe. Also use a finer grind, since a courser grind added a unnecessary “heat/spice” element to the flavor of the fish.
4) For an off the cuff recipe, this fish turned out pretty good. So I’ll have to remember this recipe, if I ever need a quick fish dish.

Beef Short Rib Stir Fry – v1 – November 2010

For some reason I’ve been on a kick for beef short ribs, (call it a case of having Korean barbecue on the brain.) And since there are no Korean barbecue places in town to get my fix, I quickly brainstormed on what to make as a quick substitute. And what kept popping up in my head was to make a “stir fry”, which is funny because I haven’t made “stir fry” in years. And looking back in retrospect, most of the “stir fry” that I did make back in the day, I won’t even consider cooking again. So I thought, why not try to re-boot the stir fry with all the cooking know how that I’ve picked up over the years, and make a better stir fry. So here are the ingredients that I was able to cobble together around the house to make this dish:

Ingredients:

  • 1.25 lbs of boneless beef short ribs, cut into thin & short strips
  • 1/2 cup soy sauce
  • couple of shakes of fish sauce
  • 1 TB Hoisin sauce
  • 2 TB light brown sugar
  • 1 TB Toasted Sesame oil
  • 3 TB Vegetable Oil
  • 1 lb Frozen Broccoli
  • 4 carrots, sliced on a mandolin
  • 1 small can of button mushrooms
  • 1/2 a can of bamboo shoots
  • 1 TB Corn Starch
  • 1/4 cup of cold water
  • A pinch of red pepper flakes

Technique:
Combine the soy sauce, fish sauce, hoisin sauce, brown sugar and sesame oil into a quick marinade, add in the sliced beef, and let it soak for 30 mins. Then heat up a large stock pot to medium high, and added 1 TB of the vegetable oil, and cook the beef in three batches until browned, about 2 mins total cooking time per batch. Reserve and strain all the marinade liquid, as well as all the juices from the cooked beef.

Now in the empty stock pot, add the remaining vegetable oil, keeping the heat on medium high, and cook all the vegetables for about 15-20 mins until tender. While the vegetables are cooking, add the corn starch to the water and then whisk it into the saved marinade and cooking juices. With the vegetables done cooking, add back the cooked beef and the corn starch mixture, and mix everything up until the sauce has thickened, about 2-3 mins. Then serve with white rice or ramen noodles.

Total cooking time: 60 minutes, broken down as follows; 30 minutes to marinade the beef, and 30 minutes to get everything cooked up (beef, vegetables and sauce).

Final flavor – 11/1/2010 @ 8:45pm
This ended up turning out way better then expected. But really how hard could it be to screw up a stir fry? (Answer: Pretty easy if you don’t know what you’re doing in the kitchen.) First thing first, the short ribs were totally awesome in the stir fry, got to love that heavy marbling in the meat. But as for changes next time around, I would add another pound of broccoli to the mixture (for two pounds total), since there wasn’t enough broccoli with my beef. Plus I would add a bit more of the red pepper flakes, since you really didn’t get much heat from eating the stir fry. But other then that, this recipe is a pretty good start point in any stir fry adventures.

Baked Mac & Cheese – v1 – Oct 2010

This mac & cheese, is really the first time that I’ve made a baked mac & cheese from scratch before. I kind of had a general recipe to go by, but as you’ll see below. I kind of missed a few critical points in winging my recipe. But lets at least knock out a couple of major items in making this mac and cheese on the fly. First and foremost was that it was 9pm on a Sunday when I started to make this recipe, so I really didn’t want to go to the grocery store to get any missing items. This meant that I had to make do with what was already in the house, meaning that I didn’t have, whole milk, eggs, or cheddar cheese. But what I did have on hand was one can of evaporated milk, a bunch of random cheeses, 1/2 gallon of heavy cream, butter, flour, onions, pasta, olive oil and Parmesan cheese. So after a bunch of searching online, I found a mac & cheese recipe that used a roux, so I was off and running. It wasn’t until way, way, later on that I realized that I didn’t fully read the recipe. But that is part of knowing how of cook, and correcting mistakes on the fly, since all I had to do was improvise when it came to the milk/evaporated milk/heavy cream situation below in the side notes.

And with that out of the way, here is the recipe that I ended up creating, based in part on this recipe:

  • 1 lb. Medium Shells, cooked and drained
  • 1-2 TB Extra Virgin Olive Oil
  • 1 large yellow onion, diced
  • 4 TB (1/2 stick) unsalted butter
  • 3 tablespoons all-purpose flour
  • 1 can (12 fl. oz.) NESTLÉ® CARNATION® Evaporated Milk
  • 1 cup heavy whipping cream
  • ~4 oz Shredded Mozzarella
  • ~4 oz Shredded Monterrey Jack
  • ~10 oz Shredded Habanero Cheese
  • 1/4 cup Parmesan Cheese or breadcrumbs or crackers to top
  • Salt & Black Pepper

It’s easier to think of this recipe, in terms of what needs to be done in two separate pots at the same time:

In Pot #1) Fill the pot with water and bring to a boil, then add some kosher salt. Add the pasta and cook until it is al dente. Drain, and then return the pasta to the pot.

And then in Pot #2) Place on the range and heat to medium (#5), add the olive oil and onions. Sweat until the onions are lightly browned. Add the butter and wait until melted, then add the flour and stir to make a roux. After the roux has formed, and starts to turn a light brown color, slowly add in the evaporated milk, stirring the whole time. Then cook the roux until thickened, about 5-10 minutes. Then dump all the roux, all the heavy cream and all the cheese into the pasta in Pot #1. Mix until fully blended. Then dump into a large Pyrex dish, and top with either Parmesan cheese or breadcrumbs and bake for 30 minutes in a pre-heated 400°F oven, until browned and bubbly on top. Allow to cool and set for 5-10 minutes before serving.

Side Notes:
1) As I mentioned above, I really didn’t bother to read the recipe in detail before making the dish. Since if I had read the recipe, I would have realized that I needed three cans of evaporated milk instead of one can. Hence the addition of heavy cream at the very end of the recipe. So next time I make this dish, I’ll have to get a couple of extra cans of evaporated milk, since I really don’t keep any in the house.
2) Also part of not reading the original recipe, was running into the situation of having a thick roux putty, when I started to add the cheese to the roux. I was only able to add about 1/2 of the cheese before I stopped, since something didn’t make sense (not enough evaporated milk in the pot). So I dumped the putty roux into the pasta, along with the other half of the cheese, and stirred until fully blended. But with not enough liquid dairy in the mixture, things where looking a little too thick. So this is when I started to stir in 1/4 cup at a time of heavy whipping cream, until things started to look creamy. Which ended up being after 1 cup of heavy cream was added to the mixture.
3) If you have a Cuisinart, this is the recipe to use it on. Since it would have taken forever to shred all the cheese by hand. Could you do it by hand? Sure. But like all other mis en place, if you can find a faster way to get it done, then go with it. But its tasks like this, or mincing peppers, that sways me in agreeing with Bittman’s argument, on the value of owning a food processor in the kitchen.

Tasting Notes: 10/24/2010 @ 10:26pm
The mac and cheese turned out nice and spicy, with the habanero spice increasing with every bite. But for some reason after baking, the habanero heat is less intense then I was expecting (but still way more hot, then what the majority of people can handle). It was creamy, but it probably could have used just a bit more liquid, since it wasn’t a dripping off your fork kind of creamy. But overall for a first attempt, it came out better then expected.

Tasting Notes: 10/25/2010 @ 1:00pm
Surprisingly this mac and cheese reheats very well in the microwave, with very little separation of the roux. But it seems that the key to reheating in the microwave, is to use 50% power instead of 100% power, since at 50% power it seems to do a better job of evenly heating up the mac and cheese without the dish getting greasy from the butter separating.

Other online versions of mac & cheese recipes from the Carnation website:
Cheesy Macaroni and Cheese
Macaroni Cheese for a Crowd
Traditional Macaroni and Cheese
Top of the Stove Mac n Cheese