Baked Mac & Cheese – v1 – Oct 2010

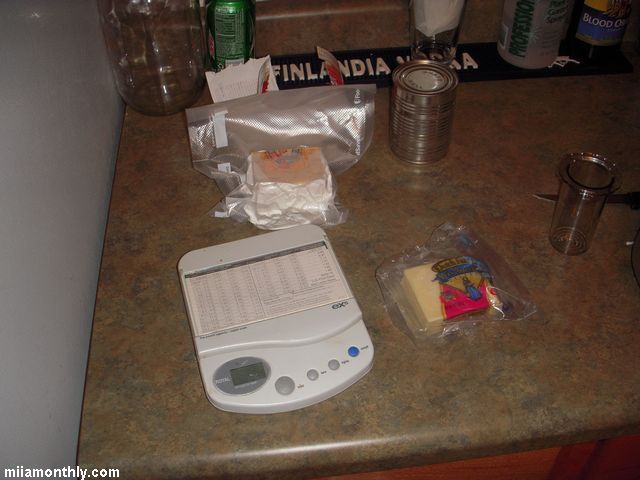
This mac & cheese, is really the first time that I’ve made a baked mac & cheese from scratch before. I kind of had a general recipe to go by, but as you’ll see below. I kind of missed a few critical points in winging my recipe. But lets at least knock out a couple of major items in making this mac and cheese on the fly. First and foremost was that it was 9pm on a Sunday when I started to make this recipe, so I really didn’t want to go to the grocery store to get any missing items. This meant that I had to make do with what was already in the house, meaning that I didn’t have, whole milk, eggs, or cheddar cheese. But what I did have on hand was one can of evaporated milk, a bunch of random cheeses, 1/2 gallon of heavy cream, butter, flour, onions, pasta, olive oil and Parmesan cheese. So after a bunch of searching online, I found a mac & cheese recipe that used a roux, so I was off and running. It wasn’t until way, way, later on that I realized that I didn’t fully read the recipe. But that is part of knowing how of cook, and correcting mistakes on the fly, since all I had to do was improvise when it came to the milk/evaporated milk/heavy cream situation below in the side notes.

And with that out of the way, here is the recipe that I ended up creating, based in part on this recipe:

  • 1 lb. Medium Shells, cooked and drained
  • 1-2 TB Extra Virgin Olive Oil
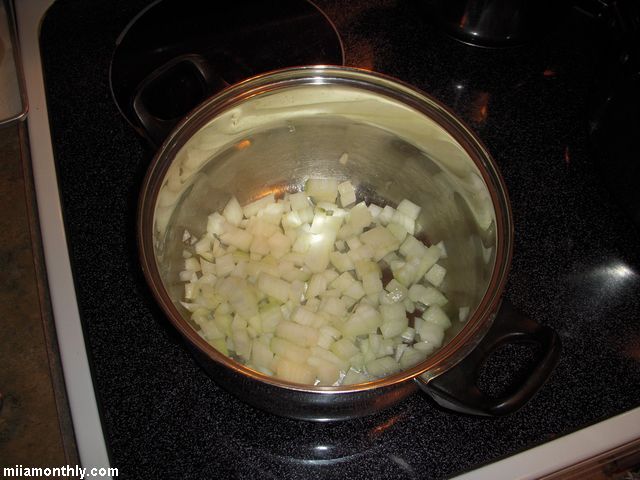
  • 1 large yellow onion, diced
  • 4 TB (1/2 stick) unsalted butter
  • 3 tablespoons all-purpose flour
  • 1 can (12 fl. oz.) NESTLÉ® CARNATION® Evaporated Milk
  • 1 cup heavy whipping cream
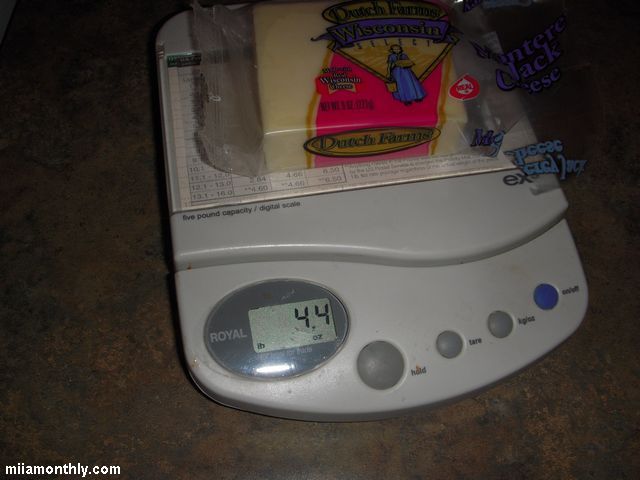
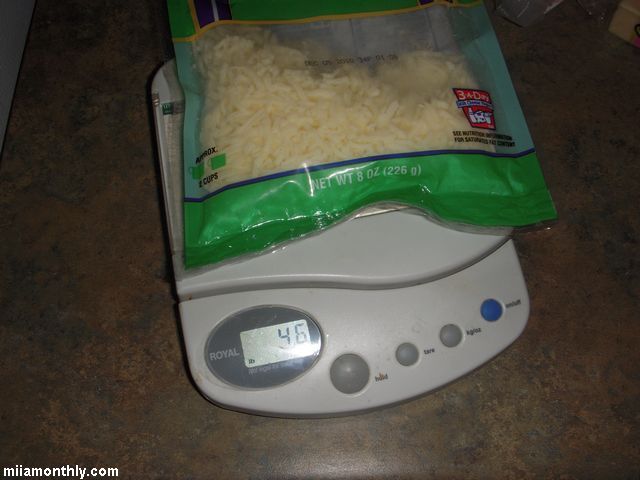
  • ~4 oz Shredded Mozzarella
  • ~4 oz Shredded Monterrey Jack
  • ~10 oz Shredded Habanero Cheese
  • 1/4 cup Parmesan Cheese or breadcrumbs or crackers to top
  • Salt & Black Pepper

It’s easier to think of this recipe, in terms of what needs to be done in two separate pots at the same time:

In Pot #1) Fill the pot with water and bring to a boil, then add some kosher salt. Add the pasta and cook until it is al dente. Drain, and then return the pasta to the pot.

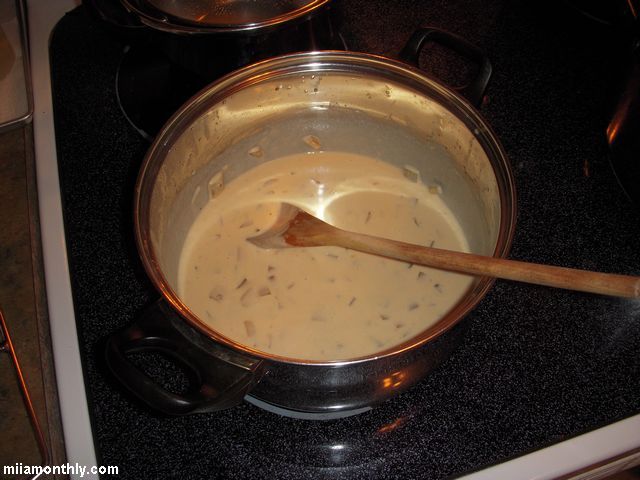
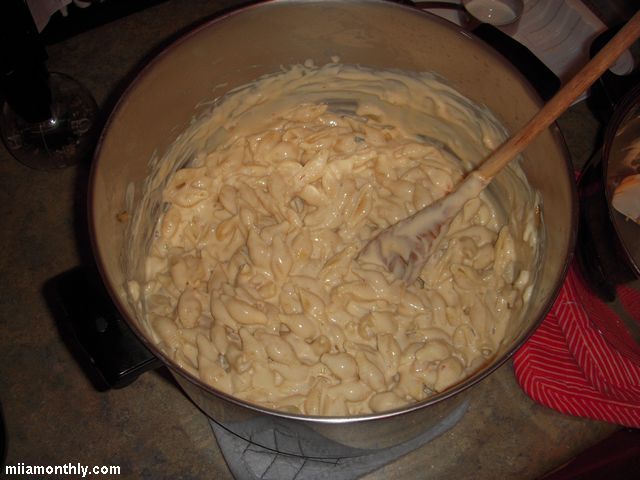
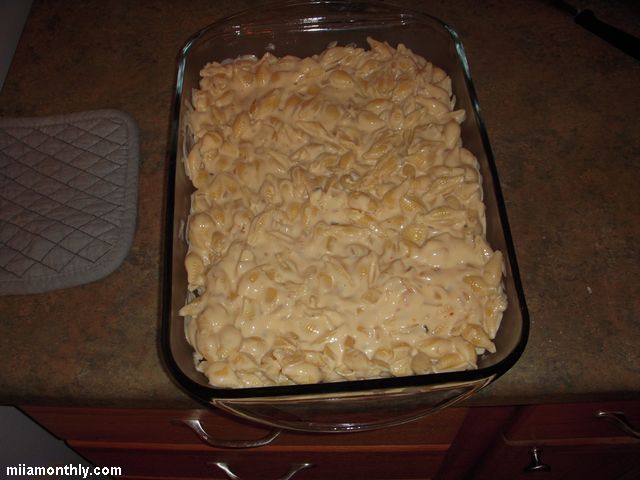
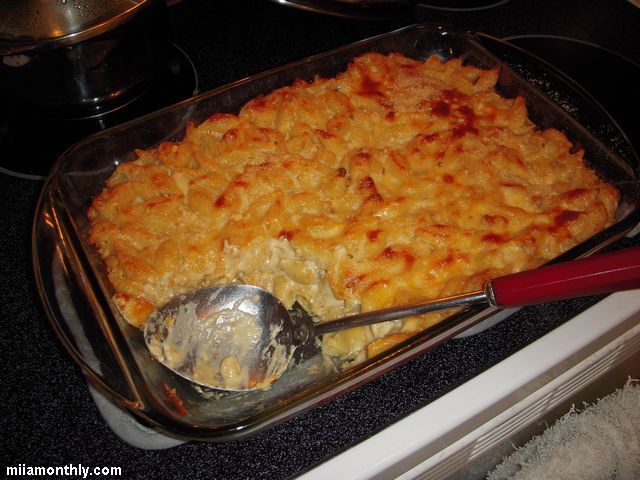
And then in Pot #2) Place on the range and heat to medium (#5), add the olive oil and onions. Sweat until the onions are lightly browned. Add the butter and wait until melted, then add the flour and stir to make a roux. After the roux has formed, and starts to turn a light brown color, slowly add in the evaporated milk, stirring the whole time. Then cook the roux until thickened, about 5-10 minutes. Then dump all the roux, all the heavy cream and all the cheese into the pasta in Pot #1. Mix until fully blended. Then dump into a large Pyrex dish, and top with either Parmesan cheese or breadcrumbs and bake for 30 minutes in a pre-heated 400°F oven, until browned and bubbly on top. Allow to cool and set for 5-10 minutes before serving.

Side Notes:
1) As I mentioned above, I really didn’t bother to read the recipe in detail before making the dish. Since if I had read the recipe, I would have realized that I needed three cans of evaporated milk instead of one can. Hence the addition of heavy cream at the very end of the recipe. So next time I make this dish, I’ll have to get a couple of extra cans of evaporated milk, since I really don’t keep any in the house.
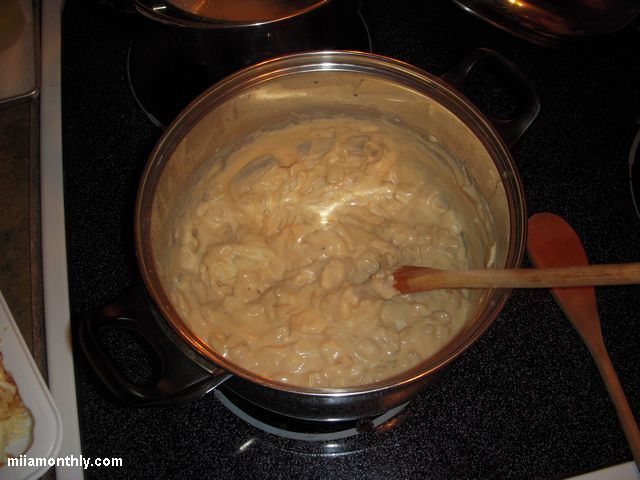
2) Also part of not reading the original recipe, was running into the situation of having a thick roux putty, when I started to add the cheese to the roux. I was only able to add about 1/2 of the cheese before I stopped, since something didn’t make sense (not enough evaporated milk in the pot). So I dumped the putty roux into the pasta, along with the other half of the cheese, and stirred until fully blended. But with not enough liquid dairy in the mixture, things where looking a little too thick. So this is when I started to stir in 1/4 cup at a time of heavy whipping cream, until things started to look creamy. Which ended up being after 1 cup of heavy cream was added to the mixture.
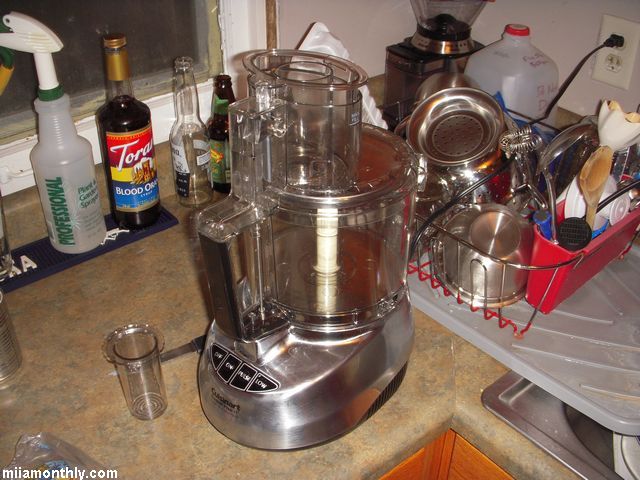
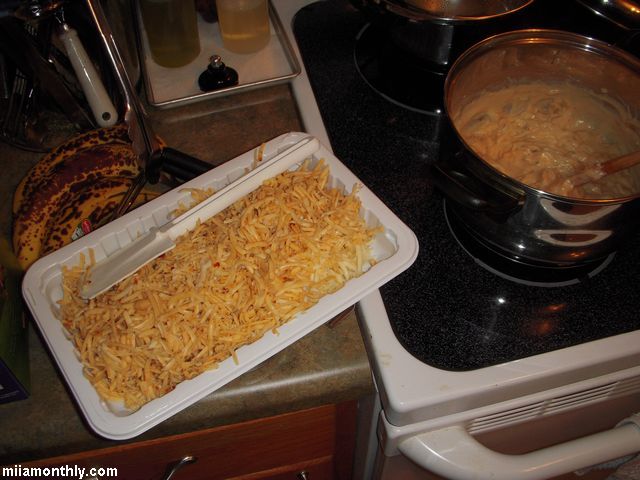
3) If you have a Cuisinart, this is the recipe to use it on. Since it would have taken forever to shred all the cheese by hand. Could you do it by hand? Sure. But like all other mis en place, if you can find a faster way to get it done, then go with it. But its tasks like this, or mincing peppers, that sways me in agreeing with Bittman’s argument, on the value of owning a food processor in the kitchen.

Tasting Notes: 10/24/2010 @ 10:26pm
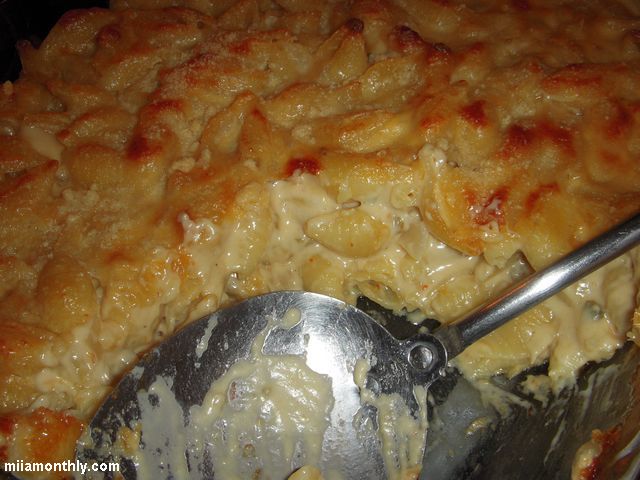
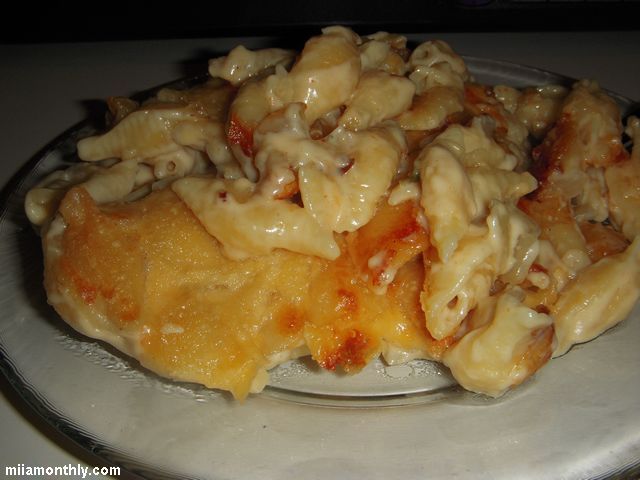
The mac and cheese turned out nice and spicy, with the habanero spice increasing with every bite. But for some reason after baking, the habanero heat is less intense then I was expecting (but still way more hot, then what the majority of people can handle). It was creamy, but it probably could have used just a bit more liquid, since it wasn’t a dripping off your fork kind of creamy. But overall for a first attempt, it came out better then expected.

Tasting Notes: 10/25/2010 @ 1:00pm
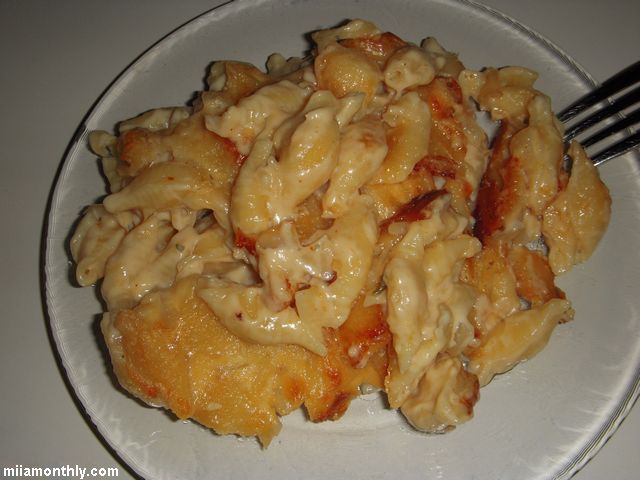
Surprisingly this mac and cheese reheats very well in the microwave, with very little separation of the roux. But it seems that the key to reheating in the microwave, is to use 50% power instead of 100% power, since at 50% power it seems to do a better job of evenly heating up the mac and cheese without the dish getting greasy from the butter separating.

Other online versions of mac & cheese recipes from the Carnation website:
Cheesy Macaroni and Cheese
Macaroni Cheese for a Crowd
Traditional Macaroni and Cheese
Top of the Stove Mac n Cheese

Drying Jalapeno and Aji Limon into pepper flakes – October 2010

As was briefly mentioned in the end of season garden post. I thought that drying these peppers into flakes would be something that you normally don’t see done with either aji limon or jalapenos peppers. Plus I’m just plain tired of canning this season, so drying these peppers is the lazy way of getting them processed into an end product. Continue reading

Garden Season Over – Killing Frost – October 28, 2010

Oh baby was it cold last night. It ended up dropping down to 28F overnight. So when I got home from work ~6pm, it was a mad rush to pick everything worth picking in the garden before the frost hit. That ended up being about eight tomatoes, ~5 lbs of jalapenos, ~2 lbs of aji limon, and all the rhubarb left in the garden (half a grocery bags worth). And with this mad rush of a harvest, the gardening season is basically over for 2010. The only few surviving items in the garden are the Swiss Chard, the green onions and the sage, but other then that, everything else it dead. Continue reading

Canning Homegrown Aji Limon Peppers – October 2010

You might remember these peppers from last year, when I received a random bag of them from my farmer neighbor, which I ended up canning into 2 pints of finished peppers. Well with the saved seeds from last year’s peppers, I was able to grow about 6 plants with varying degree of vigor. But after a roller coaster of a year, that included a freak hailstorm in early spring, as well as an early frost in the beginning of October. I thought that I wouldn’t take any more chances, and process all the ripen peppers before another frost rolled into town. Continue reading

Red Jalapeno Hot Sauce – v3 – October 2010

This hot sauce was one of those random ideas that I had, while looking at all the ripened jalapenos in the garden. At first I though about drying the red jalapenos into a red pepper flake, or maybe even smoking them for chipotles. But for some reason, I was more intrigued by the idea of making them into a hot sauce instead. Continue reading

Hard Cider – Batch 22 & 23 – October 2010

At first this year, I didn’t think about making hard cider since I’m just bringing online ~15 gallons of cider from the 2009 batches. But then I remembered a conversation with JRR a number of years back, about forcing yourself to make cider each year, since it takes about a year of aging to get a batch in drinkable condition. So that means if you skip a cider year, it will be at least two years before you’ll have any hard cider to drink. With that in mind, two weekends ago I placed a special order for 10 gallons of un-treated apple cider (at $5 a gallon) with my cider guy at the downtown farmers market. Since last years cider had preservatives (sodium benzoate) and took FOREVER to ferment out. I worked out a deal with my cider guy for a special order of cider without any preservatives. Continue reading

Dill Pickles – Brined – v4 – September 2010

At first I thought that I was going to process all the pickles that I bought at the downtown Farmer’s Market into v2 & v3 pickles. But while processing the ~7lbs of cucumbers for v2 & v3, I thought that I would go a different route and try to make some brine fermented pickles. Years and years ago back in Michigan I tried to make fermented pickles, and the experiment was an utter failure. So now that I’ve got a little bit more canning and homebrewing experience under my belt, I thought that I would give fermented pickles another try. Before this fermented experiment begun, I stopped by the library to pick up a copy of The Joy of Pickling by Linda Ziedrich(not the revised edition), to try and get a base recipe down, as well as some tips and tricks.
Continue reading

Garden – Late-September 2010

I took these late night shots of the aji limo last night, since for a while there I was worried that they weren’t going to turn yellow. But as you can tell in a couple of the pictures, slowing but surely the aji are going from green to yellow. You can even see a couple of the jalapenos going from green to red.

I had a couple of ideas that I might test out this weekend. But seeing how I only have about 2 or 3 weeks before the first frost hits. I better get cracking on these ideas.

Idea #1, is to take all the red jalapenos, and make a red jalapeno hot sauce, using the latest version of the hot sauce recipe.
Idea #2, would be to make some hot sauce from the green aji.
And finally idea #3, would be to try drying out some of the peppers (aji or jalapeno) for homemade hot pepper flakes.

Dill Pickles – v2 & v3 – September 2010

Since the downtown farmer’s market isn’t going to be around for very much longer, I though that I should take advantage of the situation and make some more pickles before the season is over.

After doing a quick walk around to gauge the prices, I finally found a vendor that was selling 1 1/2 pint containers of pickling cucumbers for $2.00 each. Wanting to get the price even lower, I offer them $15 for 10 containers. We eventually settled on $18 for 10 containers (a $2 total discount). I have a feeling that if I had waited until noon (when the market stops) instead of when I was there at 11am, I could have gotten them for $15.

But I still got a hell of a good deal, since the two bags of cucumbers ended up weighing ~15 lbs, so at ~$1.20 lb it was still a great deal. Later on I didn’t realize how much ~15 lbs of cucumbers were until I started to process them. After getting through the first ~7 lb bag, I decided to make the pickles two different ways, fermented/brined and hot processed vinegar pickling (like v1.) Below you’ll see the recipes that I used for versions 2 and 3 of the vinegar pickles. The brined pickles (version 4) will be getting their own separate post.

Version 2.0

Brine:
(note: less vinegar & more water compared to v1)

  • 3.5 cups vinegar
  • 4.5 cups water
  • 2 TB pickling spice mix
  • 1/4 cup white sugar
  • 1/2 cup canning salt

Bring Mixture to a boil, then simmer for 15 mins.

Per quart jar add:
(note: added black peppercorns & celery seeds compared to v1)

  • 2 bay leaves
  • 4 cloves garlic
  • 1/4 tsp red pepper flakes
  • 1/2 tsp whole black peppercorns
  • 3/4 tsp celery seed
  • 2 tsp mustard seed
  • 3 tsp Dill seed

Process 15 mins in a boiling water canner
Yield: 3 quart jars


Version 3.0
I had some remaining brine from v2, so I just strained it. I then added 1.5 cups vinegar, 2.5 cups water, 4 TB white sugar, 1/4 cup of salt. This addition was just a little bit short. So I topped off the jars with a mixture of 1/4 cup vinegar & 1/4 cup water.

Brine:
(note: less vinegar & more water, also removed the pickling spice compared to v1 & v2)

  • 3 cups vinegar
  • 5 cups water
  • 1/4 cup white sugar
  • 1/2 cup canning salt

Bring Mixture to a boil, then simmer for 15 mins.

Per quart jar add:
(note: increased the red pepper flakes to 1/2 tsp, and increased the celery seed to 1 tsp compared to v2)

  • 2 bay leaves
  • 4 cloves garlic
  • 1/2 tsp red pepper flakes
  • 1/2 tsp whole black peppercorns
  • 1 tsp celery seed
  • 2 tsp mustard seed
  • 3 tsp Dill seed

Process 15 mins in a boiling water canner
Yield: 4 quart jars


Side Notes:
1) Add the celery seeds after removing all the air from the jar with the food saver attachment. If you don’t, you’ll end up with a lot of seeds inside the attachment, instead of inside the jar.
2) One of the v3 jars doesn’t have any garlic inside, since I used up the rest of the garlic for the other three jars in v3. This was a one time problem, since I then ended up purchasing a 3 lb jug of peeled garlic.
3) Don’t over fill the jars, since it looks like with v3, I had a bit of a boil over in the canner kettle. Since the water was a little bit green after processing.

Pickled Spicy Beans – v2 & v3 – September 2010

When I saw the Labor Day ad from my local grocery store, it had a sale item that I had to pick-up. And what food item got me so interested, that I had to get it? Why none other then Michigan grown green beans for $0.58 lb. Yes, you read that right $0.58 a pound. And having finally cracked open a jar of the wax beans, and enjoyed the results. I thought that I would give it another try, but with green beans, and also with a couple of recipe modifications. Here are the results: Continue reading